Maintenance
TDS3000 Series Service Manual
6–19
8. Attach the DC power cable to the power supply.
9. Connect the fan power cable to the battery board at J170.
10. Connect the DC power cable to the battery board at J100.
11. Snap the battery board onto the post on the rear chassis.
12. Install two screws to secure the battery board to the rear chassis.
13. Insert the parallel printer connector into the hole in the rear chassis and
secure the connector with the two jack posts with the
3
16
inch nut driver.
14. Install the power switch extension onto the power switch so that it angles
outward and to the side of the rear chassis assembly.
15. Place the oscilloscope assembly face down on soft surface (such as an
anti-static mat), with the bottom facing you.
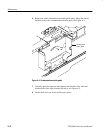
16. Position the rear chassis assembly above the oscilloscope assembly.
17. Dress the DC power cable under the power supply and toward you.
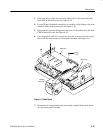
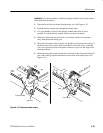
18. Thread the external power cable through the top hole in the right side of the
rear chassis and the front chassis, then lower the rear chassis onto the front
chassis. Be sure that the power switch extension goes into the hole in the
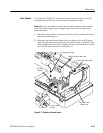
front chassis. See Figure 6–7.
19. Snap the left side of the rear chassis onto the two small tabs and then secure
the rear chassis with three screws.
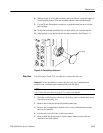
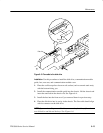
20. Connect the external power cable to the battery board at J200. Make sure
that you route the cable around the front of the battery board; do not route
the cable along side of the battery connector. See Figure 6–7.
21. Connect the DC power cable to the main board at J900. Connect the spade
connector from the DC power cable to the front chassis. See Figure 6–7.
22. Connect the parallel printer port cable to the main board. See Figure 6–7.
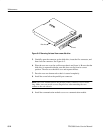
23. Install the three screws to attach the rear chassis assembly to the front
chassis.


