27
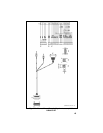
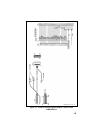
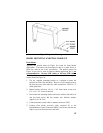
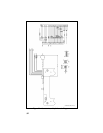
Figure 25 - Speaker Mounting
RADIO MOUNTING AND FINAL HOOK-UP
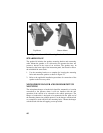
Front Mount
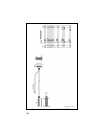
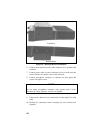
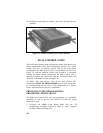
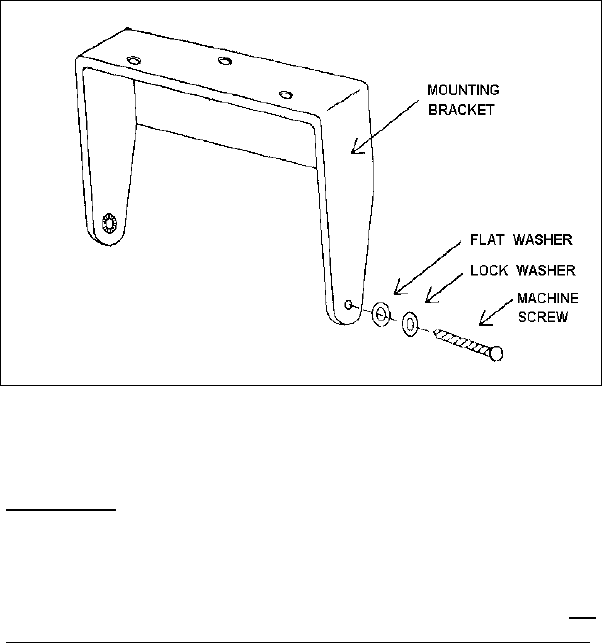
Typically the bracket shown in Figure 26 is used for Front Mount
applications. The bracket can be mounted so that it is either above or
below the radio for the user's convenience. The bracket pictured in
Figure 24 can also be used for Remote Mount application but is not
recommended for 110 watt VHF radios or 100 watt UHF radios.
The following instructions are for a Front Mount installation using the
bracket shown in Figure 26.
1. Use the supplied mounting bracket as a template to locate the
position for each of the drill holes. Be sure to leave enough room at
the front and rear of the radio for cable connections. Drill No. 27
(9/64) pilot holes.
2. Mount bracket with four 1/4"-14 x 3/4" sheet metal screws (use
1/4"-14 x 1-1/2" screws if needed).
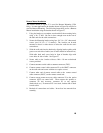
3. Place radio into mounting bracket and secure with the four M4 x 10
mm hex head screws, M4 flat washers and M4 lock washers
supplied. No. 20 Torx.
4. Connect antenna coaxial cable to antenna connector (TNC).
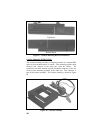
5. Connect front mount accessory cable connector P1 to the
Option/Remote Control Connector (ORCC) and secure with the two
captive screws in the connector to the radio.


