C2631M-C (7/09) 119
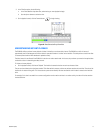
CONFIGURING THE DX8100 TO RECORD IP CAMERA VIDEO
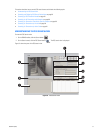
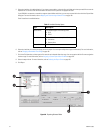
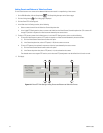
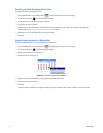
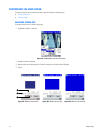
The DX8100 allows you to assign an IP camera to a designated channel. Initially, camera channels above the DX8100 standard analog channels
are not displayed in the Site Tree. These channels are listed in the Selected Channel drop-down box located on the Camera page. Each IP camera
configured as a network camera is displayed in the Site Tree.
The steps for configuring the DX8100 to record IP camera video are organized into the following topics:
• About Analog and IP Camera Channel Configurations
• Searching for IP Cameras
• Assigning an IP Camera to a Camera Channel on page 120
• Configuring IP Camera Settings on page 122
• Customizing IP Camera Display Settings on page 123
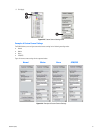
About Analog and IP Camera Channel Configurations
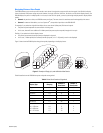
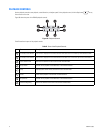
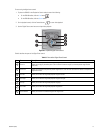
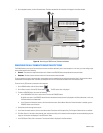
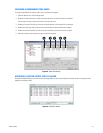
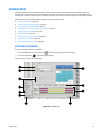
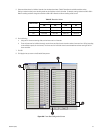
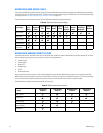
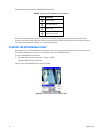
The DX8100 channel configuration is as follows:
• Standard analog channel: The DX8108 and DX8116 channel capacity can be expanded by 16 channels using the DX8100 16-channel
expansion unit kit.
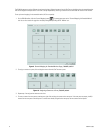
– DX8108 channel configuration: Camera channels 1 to 8 are standard analog inputs and are displayed in the Site Tree; channels 9 to
24 (sixteen total) are available for assigning IP cameras.
– DX8116 channel configuration: Camera channels 1 to 16 are standard analog inputs and are displayed in the Site Tree;
channels 17 to 32 (sixteen total) are available for assigning IP cameras.
– DX8124 channel configuration: Camera channels 1 to 24 are standard analog inputs and are displayed in the Site Tree;
channels 25 to 32 (eight total) are available for assigning IP cameras.
– DX8132 channel configuration: Camera channels 1 to 32 are standard analog inputs and are displayed in the Site Tree. Analog
channels must be disabled to assign an IP camera.
NOTE: For information about the supported resources for configuring analog and IP cameras, refer to DX8100 Series HVR Version 2.0
Release Notes.
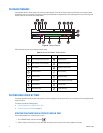
• Disabling an analog or IP camera results in the following conditions:
– Frees up system CPU and memory resources.
– Video from the disabled channel is no longer available for recording.
– Settings specific to the disabled camera are preserved.
– The IP camera is not removed from the IP Camera Properties dialog box.
For information about disabling a camera, refer to Disabling an Analog Camera on page 126 or Disabling an IP Camera on page 126. For
information about restoring a camera, refer to Restoring a Disabled Analog or IP Camera on page 127.
For information about DX8100 supported analog and IP camera capacity, refer to DX8100 Series HVR Version 2.0 Release Notes. To access this
document, go to http://www.Pelco.com and navigate to the Hybrid Video Recorders page.
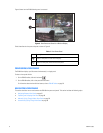
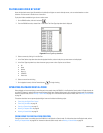
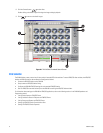
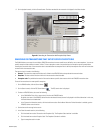
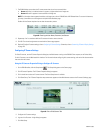
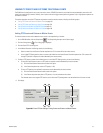
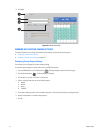
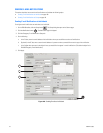
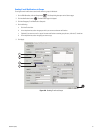
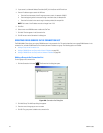
Searching for IP Cameras
NOTES:
• The scan utility is a DX8100 server-based feature and discovers IP cameras within the DX8100 network. The scan utility is not available in
the Client application.
•If Axis
®
IP cameras are on the network, the IP Camera Properties dialog scan utility might not discover all available IP cameras. The scan
utility discovers Sarix cameras but does not discover other IP cameras (IP110, IP3701, Axis 211, and Axis 231D+).
• The scan utility discovers Axis and Pelco IP cameras if Sarix cameras are not on the network.
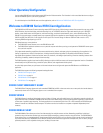
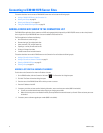
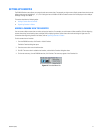
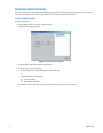
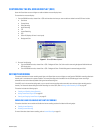
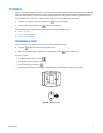
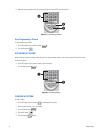
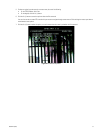
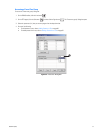
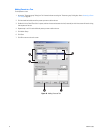
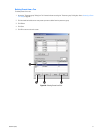
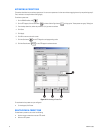
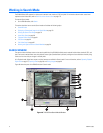
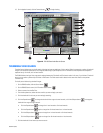
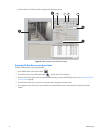
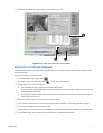
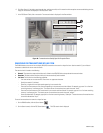
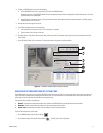
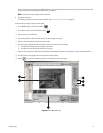
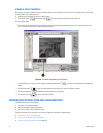
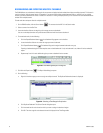
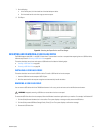
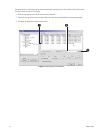
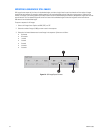
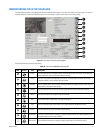
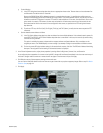
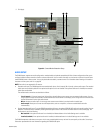
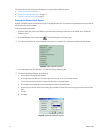
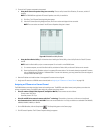
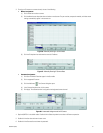
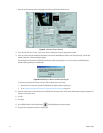
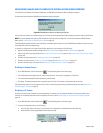
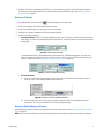
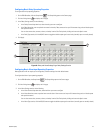
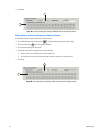
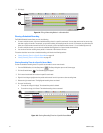
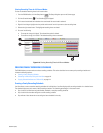
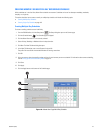
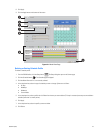
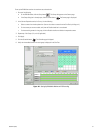
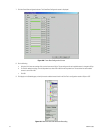
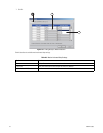
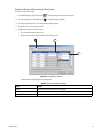
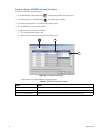
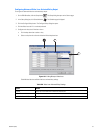
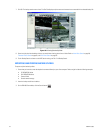
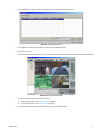
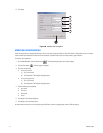
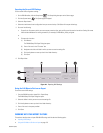
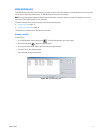
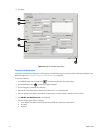
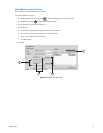
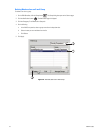
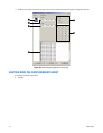
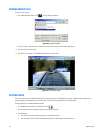
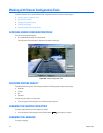
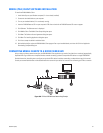
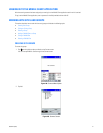
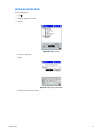
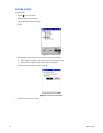
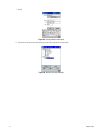
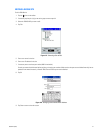
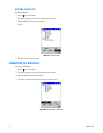
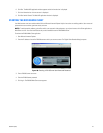
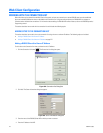
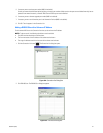
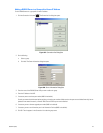
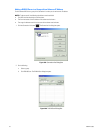
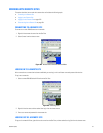
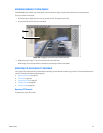
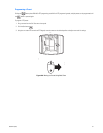
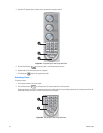
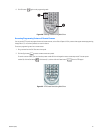
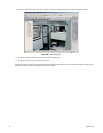
1. On the DX8100 toolbar, click the Setup button . The Setup dialog opens to the Camera page.
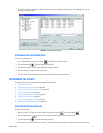
2. Click IP Camera Properties. The IP Camera Properties dialog box appears.