Telect, Inc. • USA +1.509.926.6000 • Mexico +1.52.33.3836.3700
Poland +1.48.713.239.100 • UK +1.44.1489.889500 • www.telect.com
Copyright © 2002 Telect, Inc., All Rights Reserved
Page 2-3
Tools & Equipment —
No special tools required for installation.
INSPECTION
Telect is not liable for shipping damage.
Keep the container until you have checked equipment operation. If you experience any kind of problem, call Telect’s Customer Ser-
vice Department. Use the original, undamaged container if you are instructed to return a panel to Telect.
If a shipping container is damaged, keep it for the carrier’s inspection. Notify the carrier and call Telect’s Customer Service Depart-
ment at 1-800-551-4567 or 1-509-926-6000
INSTALLATION PROCEDURE
Please read these instructions carefully before beginning installation. If you need assistance call Technical Support at 888-821-4856
(domestic calls), or 509-921-6161 (Option 2), or eMAIL us at getinfo@telect.com
1. Inspect equipment after unpacking and compare it to the packing list.
Immediately report any shipping damage, defects, or missing parts to
Telect at 1-800-551-4567. Keep all documentation that comes with your
shipment.
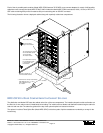
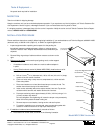
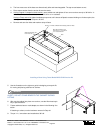
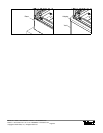
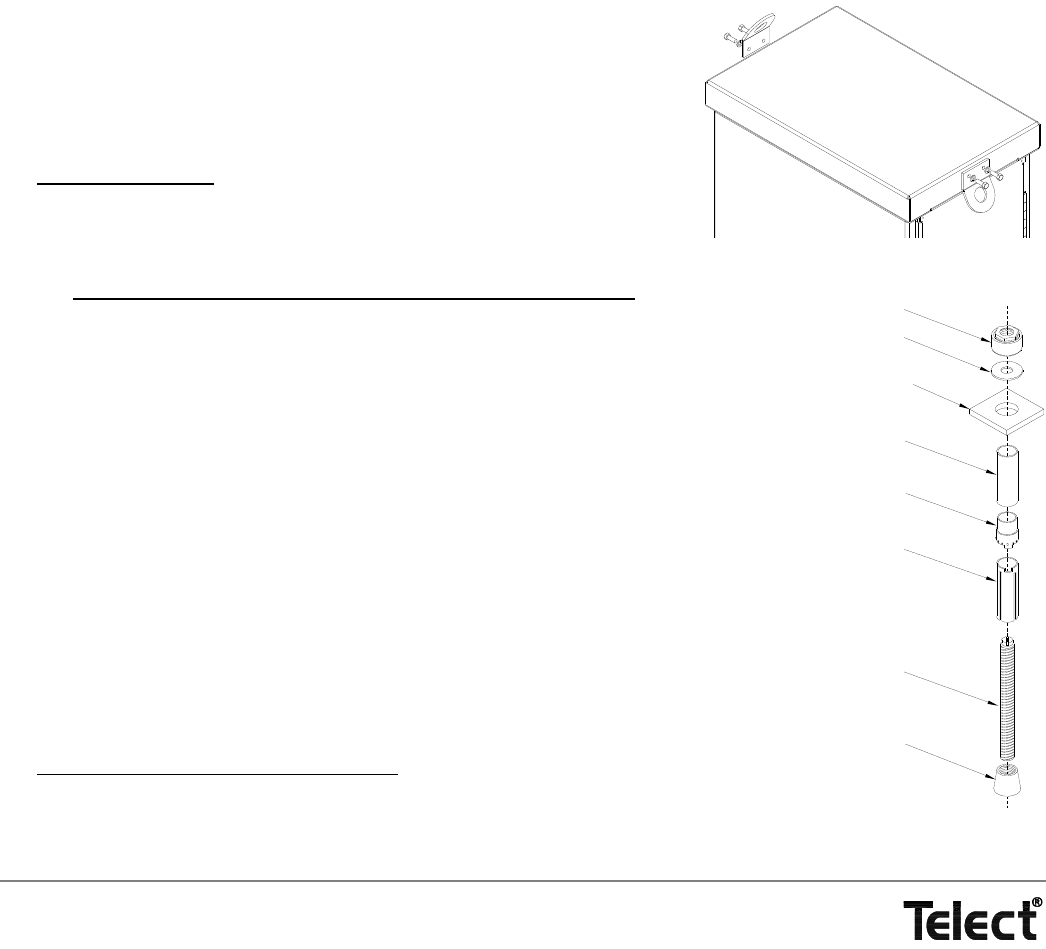
2. Remove lifting rings at top of cabinet and then resecure as shown on the
right.
3. Before moving cabinet
, make sure the pad, grating, vault, or other support
is ready: namely,
• If installation includes a vault, make sure vault-to-cabinet adapter is
in place.
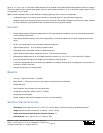
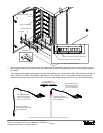
• If using Telect’s seismic anchor kit (Model MDC-CBAK), install anchors
, as fol-
lows:
a. Drill an 18 mm (
25
/32-in.) diameter hole, 100 to 115 mm (4¼ to 4½ in.) deep,
at each of the four anchor locations.
b. Clean out holes using a shop vacuum, compressed air, or blow-out bulb.
Clean away debris.
c. Place round washer on rod and then thread torque nut onto the rod. The
washer should touch the top of the metal sleeve.
d. Insert anchor assembly (without the square washer) into hole. Tap anchor
rod down with a hammer until washer touches the concrete.
e. Pre-torque anchoring nuts to approximately 30 ft-lb (~40 N•m) using a ¾ in.
(19 mm) socket or box wrench.
Do not overtighten. Over-tightening will cause the torque nut to prematurely
shear off from the plastic-encased holding nut.
f. Remove torque nut and washer, leaving anchor and stud in place.
g. For exterior installation on a concrete pad, place a water-tight gasket with
cutouts for conduit and anchors on top of pre-installed pad.
4. If installation includes a base (recommended), proceed as follows:
a. Place base over anchor studs, as shown in the following illustration.
Lifting Ring Orientation
(As Shipped)
Re-Orient Rings
to Lift Cabinet
Cone
Threaded Rod
Expansion Sleeve
Metal Sleeve
Round Washer
Torque Nuts With Red Plastic Collar
Plastic Guide
Square Washer
Model MDC-CBAK Anchor Kit


