


22
3 PREPARATION FOR SURVEYING
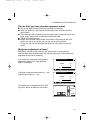
● The brightness adjustment step of the laser is 10 steps.
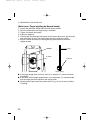
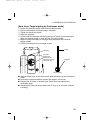
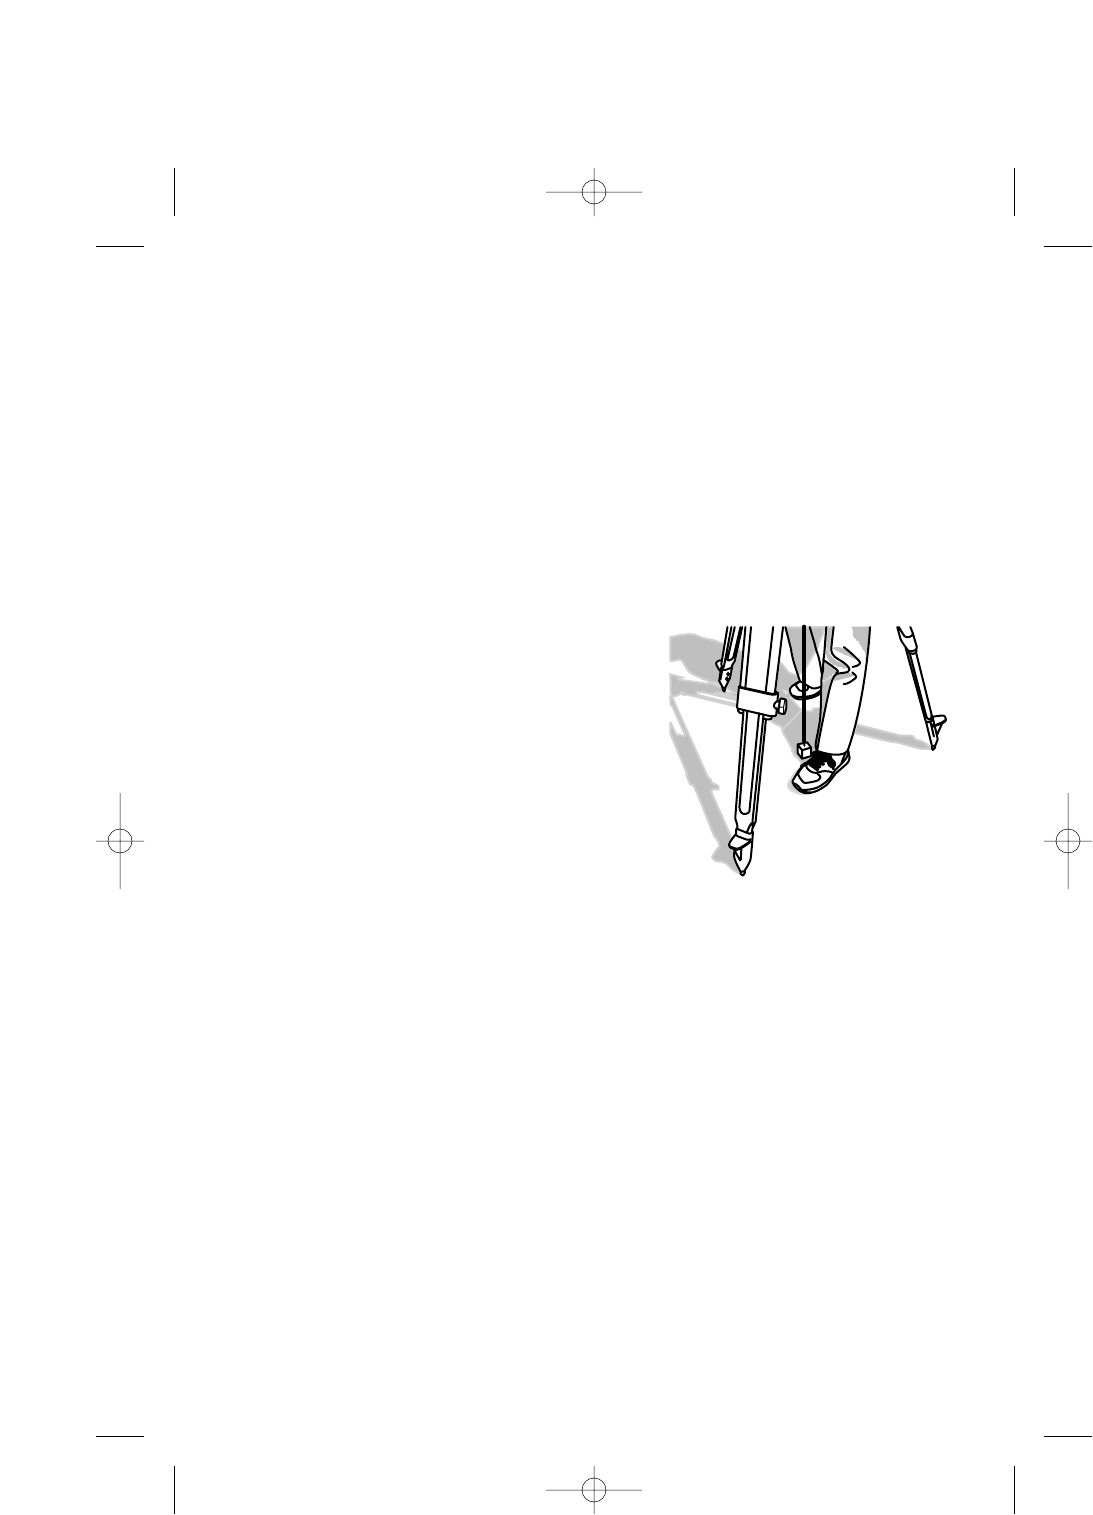
● The laser plummet spot can become difficult to see in bright sunlight which
makes it difficult to perform the occasional check. In this case, use your foot or
the carrying case to make a shadow over the laser position.
● The laser plummet is adjusted to be within ±0.8 mm at the instrument height
of 1.5m at factory shipping.
● Please confirm the amount of the gap (direction of X and Y direction) with the
laser plummet beforehand compared with plumb bomb etc. when working like
accurately putting out a perpendicular direction using the laser plummet
function.
● Please do not look at the laser source of beam directly.
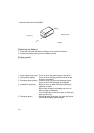
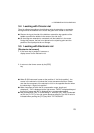
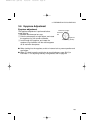
3-3 Optical plummet (Option)
[Detachable type]
q Look through the optical plummet eyepiece, and rotate the eyepiece knob until
the center mark can be seen clearly.
w Rotate the focusing knob of the optical plummet and adjust the focus to the
station on the ground.
e Rotate the levelling screws and aligh the center mark to the ground mark.
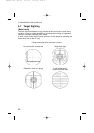
[Shift type]
q Look through the optical plummet eyepiece, and rotate the eyepiece knob until
the center mark can be seen clearly.
w Rotate the focusing knob of the optical plummet and adjust the focus on the
ground mark.
e Loosen the centering clamp screw and push the upper plate by finger and
stay the center mark on the ground mark.
r Tighten the centering clamp screw.
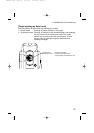
t Loosen the horizontal clamp screw and rotate the instrument every 90° and
confirm the Circular vial is centered correctly. If the bubble is not centered, it
can be properly set using the leveling screws.
PENTAX R-300 (p20-52) 10/30/02 11:08 AM Page 22