C2630M-B (4/08) 207
3. Make sure the DVR operating system's regional and language settings have been properly set up. Refer to the installation manual for
information on regional setup.
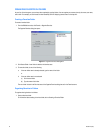
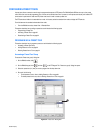
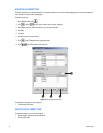
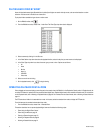
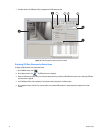
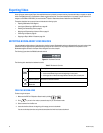
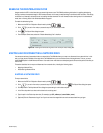
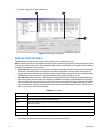
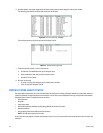
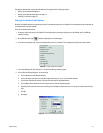
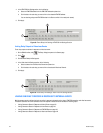
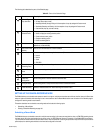
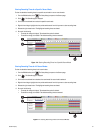
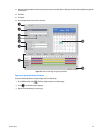
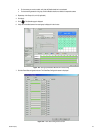
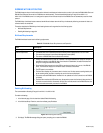
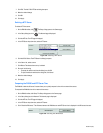
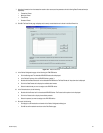
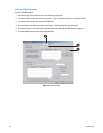
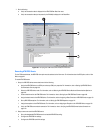
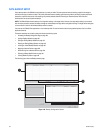
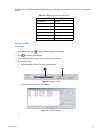
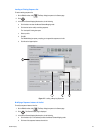
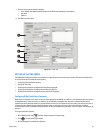
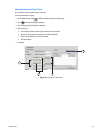
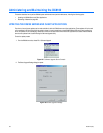
4. In the Language section, select the following appropriate language from the Select Language drop-down box.
•English
•French
•German
•Italian
• Polish
• Portuguese
•Russian
• Spanish
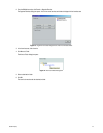
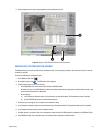
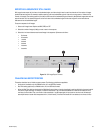
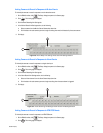
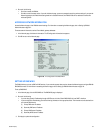
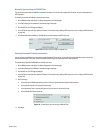
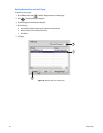
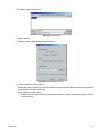
5. Click Update. The Restart dialog box opens.
6. Click Yes. The changes are applied and the DX8100 restarts.
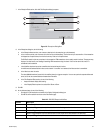
SETTING THE SYSTEM TIME
Be sure to set the system time before using the DX8100; setting the internal clock for each DVR on the network ensures that each accurately
reflects the local time.
This section describes how to set the DX8100 system time and includes the following topics:
• Setting System Time
• Working with Standard and Daylight Saving Time on page 208
Setting System Time
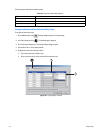
Pelco recommends that the system time be configured only at the DX8100 server System page. Only Administrator access or higher can change
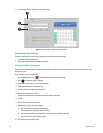
the system time. If a subsequent attempt is made to set the system clock to a time earlier than the current time, the DX8100 server will display
the Confirm dialog box, to alert the user. The user will then be prompted to do one of the following:
• Accept the new system time and delete data recorded between the current time and the newly set time. If this option is accepted, the data
is deleted and the DX8100 automatically restarts.
• Accept the new system time, with the following conditions:
– Previously recorded data will not be deleted.
– The DX8100 will not record new data until the system time passes the time that data was previously recorded. For example, if data
was recorded at 3:00 p.m. and at that time the system time was reset to 2:30 p.m., the DX8100 will not commence recording again
until the system time passes 3:00 p.m.
If the user changes the system time from the Windows Control Panel, the data recording protection feature described above is defeated,
resulting in impairment of the recording time line. Without notice, previously recorded data can be overwritten by new data.
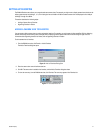
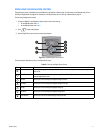
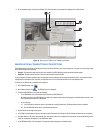
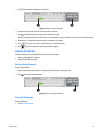
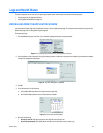
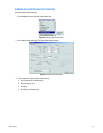
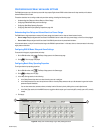
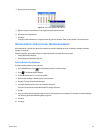
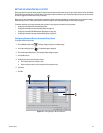
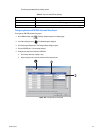
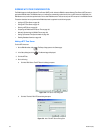
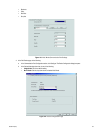
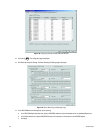
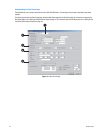
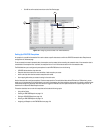
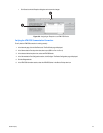
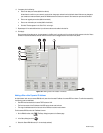
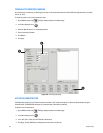
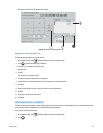
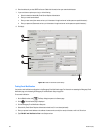
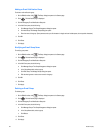
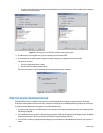
To set the system time:
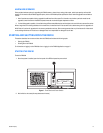
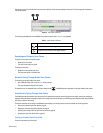
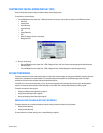
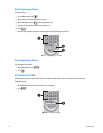
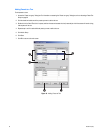
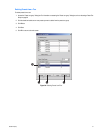
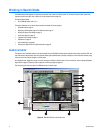
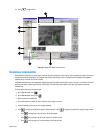
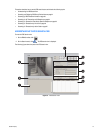
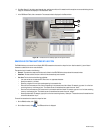
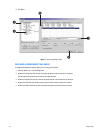
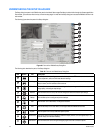
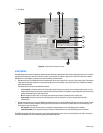
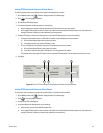
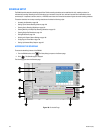
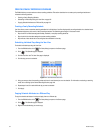
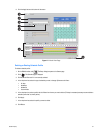
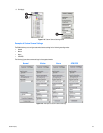
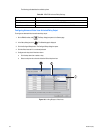
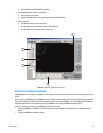
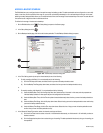
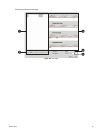
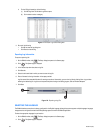
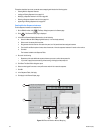
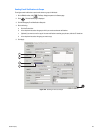
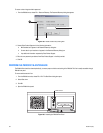
1. On the DX8100 toolbar, click . The Setup dialog box opens to the Camera page.
2. Click . The System page is displayed.
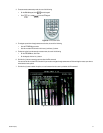
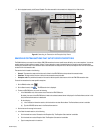
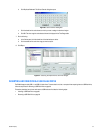
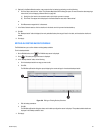
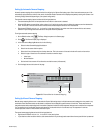
3. In the Date/Time Setup section, do the following:
a. In the Date/Time drop-down box, select the current month, day, and year.
b. Select the current time.
c. Click Update.
d. In the “Time zone” drop-down box, select the correct time zone.
e. Click Update.
WARNING: Attempting to set the system clock to a time earlier than the current system time will require that you either perform one of
two options: delete all data recorded between the current time and the new time, or do not delete previously recorded data and begin
recording only after the system time has passed the recorded time. One exception to this rule involves Daylight Saving Time. For more
information, refer to the Working with Standard and Daylight Saving Time on page 208.