


Operation 19
MAN0943 (07/12/2011)
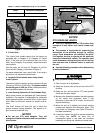
Always sit in power unit seat when operating
controls or starting engine. Securely fasten seat
belt, place transmission in neutral, engage brake,
and ensure all other controls are disengaged
before starting power unit engine.
Always comply with all state and local lighting
and marking requirements.
Always wear relatively tight and belted clothing
to avoid getting caught in moving parts. Wear
sturdy, rough-soled work shoes and protective
equipment for eyes, hair, hands, hearing, and head;
and respirator or filter mask where appropriate.
RUBBER FLAPS OR BELTING
All units are equipped with front shield flaps or belting
along the front of the frame. The shield flaps stop or
deflect trash, stones, or other debris picked up by the
flails.
Be sure the shield flaps or belting are in good condition
for operation. Replace if damaged, torn, or missing.
PREPARING FOR OPERATION
1. Pull into the field and position the unit in a level
area.
2. Lower into operating position.
3. Set the 3-point so the quick hitch is vertical and the
floating upper mast is forward.
4. Use stroke control spacer on four cylinders to set
cutting height.
Flail Height
Set the unit to give a flail height of at least 3 to 6
inches (75 to 150 mm) above the ground. This will
minimize the amount of stones and dirt picked up by
the flails under all operating conditions. (See Balance
Statement, page 5.)
NOTE: To avoid unnecessary wear on knives and
related parts, never set the unit lower than the recom-
mended setting. (See Balance Statement, page 5.)
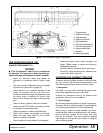
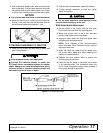
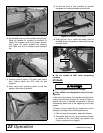
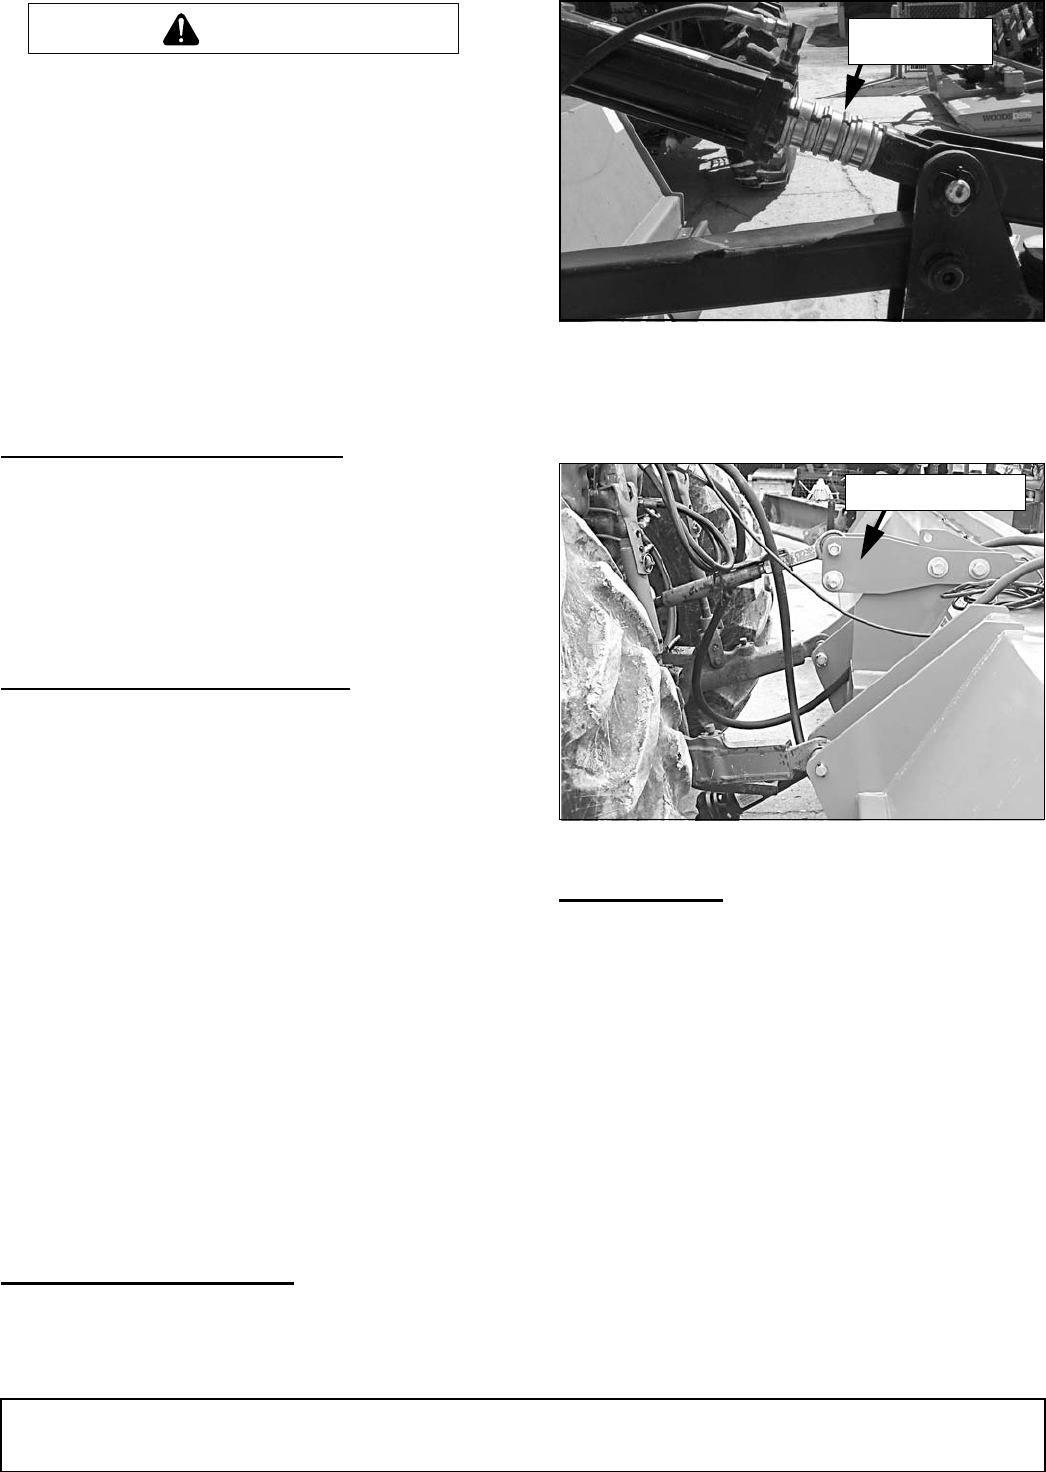
SET OPERATING HEIGHT
Use stroke control spacers. The number and thickness
should be equal on each cylinder to keep shredder
level.
Figure 7. Setting Operating Height
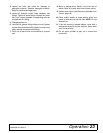
Be sure the floating mast is free to slide in its mounting
frame to allow the machine to follow ground contours.
Refer to Figure 8.
Figure 8. Free-Float Position
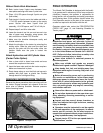
FLAIL KNIVES
The shredder is factory equipped with “L” or cup type
flails. The two types are interchangeable.
“L” Flails
“L” flails (Figure 10) work best when trash or crop resi-
due is standing.
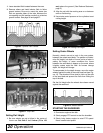
Cup Flails
Cup flails (Figure 11) can pick up material from the
ground and work best in matted trash conditions.
The standard cup flail is 11 inches (279 mm) long and
is used for most applications. Optional 7 and 9 inch
(177 and 228 mm) flails are available to match the tip
position to ground contour.
Attach optional cup flails as follows, making sure that
knives at 180° match (see Figure 9) (see Balance
Statement, page 5):
CAUTION
Stroke Control
Spacers
DP124
DP12
Floating Top Mast