


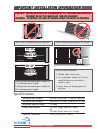
TECHNICAL SUPPORT 1 800 908 0884
1317
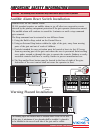
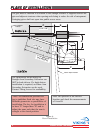
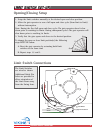
Step 4
Upon observation of the satisfactory
arrangement of the articulated arm and
bracket, weld all pieces securely. Paint the
arm to protect it from rusting.
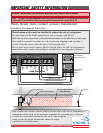
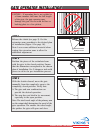
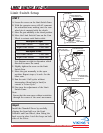
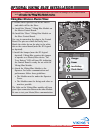
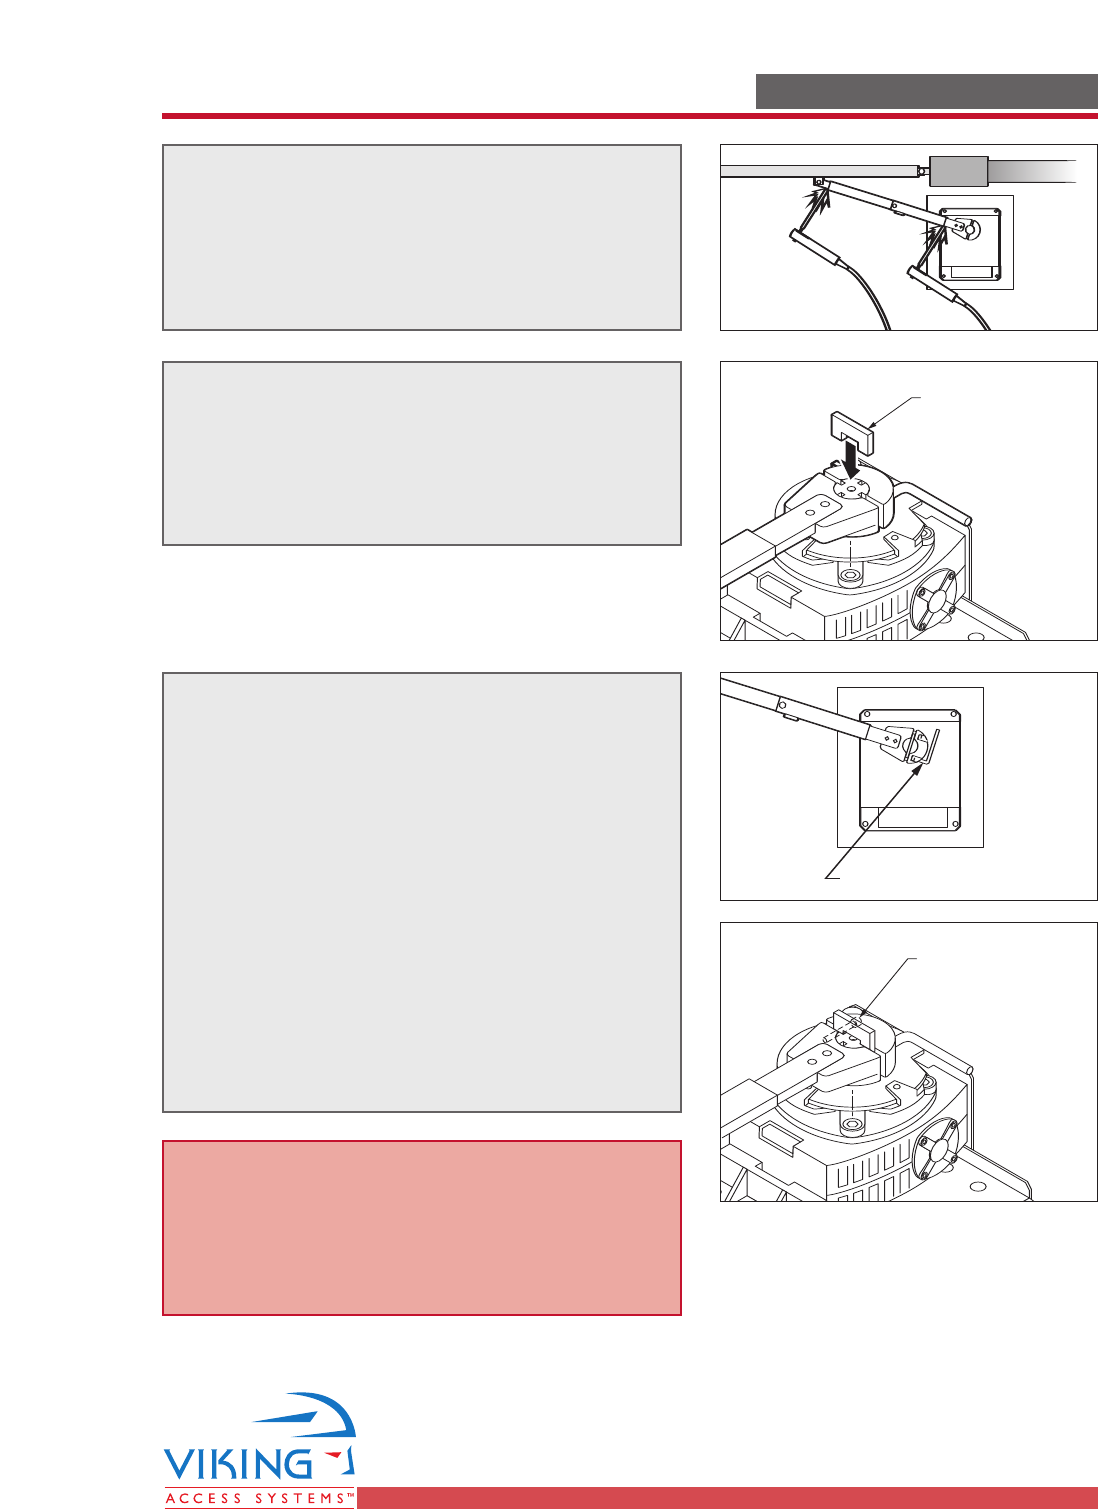
STEP 6
Check the Clutch adjustment. The Clutch is
shipped factory adjusted. The clutch must be
tight enough to prevent slippage in normal
operation.
Check the tightness of the Clutch:
A. Remove the Clutch Key from the clutch.
B. Attempt to move the gate by hand.
C. If slippage occurs:
1. Loosen the Locking Handle 180°
2.
Tighten the opposite bolt.
3. Tighten the Locking Handle 180°
4. Check the tightness of the clutch again.
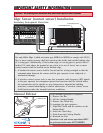
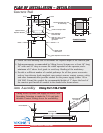
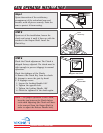
STEP 5
Upon test of the installation, loosen the
clutch and rotate it until it lines up with the
notches in the Output Shaft. Insert the
Clutch Key.
Tighten the Clutch
GATE OPERATOR INSTALLATIONGATE OPERATOR INSTALLATION
NOTE – For proper operation of the Clutch,
keep the gap between the Clutch halves
even when adjusting (the Clutch will have
to be removed from the Output Shaft in
order to adjust the Release Handle bolt).
Adjust the
Opposite Bolt
Insert
Clutch Key