5
SECTION II
MECHANICAL SECTION
A. To Remove Lint Drawer
1. Pull out lint drawer three quarters of the way (approximately twenty inches).
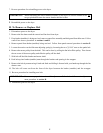
2. Reach up into the back of the lint drawer and pull down the retainer (hinge) that is attached to the top of the
lint drawer.
3. The lint drawer can now be removed.
4. Reverse procedure for reinstalling the lint drawer.
B. To remove control (middle) or lint (lower) door
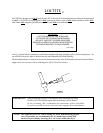
1. Pull out lint drawer three quarters of the way (approximately twenty (20) inches). Reach into the back of the
lint drawer and push down the retainer (hinge) that is attached to the top of the lint drawer.
2. Pull out the lint drawer.
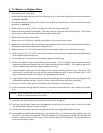
3. Open the control and lint door (2) 1/4 turn locks, one (1) on each side.
4. Remove the control and lint door.
5. Reverse procedure for reinstalling the control and lint door.
C. To remove gas valve train assembly
1. Discontinue power to the dryer.
2. Close all gas shut-off valves in the gas supply line to the dryer.
3. Remove the lint drawer and the control and lint door from the dryer. Follow lint drawer and control and lint
door removal procedures in section A and B.
4. Close the union shut-off valve at inlet area of the gas valve.
5. Loosen the union shut-off valve collar nut all the way.
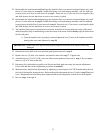
6. Pull out gas valve train assembly 1/4 of the way. Disconnect the gas harness power connector at the top of
the assembly.
7. Gently pull and remove the gas valve train assembly.
IMPORTANT: When removing the gas valve train assembly be careful not to snag or damage the gas
valve train wiring disconnected in step 6.
8. Reverse procedure for reinstalling the gas valve train assembly.
NOTE: Be sure to open all gas shut-off valves closed prior to removing the gas valve train assembly.
9. Reestablish power to the dryer.


