Chapter 17 Configuration: System
GS1900 Series User’s Guide
91
The following table describes the labels in this screen.
17.2.2 The IPv6 Screen
Use this screen to view the IPv6 interface status and Switch’s management IPv6 addresses.
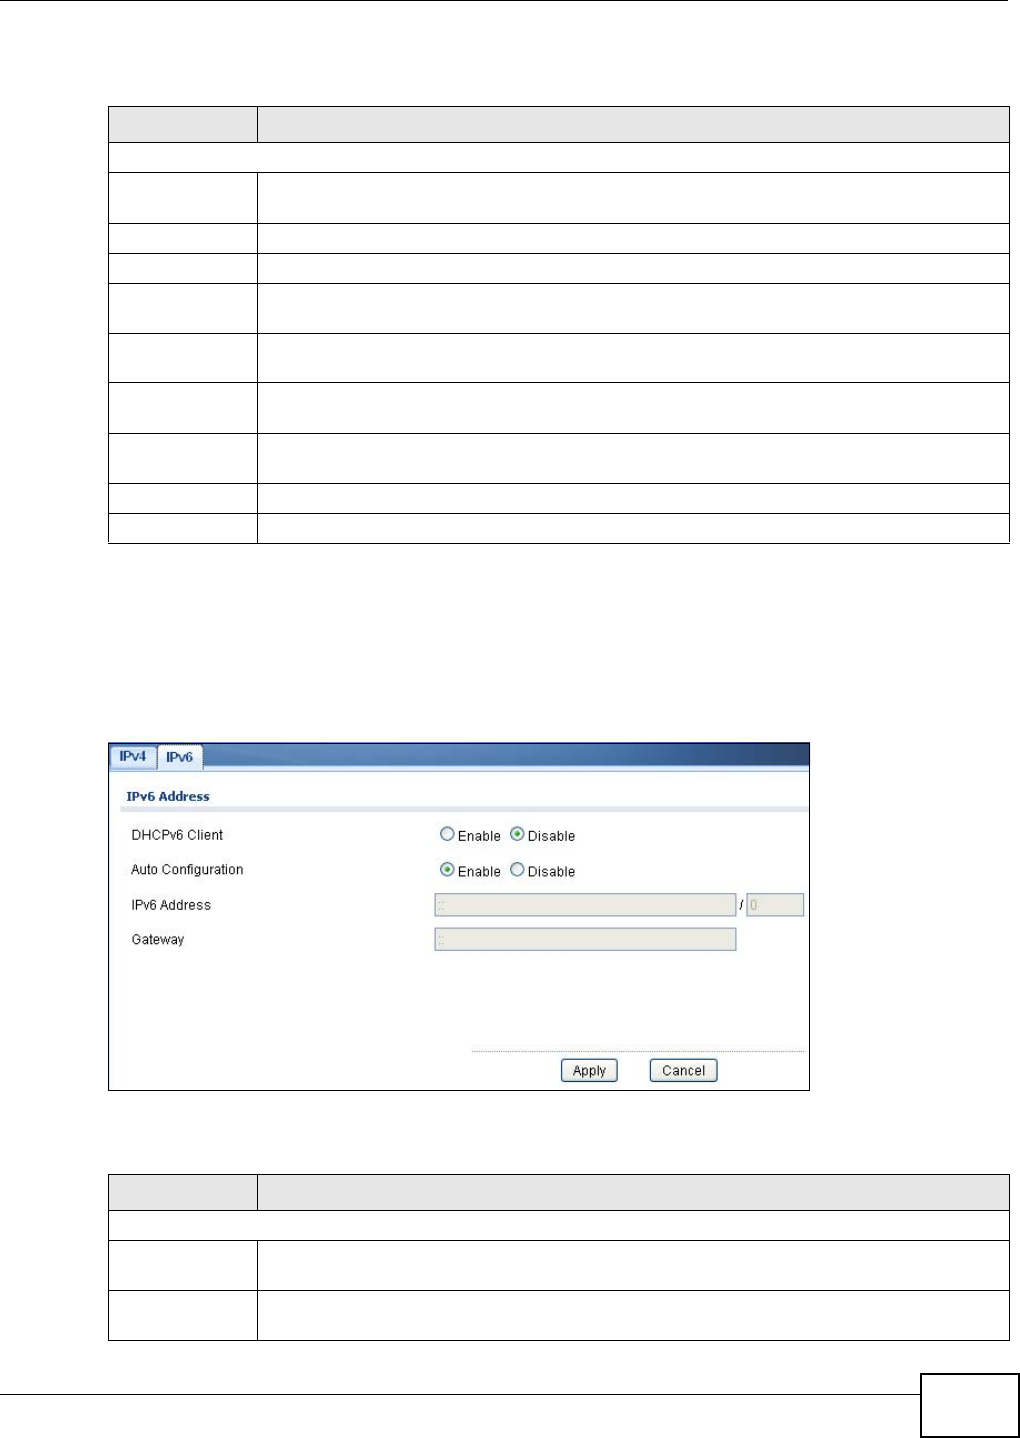
Click Configuration > System > IP > IPv6 to open this screen.
Figure 72 Configuration > System > IP > IPv6
The following table describes the labels in this screen.
Table 54 Configuration > System > IP > IPv4
LABEL DESCRIPTION
IPv4 Address
Mode Select Static to define the IPv4 network properties or DHCP to allow the device to define
the properties.
IP Address Enter the IP address of the Switch in the IP domain.
Subnet Mask Enter the subnet mask of the Switch in the IP domain.
Gateway Enter the IP address of the default outgoing gateway in dotted decimal notation, for
example 192.168.1.254.
DNS Server 1 Enter the IP address for the primary domain name server. DNS (Domain Name System) is
for mapping a domain name to its corresponding IP address and vice versa.
DNS Server 2 Enter the IP address for the secondary domain name server. DNS (Domain Name System)
is for mapping a domain name to its corresponding IP address and vice versa.
Management
VLAN
Enter the port number of the management VLAN.
Apply Click Apply to save the changes.
Cancel Click Cancel to discard the changes.
Table 55 Configuration > System > IP > IPv6
LABEL DESCRIPTION
IPv6 Address
DHCPv6 Client Select Enable to allow the device to act as a DHCPv6 client or Disable to disallow it. This
field displays the Switch’s DHCP settings when it is acting as a DHCPv6 client.
Auto
Configuration
Select Enable to allow the device to auto-configure the IPv6 properties or Disable to
manually enter the properties.
