10. DISASSEMBLY and REASSEMBLY
10-I PREPARATIONS and SUGGESTIONS
1) When disassembling the engine ~ remember the locaticns of individual parts well so that they can be reassembed correct-
ly.
Ii
you are uncertain of identify-ing some parts, it is suggested that tags be attached to them.
2) Have boxes ready to keep disassembled parts in groups.
3 !
To
prevent losing or misplacin,.
o temporarily assemble 2ach group of disassembled parts.
4) L’se the correct tools in the correct way.
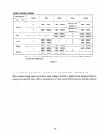
IO-2 HOW TO DISASSEMBLE
-
Order ’
I
I
Item
I
Procedure
Remarks
Tool
-
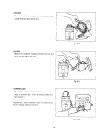
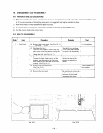
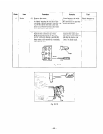
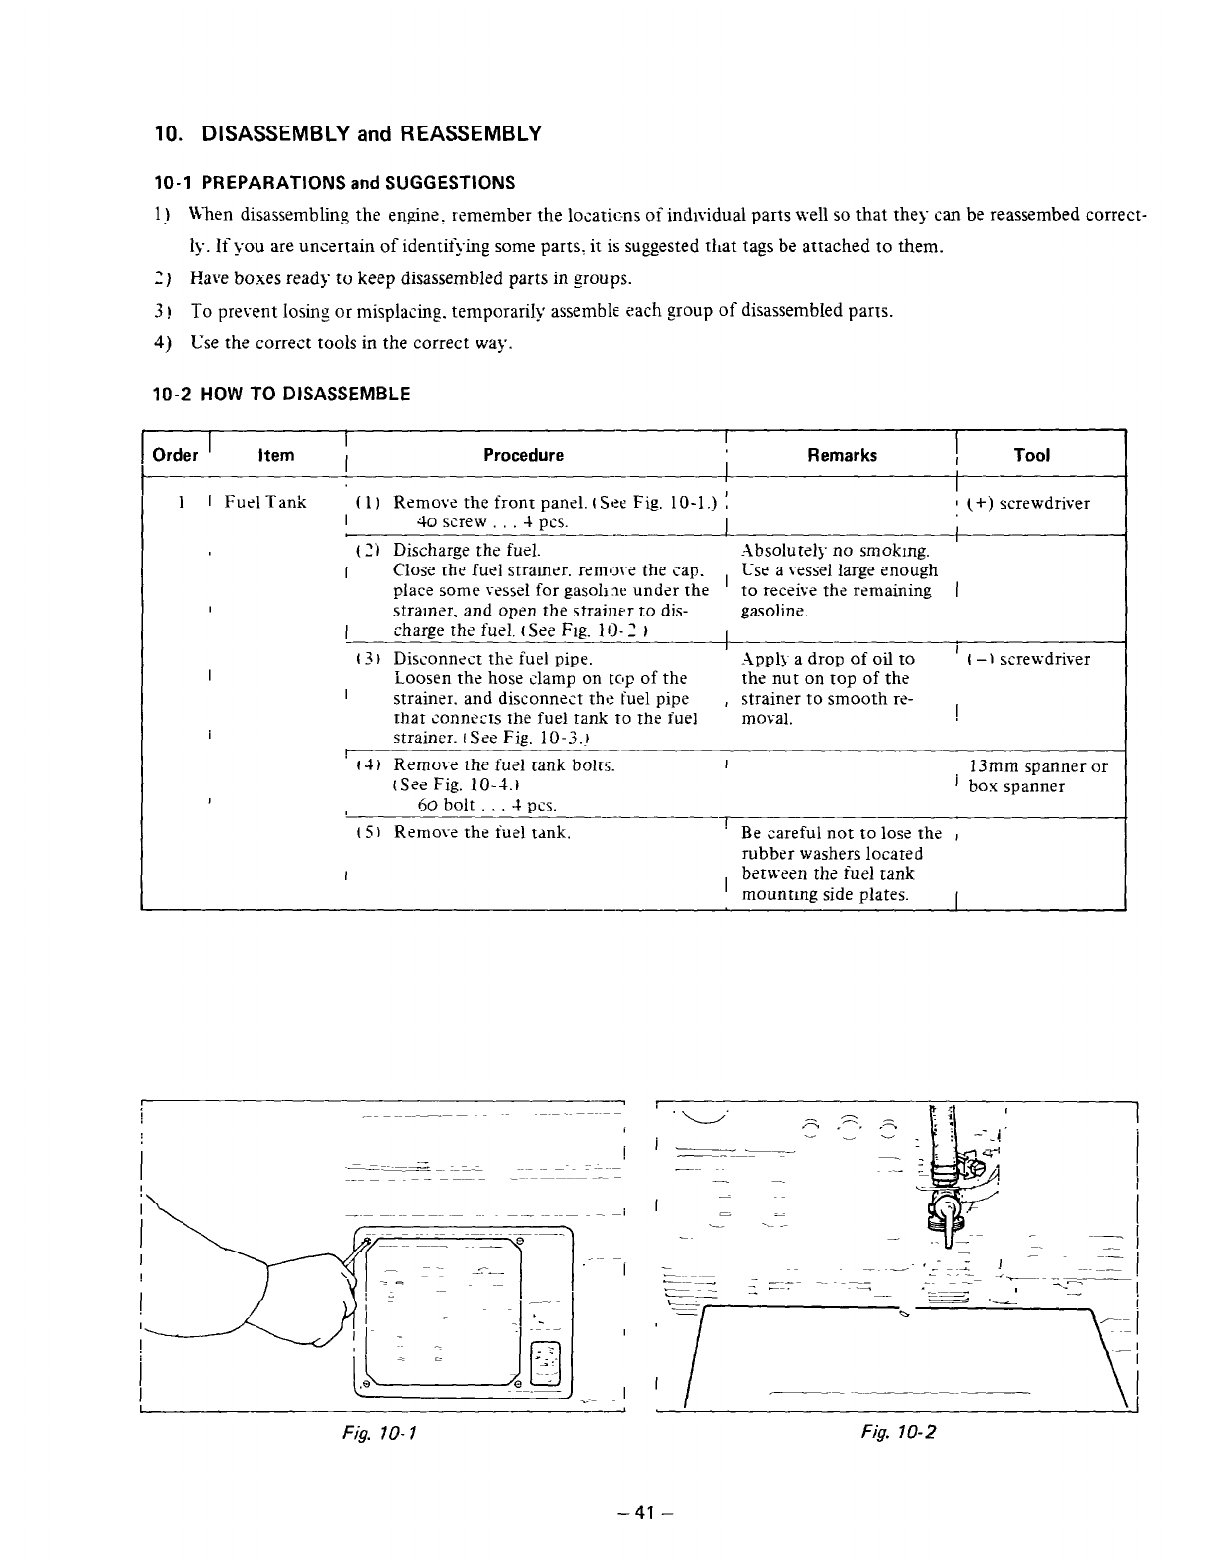
1 1 FuelTank f 1) R2mov2 the front pan21. (See Fig. 10-l.) I
1 (+:I screwdriver
I
40 screw 4 PCS.
-
,
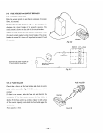
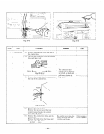
( Zi Discharge th2 fuel. Absolutzly no smokmg.
I
Closz thr fu21 stramrr. rrmol-2 the cap.
place some v2sssI for gasoline undsr the
, Cse a
vsssel
large enough
to recsivs the rrmaining
1
I
stranxr. and oprn the strainer to dis-
gasoline.
I
charge ths fuel. I
See
Fig. 1 O- 2 )
-.
I
I
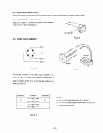
( 3 r Dissonxct ths
iusl
pipe. Appl> a drop of oil to
’ ( -I screwdriver
ioosen th2 hose clamp on top of the
th2 nut on top of the
I
strainsr. and disconnect the
he1
pip2
, strainer to smooth re-
that connects the fuel tank to the
fuel
moral.
!
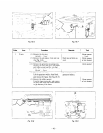
strainer. I S22 Fig. 1 O-3.!
!
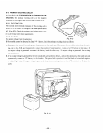
t 4) Remove the fu21 tank bolts.
tS22
Fig. 10-4.1
6Q bolt -t pss.
I
13mm spanner or
’ box spanner
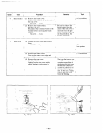
( 51 Remove the tit21 tank.
I
Be careful not to lose th2 ,
rubbrr washers located
I
-
, betwren th2
fuel
tank
mountmg side plates.
Fig. 10- 1
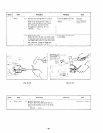
Fig. 10-2
-41-


