34 Assembly
15914 (Rev. 5/11/2007)
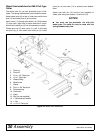
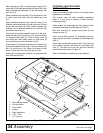
Bolt rebound pad (28) to rebound pad support (27).
Insert bolt (9) through gearstand and bracket (26), then
place rebound pad assembly on top and secure with
lock nuts (10).
Attach tailwheel arm brackets (19) to brackets on rear
of cutter frame with bolts (22) and elastic stop nuts
(21).
Attach tailwheel assembly (20) and hitch stop (17) to
tailwheel mounting bracket (26) with clevis pin (25) and
secure with two cotter pins (32). Attach tailwheel arm
brackets (19) to tailwheel assembly (20) with bolt (18)
and elastic stop nuts (21).
Attach one end of each support brace (5) to the gear-
stand with bolts (9) and lock nuts (10). Insert hitch pins
(1) through mast plates (2). Place A-frame arms (3)
over hitch pins, then install sleeve (4) and brace (5)
over pin and secure with slotted hex nut (8).
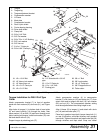
Place spacer (13) between brackets on lift channel (12)
and mount between lower hole of A-frame halves with
bolt (11) and lock nut (14). Attach lift channel to hitch
stop (17) with clevis pin (16) and cotter pin (32).
Attach rear universal joint shield (31) to gearstand with
bolts (29) and nuts (39).
OPTIONAL LEAF MULCHER
INSTALLATION
Loosely assemble the leaf mulcher to the cutter before
tightening any hardware.
The mulcher uses the chain shielding attachment
holes. It is your option to remove or leave the chain
shielding in place.
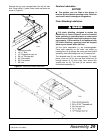
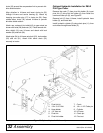
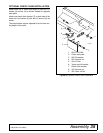
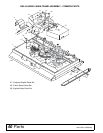
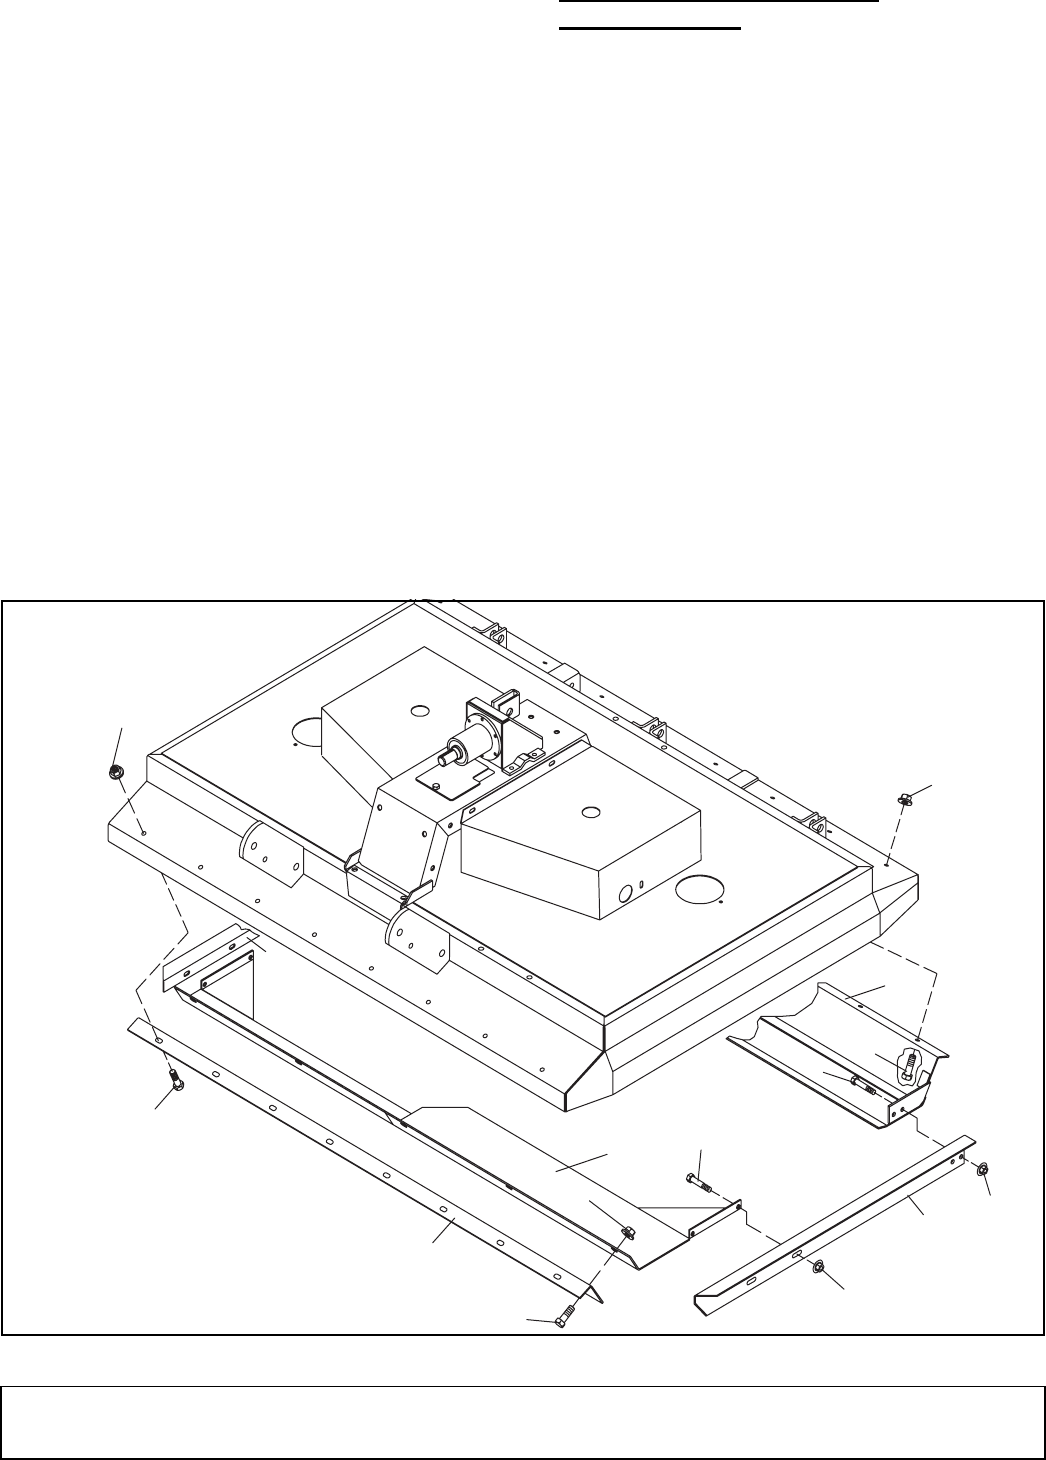
Place adapter (4) underneath the front edge of cutter
and attach with bolts (6) and flange lock nuts (7).
Bolt front shield (3) to adapter using bolts (6) and
flange lock nuts (7).
Place rear mulcher section (1) underneath the rear
edge of cutter and attach with bolts (6) and flange lock
nuts (7).
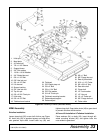
Attach right and left side frames (2 & 5) to the front and
rear mulcher sections with bolts (6) and flange lock
nuts (7). The slots are to the front and the U-section
points outward as shown in Figure 27.
When all hardware is installed, you may tighten it.
Figure 27. Optional Leaf Mulcher Installation
7
6
7
6
7
6
7
6
7
6
4
5
3
2
1
CD3837
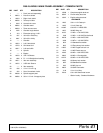
1. Rear mulcher section
2. Left side frame
3. Front shield
4. Adapter
5. Right side frame
6. 1/2 x 1" Bolt
7. 1/2" Lock nut


