Assembly 29
15914 (Rev. 5/11/2007)
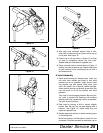
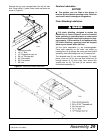
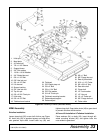
Remove the two rear carriage bolts from the left side
skid. Place baffle (1) under cutter frame and attach as
shown in Figure 21.
Figure 21. Distribution Baffle Installation
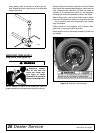
Gearbox Lubrication
NOTICE
■ The gearbox was not filled at the factory. It
must be serviced before operating cutter. Failure to
service will result in damage to the gearbox.
Chain Shielding Installation
Full chain shielding, designed to reduce the
possibility of thrown objects, must be installed
when operating in populated areas or other areas
where thrown objects could injure people or dam-
age property. If this machine is not equipped with
full chain shielding, operation must be stopped
when anyone comes within 300 feet.
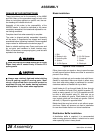
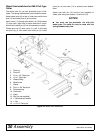
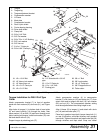
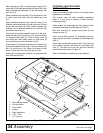
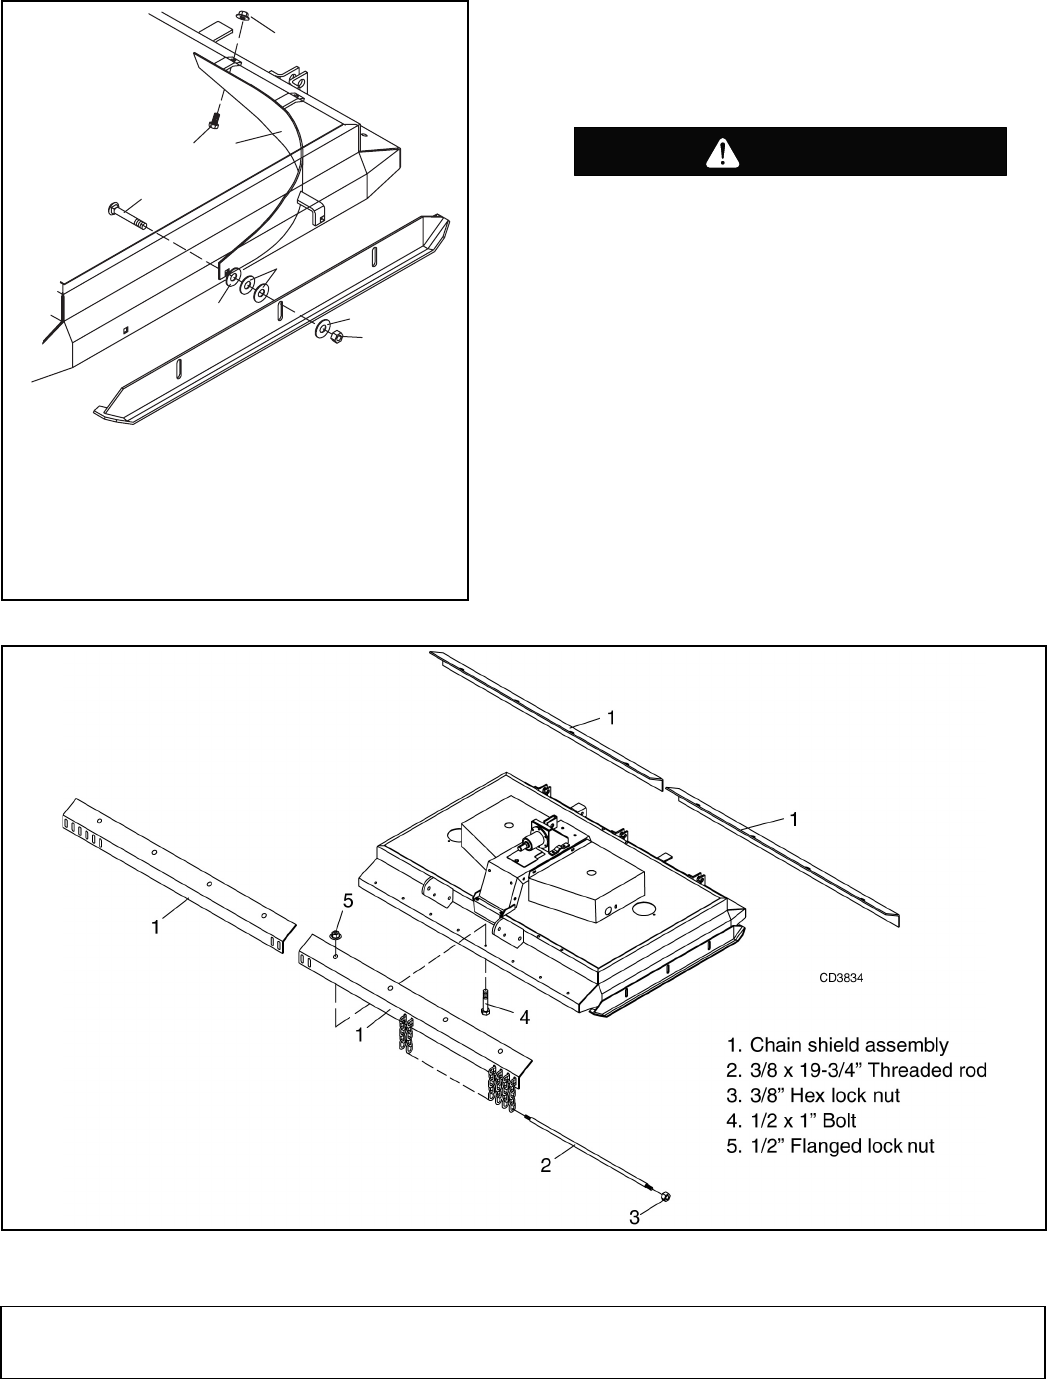
All four chain assemblies (1) are interchangeable.
Place each assembly on the cutter and attach by
inserting bolt (4) up through the cutter and chain shield
assembly, then install flange lock nut (5) on each bolt.
The threaded rods (2) are sold separately. To install,
place a lock nut (3) on one end and thread rod (2)
through bottom of 16 chain links, then secure with
another lock nut (3). Two rods (2) are used on each
chain shield assembly (1).
Figure 22. Chain Shielding Assembly
1
7
6
6
5
4
3
2
CD3819
1. Distribution baffle
2. 1/2 x 1" Bolt
3. 1/2" Flanged hex lock nut
4. 5/8 x 2" Carriage bolt
5. 3/4" Flat washer
6. 5/8" Flat washer
7. 5/8" Nut
DANGER


