


12
Section 1 Assembly and Setup
RCR2584 Rotary Cutter 312-459M 7/14/08
Land Pride
Table of Contents
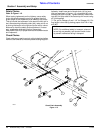
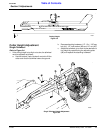
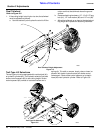
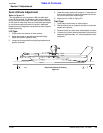
Tractor Hook-Up
3-Point Tractor Hook-Up
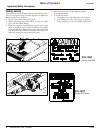
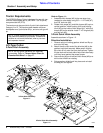
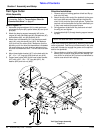
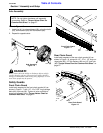
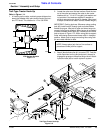
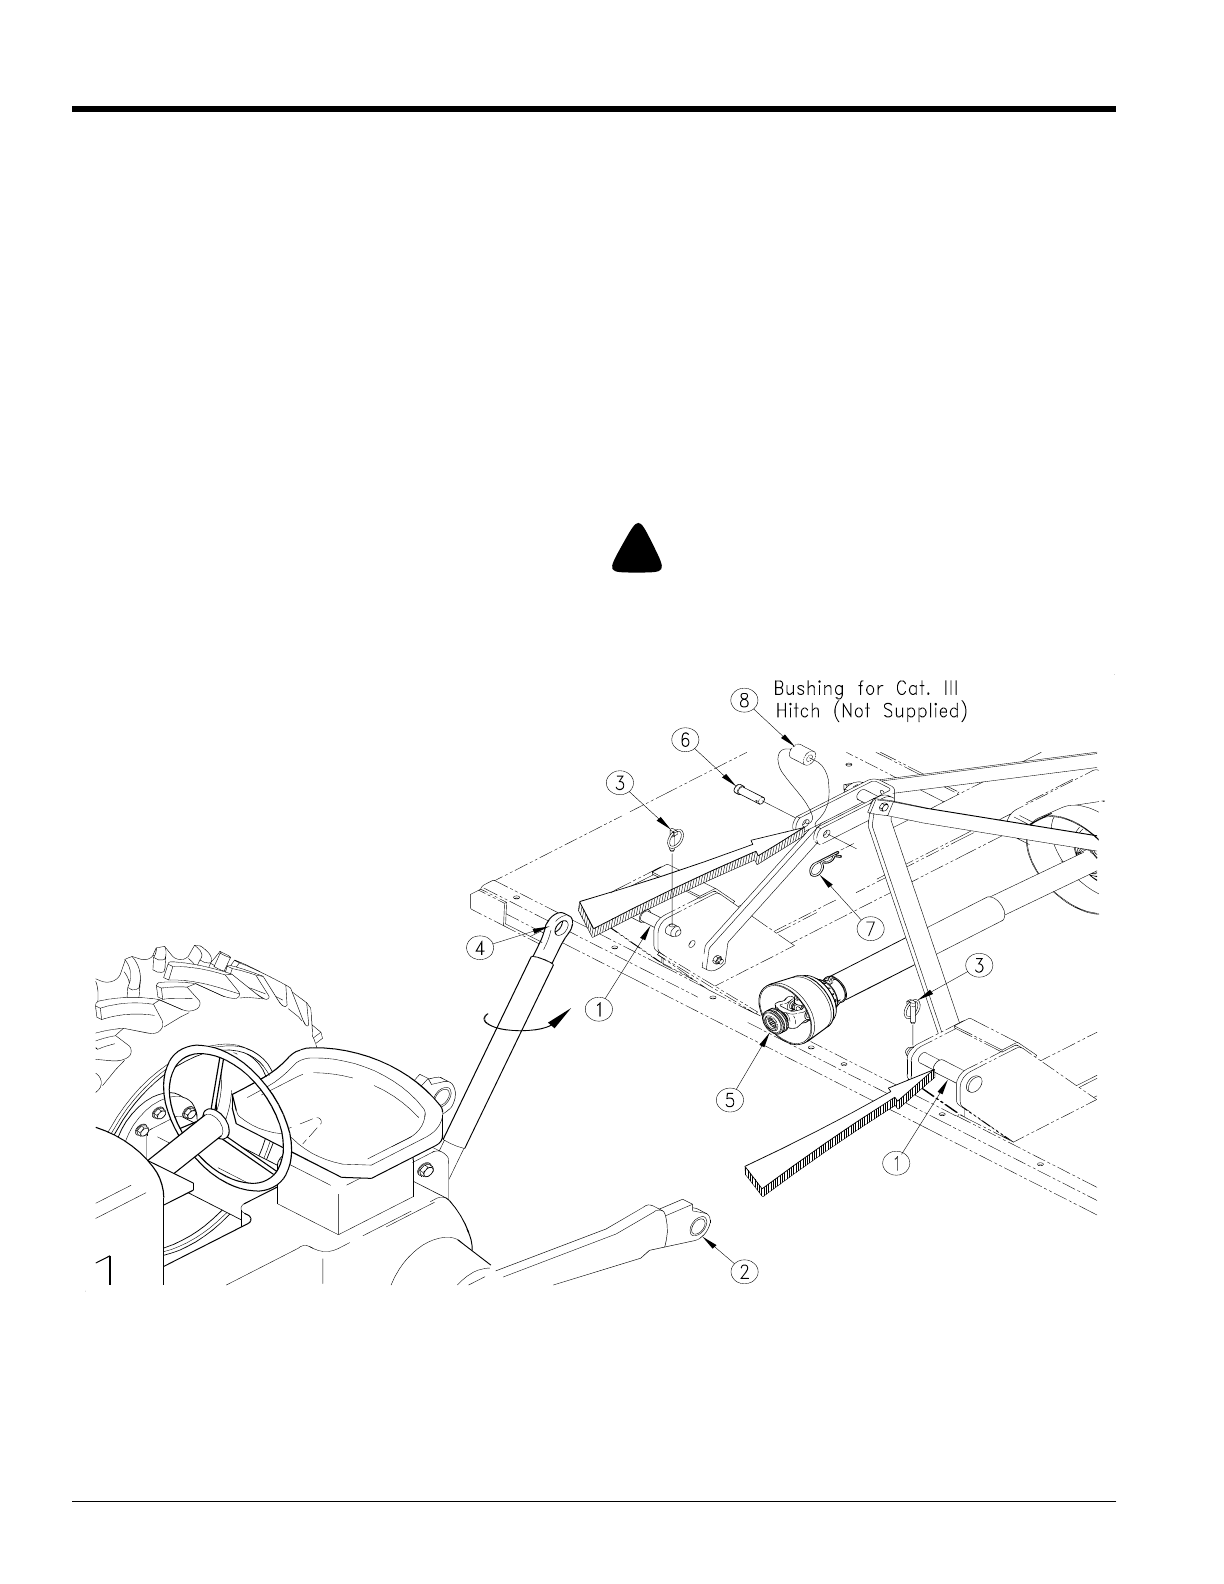
Refer to Figure 1-9:
1. Locate the cutter on a flat level surface.
2. Determine the hitch category of the tractor that will be
used:
a. A Category II tractor will have a lower hitch link
hole diameter of 1 1/8”.
b. A Category III tractor will have a lower hitch link
hole diameter of 1 7/16”.
3. Remove hitch pins (#1) from deck weldment. Position
tractor lower lift arms (#2) and re-insert hitch pins (#1)
and secure with lynch pin (#3).
4. Connect the top link (#4) to the upper pivot hitch using
1” pin supplied for Category II. A 1 1/4” spacer (not
supplied) will be required for Category III.
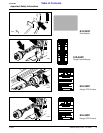
5. Attach slide collar (#5) to tractor PTO. Twist the quick
disconnect on the yoke and push it forward to engage
the groove on the splined output shaft.
6. Start the tractor and slowly engage the tractors hy-
draulic 3-point to lift the cutter. Check for sufficient
drawbar clearance. Move the drawbar ahead, aside or
remove if required. Watch the telescoping movement
of the driveline to ensure that it does not bottom out
while lifting the 3-point. If the driveline does bottom
out, it will require shortening:
a. Pull driveline apart, and install each half to the
designated position.
b. With the implement in the shortest working condi-
tion to the tractor, hold the half shafts next to each
other and mark them.
c. Shorten the inner and outer profiles by the same
length as the guard tubes.
d. Round off all sharp edges and remove burrs.
Grease the sliding profiles before re-assembly.
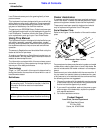
!
DANGER!
Engage parking brake, shut off tractor and remove key before
dismounting from the tractor.
3-Point Tractor Hook-Up
Figure 1-9
14380