Section 7
DIAGNOSTIC TESTS
TEST 27 – CHECK WIRE 18
DISCUSSION:
Wire 18 controls sending the STOP signal to the
Printed Circuit Board. Coach manufacturers some-
times install a 15 to 30 foot remote harness. If unit
shuts down or will not start, a possible ground exists
on Wire 18.
PROCEDURE:
1.
Disconnect the customer installed remote harness
connector from the generator. Then press the gen-
erator Start-Stop switch to the
“START”
position.
If generator starts and continues to run, a short
is present in the coach remote harness. Repair or
replace the remote harness.
2. Remove the J1 connector from the Printed
Circuit Board. Set the VOM to measure resis-
tance. Connect one test lead to Pin Location J1-
2. Connect the other test lead to a clean frame
ground. “Infinity” should be measured.
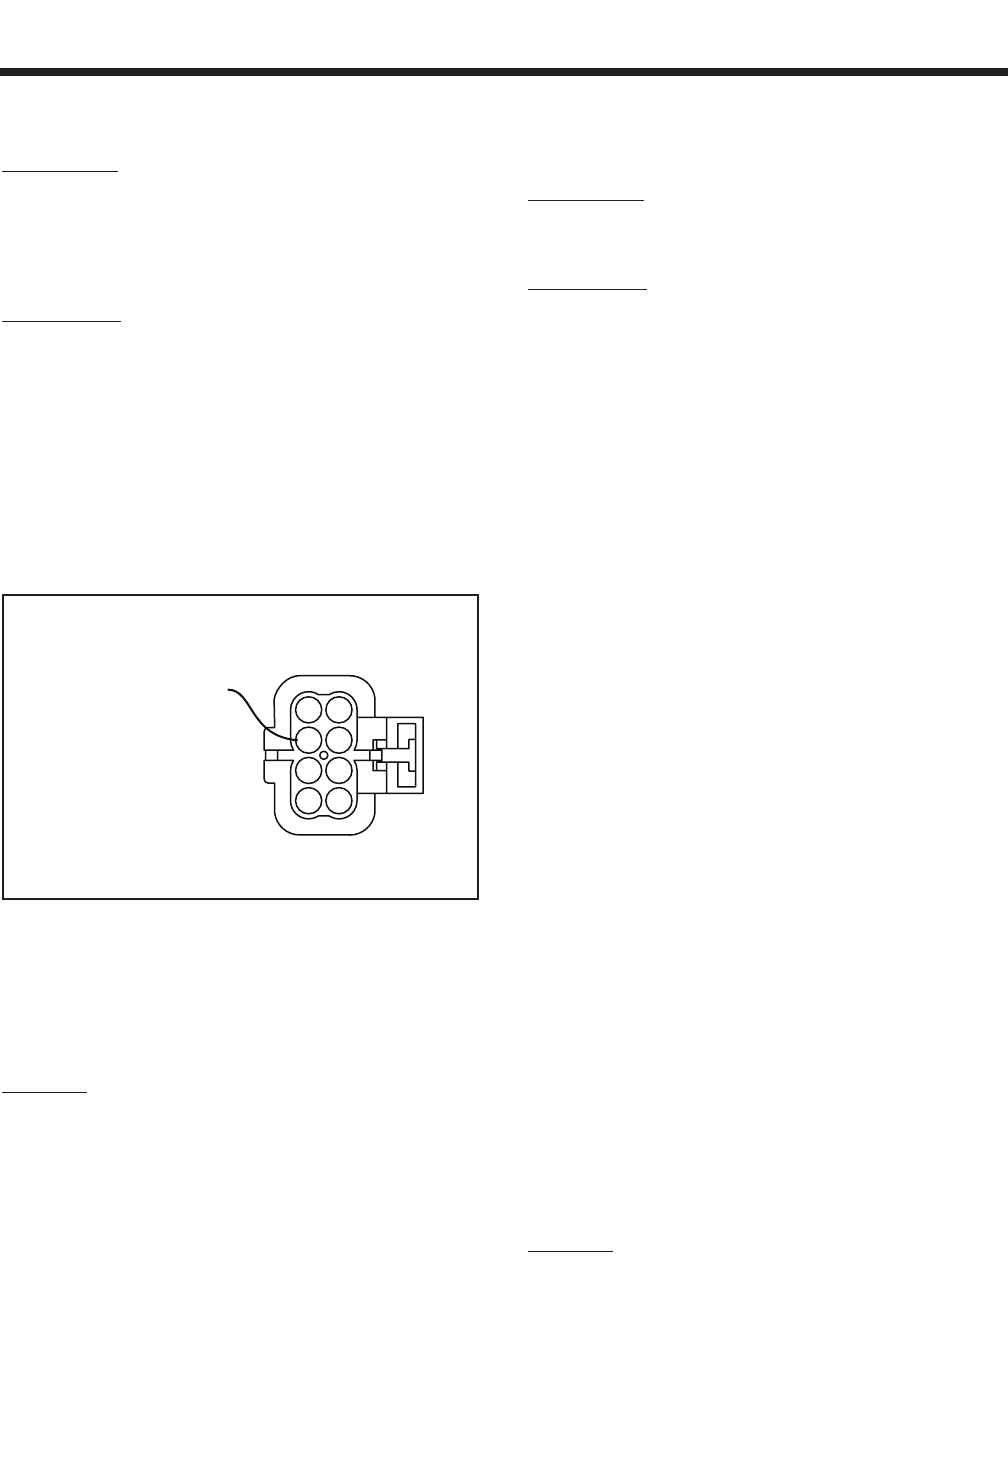
WIRE 18
AT PIN LOCATION B
E
G
F
H
A
B
C
D
Figure 7-31. – Remote Harness Connector
3. Connect one test lead to Pin Location B on the
Remote Harness connector (see Figure 7-31).
Connect the other test lead to a clean frame
ground. “Infinity” should be measured.
RESULTS:
1. If “Continuity” is measured in Step 2, repair or
replace shorted Wire 18 between J1 Connector
and Start-Stop Switch.
2. If
“
Continuity” was measured in Step 3, repair or
replace shorted Wire 18 between J1 Connector
and remote panel connector.
3. If Wire 18 checks GOOD, proceed to Problem 8
(Section 6).
TEST 28 – CHECK FUEL SOLENOID
(GASOLINE MODELS)
DISCUSSION:
If the Fuel Solenoid fails to open, the engine will not
start.
PROCEDURE:
1. Remove Control Panel cover. Remove Wire 56
from the Starter Contactor Relay. This will prevent
the unit from cranking during test (see Figure 7-
19, Page 47).
2. Remove air filter cover. Disconnect Connector 2
which connects to the fuel pump.
3. Activate the Start-Stop Switch (SW1) to the
“START” position and hold. This will activate the
fuel solenoid. The fuel solenoid should energize
and produce an audible click. If the fuel solenoid
does not operate, proceed to Step 4. Reconnect
Connector 2 back to the fuel pump.
4. Set the VOM to measure DC voltage. Disconnect
Wire 14 from the Fuel Solenoid. Connect the posi-
tive (+) meter test lead to Wire 14 that goes to the
control panel. Connect the negative (-) test lead
to a clean frame ground. Activate the Start-Stop
Switch (SW1) to the “START” position and hold.
Battery voltage should be measured.
5. Set the VOM to measure resistance. Disconnect
Wire 0 from the Carburetor at the bullet connec-
tor. Connect one test lead to Wire 0 that goes to
the control panel. Connect the other test lead to a
clean frame ground.
“
Continuity” should be mea-
sured.
6. Connect one test lead to the Green Wire going to
the carburetor. Connect the other test lead to the
carburetor body.
“
Continuity” should be measured.
Short to Ground:
7. Set the VOM to measure resistance. Disconnect
the bullet connector going to the Fuel Solenoid.
Connect one meter test lead to the Red Wire
going to the Fuel Solenoid. Connect the other
meter test lead to the Fuel Solenoid housing.
A reading of 38.0 ohms should be measured.
If very low resistance is measured, a short to
ground exists. (Fuel Solenoid coil resistance is
approximately 38.0 ohms. Current draw of the
Fuel Solenoid at nominal voltage is approximately
331 milliamps or 0.331 amps).
RESULTS:
1. If the Fuel Solenoid passes Steps 4 & 5 but does
NOT operate in Step 3, replace or repair Fuel
Solenoid.
2. If battery voltage is not measured in Step 4, repair
or replace Wire 14 between the 4-tab Connector
and the Fuel Solenoid.
Page 53
