


36 37
36 37
Fig. HH
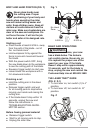
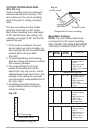
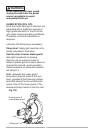
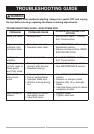
AUXILIARY WOOD FENCE (FIG. II)
When making multiple or repetitive
cuts that result in cut-off pieces of one
inch or less, it is possible for the saw
blade to catch the cut-off piece and
throw it out of the saw or into the blade
guard and housing, possibly causing
damage or injury. To minimize this
possibility, an auxiliary wood fence can
be mounted to your saw.
Holes are provided in the saw fence
to attach an auxiliary wood fence. This
fence should be constructed of straight
auxiliary wood.
Attach the wood fence securely, and
make a full-depth cut to make a blade
slot.
Check for interference between the
wood fence and the lower blade guard.
Adjust if necessary.
NOTE: This auxiliary fence is used
only with the saw blade in the 0° bevel
position (90° to the table). The auxiliary
wood fence must be removed when
bevel cutting.
Fig. II
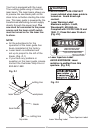
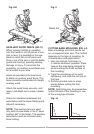
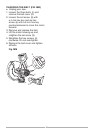
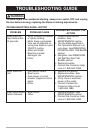
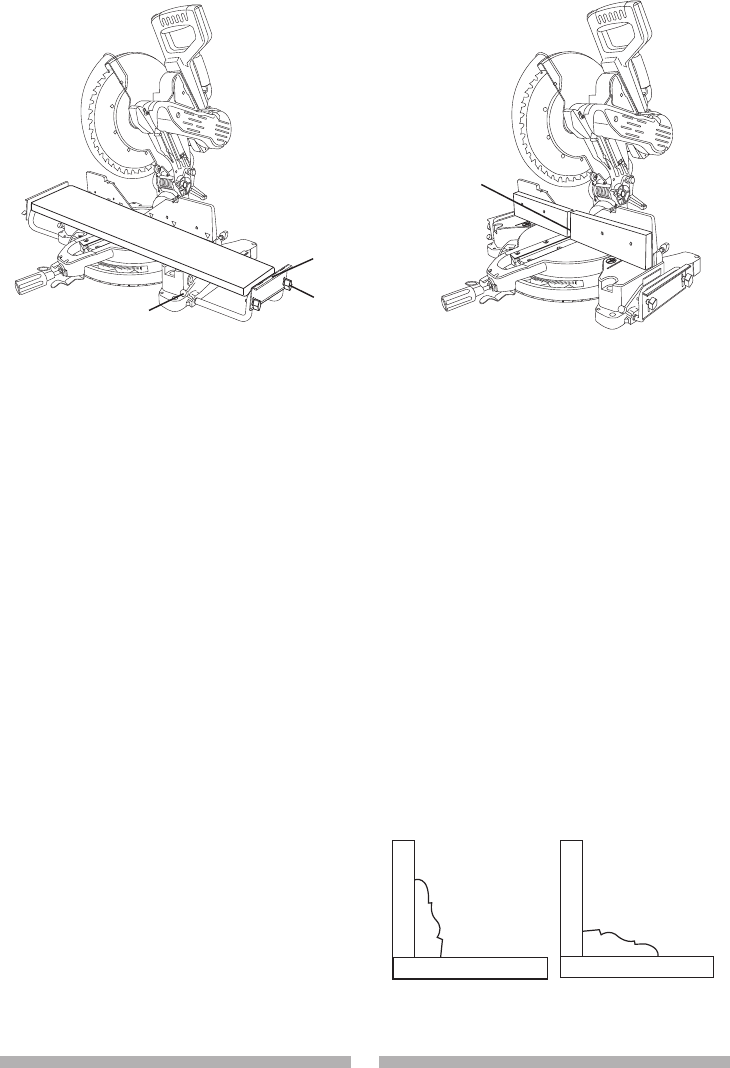
CUTTING BASE MOULDING (FIG. JJ)
Base mouldings and trims can be cut
on a compound miter saw. The method
depends on the type of moulding, its
characteristics and applications.
1. Use vise clamps, hold-down or
C-clamps whenever possible. Place
tape on the area being clamped to
avoid marking the finish surface of
the moulding.
2. Tape the area being cut to avoid
splintering, and mark the cut line on
the tape.
3. Perform practice cuts on scrap
pieces before cutting the final
moulding.
NOTE: Splintering may be caused due
to the thinness of the moulding or use
of the wrong type of blade.
Fig. JJ
1
2
3
Blade slot
F
e
n
c
e
Miter saw table
m
iter at 45°, bevel at 0°
miter at 0°, bevel at 45°
Miter saw table
F
e
n
c
e