62 Local Operation
Setting The Electronic Load’s GPIB Address
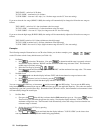
Before you can program the Electronic Load remotely via a GPIB computer, you must know its GPIB address. You can
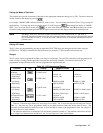
find this out by pressing
. The Electronic Load’s GPIB address will be displayed; for example "ADDRESS 5".
The Electronic Load is shipped from the factory with its address set to 5.
If you want to leave the address set at 5, you can return to the metering mode by pressing the Meter key.
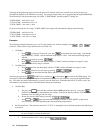
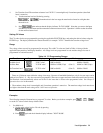
If you want to change the address, you can enter a new value. Any integer from 0 to 30 can be selected. For example, to
change the address to 12 press:
.
This new address will remain set and will not be lost when power is cycled. Note that the Address setting is not affected by
the Save and Recall functions described below.
Displaying Error Codes
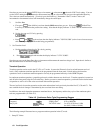
Remote programming errors are indicated when the Err annunciator is on. To display the error code(s), first return to local
control by pressing
.
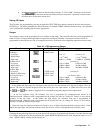
To display an error code, press
(blue shift key) (shifted).
Errors are recorded in a list and are displayed in the order in which they occurred. Each time the shifted Error key is
pressed, an error code is displayed. Once an error is displayed, it is removed from the error list. "ERROR 0" indicates
there are no errors present and will be displayed when all errors in the list have been displayed. The error codes are
negative numbers in the range from - 100 to - 499. Refer to the Agilent Electronic Loads Programming Reference Guide
for a description of the error codes.
Saving and Recalling Settings
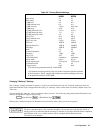
The Electronic Load’s settings (mode, input state, current levels, resistance levels, etc.) can be saved and then recalled for
use in various test setups. The complete list of parameters that can be saved and recalled are the same parameters as listed
in Table 4-6.
The present settings of all parameters can be saved in a specified storage register (0 to 6) using the Save (shifted Recall)
key. At a later time, you can recall the settings from the specified register using the Recall key.
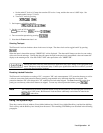
For example, you can store the present settings in register 2 by pressing
(blue shift key) (shifted)
.
You can change the Electronic Load’s settings as required and then return to the settings stored in register 2 by pressing
.
Settings stored in registers 1 through 6 will be lost when the Electronic Load’s power is cycled. When power is turned off
and then on again, each of these registers (1 through 6) will be set to the "wake-up" values. The "wake-up" values are
stored in register 0 and can be set to any values you desire (see Changing Wake-up Settings).
The main advantage in using internal registers 1 through 6 is that it simplifies the repetitive programming of different
settings. The Save key can be used in conjunction with the Input on/off key to store settings while the input is off. The
Recall key can be used at a later time to recall desired settings while the input is turned on.


