


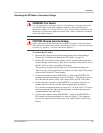

Installation
975-0126-02-01 29
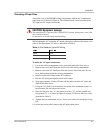
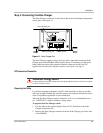
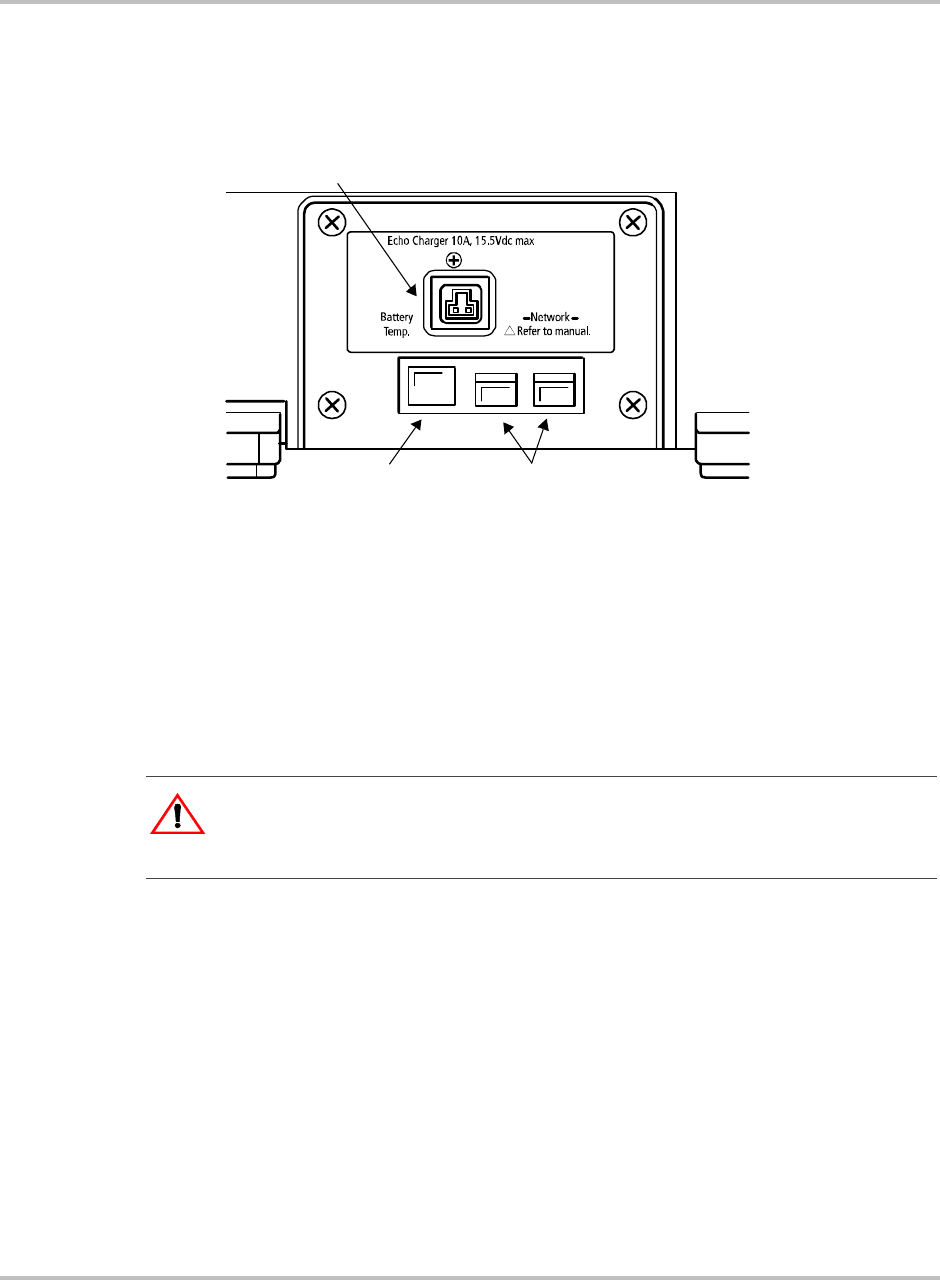
Step 5: Connecting the Echo Charger
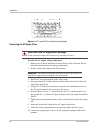
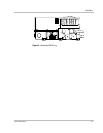
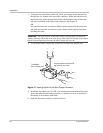
The Echo Charger connection is made above the network and battery temperature
sensor jacks. See Figure 11.
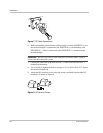
The Echo Charger requires a single positive cable connected between the Echo
Charger port on the MS2000 and the engine battery. That battery and the house
battery bank must have their negative terminals connected to the boat’s DC
negative bus for the Echo Charge to function (see Figure 2 on page 7).
DC Connection Precaution
Preparing the Cable
For the best charging performance, the DC cable should be as short as possible
and large enough to handle the required current, in accordance with the electrical
codes or regulations applicable to your installation.
Although the Echo Charger output is limited to 10 A, it is recommended to use
No. 14 AWG 90 °C cable to minimize voltage drops.
To prepare the Echo Charger cable:
1. Cut the cable to the required length. Strip off 1/4" insulation on the Echo
Charger connection side.
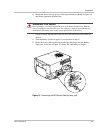
2. Remove the Echo Charger connector from the Echo Charger port on the side
of the MS2000.
Figure 11
Echo Charger Port
!
Echo Charger port
Battery Temp. jack
Network jacks
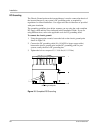
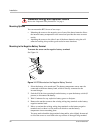
WARNING: Energy hazard
Connect and disconnect DC wiring only after opening the disconnect switches or breakers
at all AC and DC sources.