


www.flexible-flyer.com 32-Rev. A 1-888-350-3015
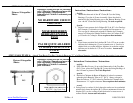
Pictures / Fotografías /
Photo:
H
ar
d
ware
(
ac
t
ua
l
s
i
ze
b
u
t
f
or re
f
erence on
ly)
/
Herra
j
es (Tamaño real pero sólo para referencia) /
Illustrations de quincaillerie à l'échelle 1
seulement pour référence
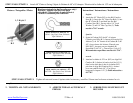
Instructions / Instrucciones / Instructions:
E
n
g
lish:
Sp
anish:
F
rench:
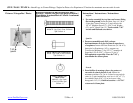
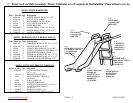
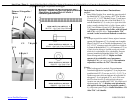
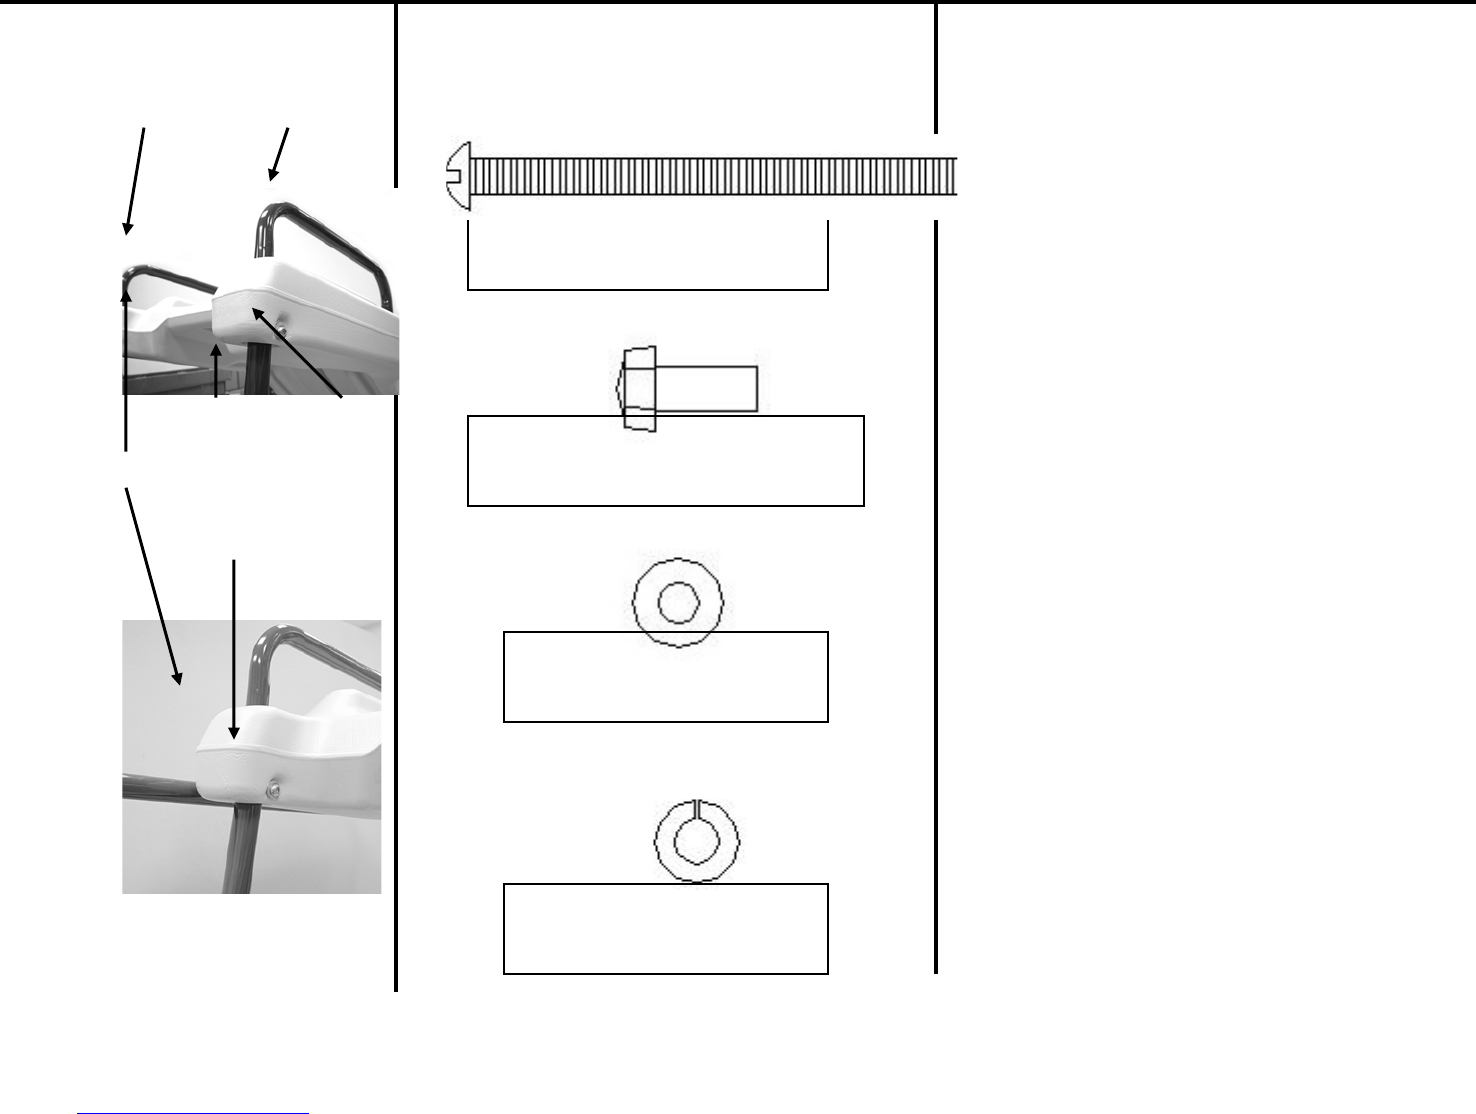
Step / Paso / Étape 3: Attach Slide Hand Rail to Slide Bed / Sujete el Pasamanos de la Resbaladilla a la Cama de la Resbaladilla / Fixation de la
poignée du toboggan à la glissière du toboggan
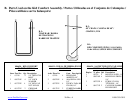
ITEM/ ARTÍCULO/ ARTICLE #7
001272P – Qty Used / Cant. Utilizada /
Qté Utilisée: 2
3. Stand Slide Upright. Now attach the opposite end of
the Hand Rail (C-3) by placing a 9/32” Flat Washer
(2) on a 1/4” x 3-1/2” Machine Screw (7) and insert
through the hole in the side of the Slide Bed (C-1),
and the Hand Rail (C-3) on the front right hand side
(when standing behind slide) of slide. Secure with a
5/16” Lock Washer (8) and a 1/4” Hex Barrel Nut
(3). Repeat on opposite side of slide, with left hand
rail (C-4), with four holes. Tools needed a 7/16”
wrench / socket wrench and flathead screwdriver.
ITEM/ ARTÍCULO/ ARTICLE #3
02434 – Qty Used / Cant. Utilizada / Qté
Utilisée: 2
ITEM/ ARTÍCULO/ ARTICLE #2
001812P – Qty Used / Cant.
Utilizada / Qté Utilisée: 2
ITEM/ ARTÍCULO/ ARTICLE #8
000891P – Qty Used / Cant.
Utilizada / Qté Utilisée: 2
3. Coloque en posición vertical. Ahora, sujete el extremo
opuesto del Pasamanos (C-3) colocando una Arandela
Plana (2) de 9/32” en un Tornillo de Maquinaria (7) de
1/4” x 3-1/2” e inserte a través del orificio en el lado de
la Cama de Resbaladilla (C-1), y el Pasamanos (C-3) en
el lado derecho delantero (cuando usted está parado
detrás de la resbaladilla) de la resbaladilla. Asegure
con una Arandela de Seguridad (8) de 5/16” y una
Tuerca Hexagonal (3) de 1/4”. Repita en el lado
opuesto de la resbaladilla, con el pasamanos
izquierdo (C-4), con cuatro orificios. Herramientas
requeridas: una llave de 7/16” / llave de cubo.
3. Tenir le toboggan à la verticale. Fixer maintenant
l'extrémité opposée de la poignée (C-3) en plaçant une
rondelle-frein 9/32" (2) sur une vis 1/4" x 3-1/2" (7), et
l'insérer au travers des trous latéraux de la glissière du
toboggan (C-1) et la poignée (C-3), sur le côté avant
droit (en étant derrière le toboggan) du toboggan.
Assurez avec une rondelle-frein 5/16” (8) et un écrou à
tête hexagonale 1/4” (3). Répéter cette opération du
côté opposé du toboggan, avec la poignée gauche (C-
4), comportant quatre orifices. Outils nécessaires : Clé
All
e
n
7/
1
6
"
/
c
l
é
à
dou
ill
e.
8 &/y/et 3
C-1
C-3
C-2 7 &/y/et 2
C
-
4