www.flexible-flyer.com 27-Rev. A 1-888-350-3015
1, 2 &/y/et 3
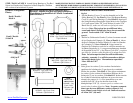
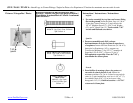
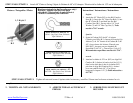
Pictures / Fotografías / Photo:
H
ar
d
ware
(
ac
t
ua
l
s
i
ze
b
u
t
f
or re
f
erence on
ly)
/
Herrajes (Tamaño real pero sólo para
referencia) / Illustrations de quincaillerie à
l'échelle 1 seulement pour référence:
Instructions / Instrucciones / Instructions:
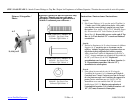
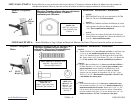
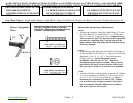
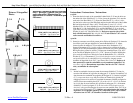
STEP / PASO / ÉTAPE 1: Attach 48” Chain to Swing / Sujete la Cadena de 48” al Columpio / Fixation de la chaîne de 1,22 sur la balançoire
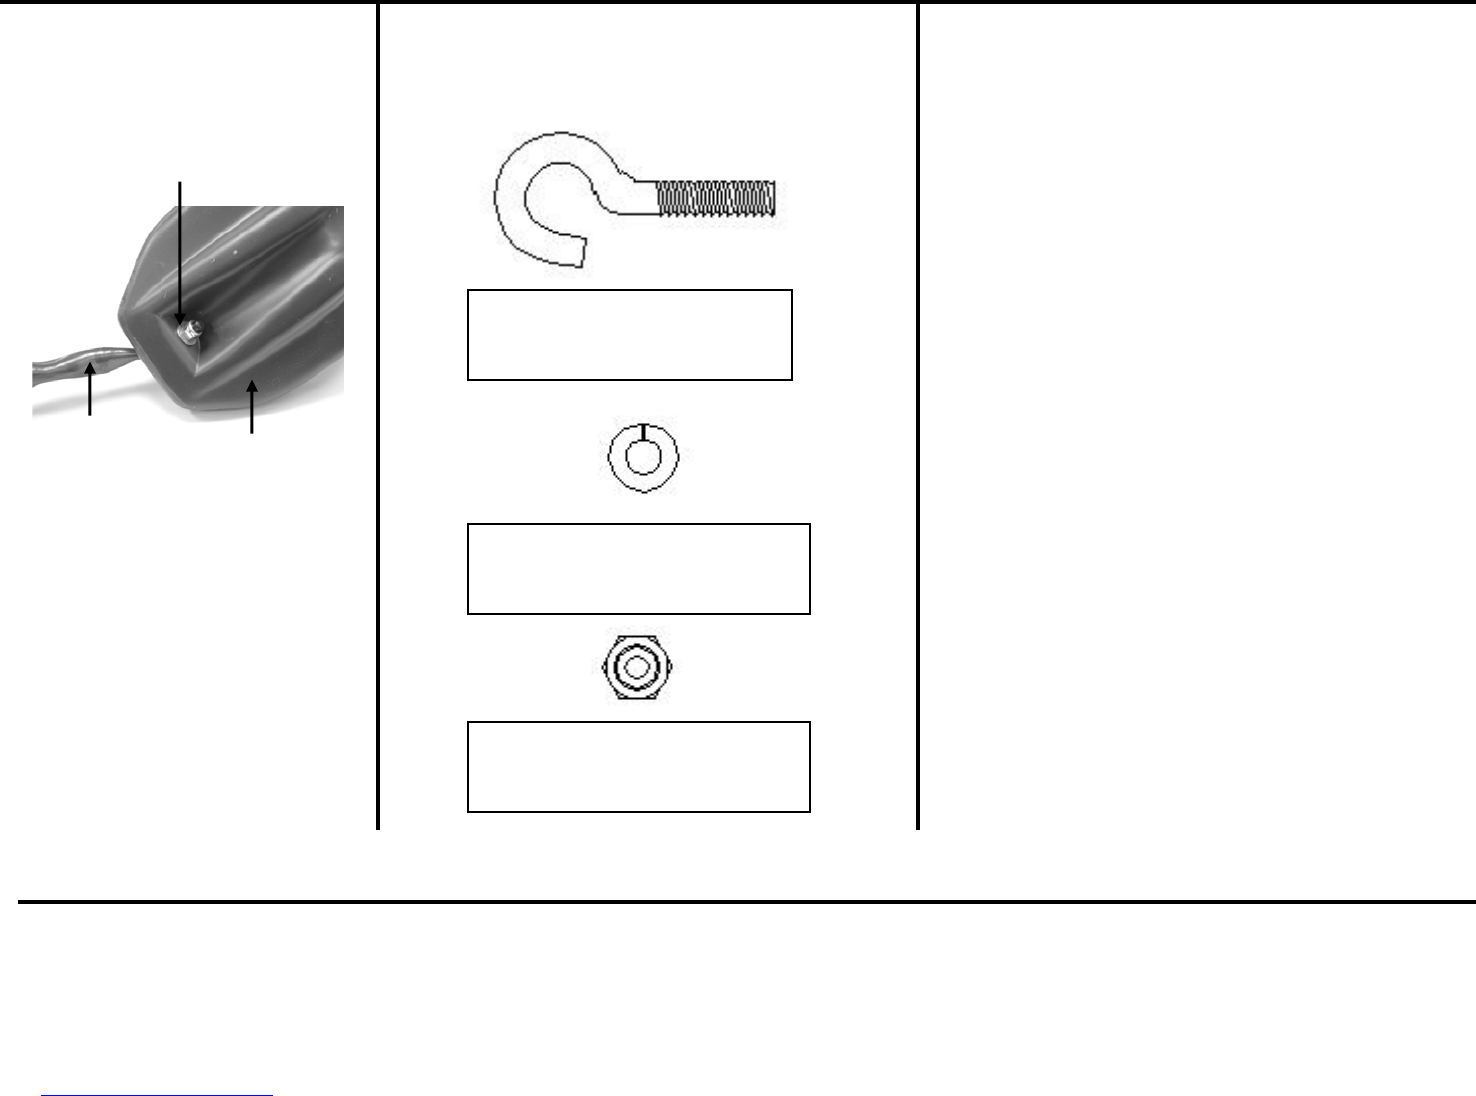
2. Attach the 48” Chain (B-2) to the Kid Comfort
Seat (B-1). Insert the 1/4” Open Eye Bolt (1) into
the 48” Chain (B-2) and then into the Kid
Comfort Seat (B-1). Secure with a 1/4” Lock
Washer (2) and 1/4” Hex Cap Nut (3). Tools
needed a 7/16” wrench.
E
n
g
lish:
Sp
anish:
F
rench:
ITEM/ ARTÍCULO/ ARTICLE # 1
03210 – Qty Used / Cant. Utilizada
/ Qté Utilisée: 4
ITEM/ ARTÍCULO/ ARTICLE # 2
000710P – Qty Used / Cant. Utilizada
/ Qté Utilisée: 4
ITEM/ ARTÍCULO/ ARTICLE # 3
007232P – Qty Used / Cant. Utilizada
/ Qté Utilisée: 4
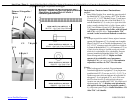
1. Sujete la Cadena (B-2) de 48” al Asiento
Cómodo para Niño (B-1). Inserte el Perno de Ojo
Abierto (1) de 1/4” dentro de la Cadena (B-2) de
48” y luego dentro del Asiento Cómodo para
Niño (B-1). Asegure con una Arandela de
Seguridad (2) de 1/4”, y Tuerca Hex (1) de 1/4”.
Herramientas requeridas: una llave de 7/16”.
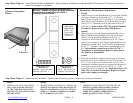
3. Attachez la chaîne de 122 cm (B-2) au siège Kid
Comfort (B-1). Insérez le boulon à œil de 1/4" (1)
dans le trou situé dans le bas de la chaîne (B-2)
puis dans le siège Kid Comfort (B-1). Assurez
avec une rondelle-frein 1/4” (2) et l'écrou
hexagonal à chapeau 1/4” (3). Outils nécessaires :
clé 7/16".
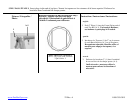
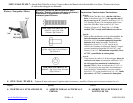
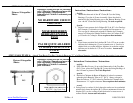
STEP / PASO / ÉTAPE 2: Tighten all nuts and screws/ Apriete todas las tuercas y tornillos / Serrer tous les écrous et toutes les vis
2. TIGHTEN ALL NUTS AND BOLTS 2. APRIETE TODAS LAS TUERCAS Y
PERNOS
2. SERRER TOUS LES ÉCROUS ET
BOULONS
E
n
g
lish:
Sp
anish:
F
rench:
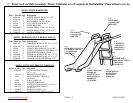
B-2
B-1


