Maintenance
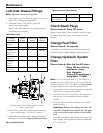
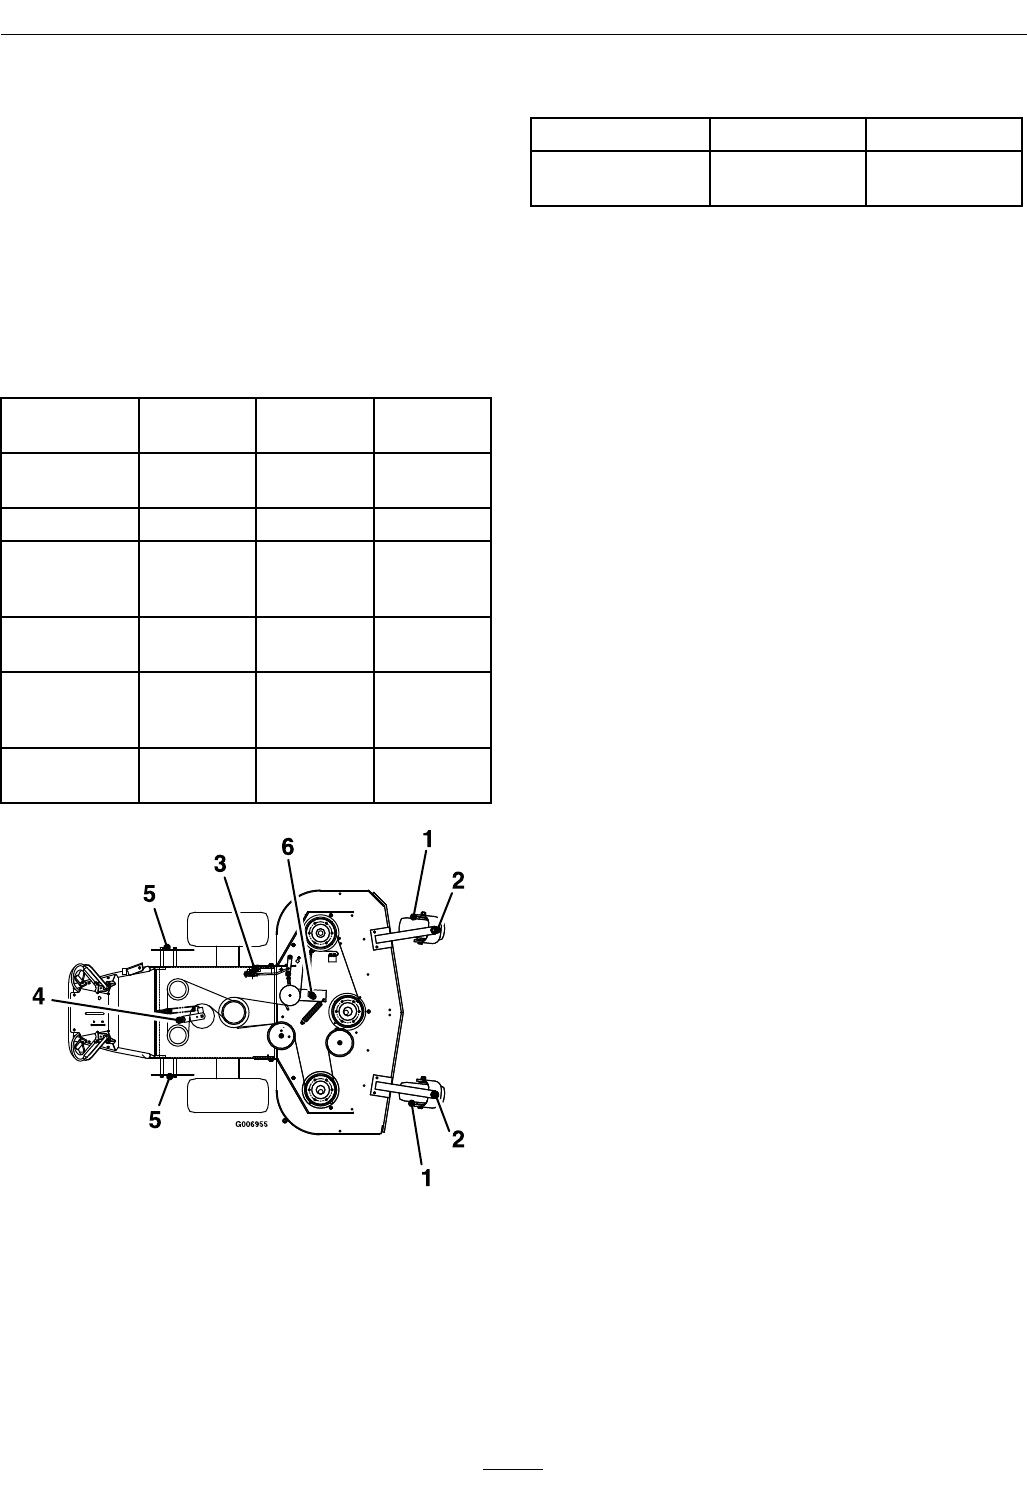
Lubricate Grease Fittings
Note: See chart for service intervals.
1. Stop engine, wait for all moving parts to stop, and
remove key. Engage parking brake.
2. Lubricate ttings with NGLI grade #2
multi-purpose gun grease.
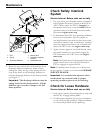
Refer to the following chart for tting locations
and lubrication schedule.
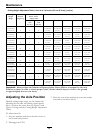
Lubrication Chart
Fitting
Locations
Initial
Pumps
Number of
Places
Service
Interval
1. Caster Wheel
Bearings
12 2
Daily
2. Caster Pivots
2 2
Daily
3. PTO
Engagement
Bellcrank
1 1
Monthly
4. Pump Drive
Idler Pivot
2 1
40 hours
5. Pump
Control
Bearings
2 2
40 hours
6. Mower Deck
Idler Pivots
2 1
40 hours
Number 4 Idler Pivot (Pump Drive) Located
under engine deck
Number 4 and 6 (Idler Pivots) Disassemble and grease
once a month under a “No Load” condition.
3. Lubricate pivot points with a spray penetrating
lubricant as shown in the Spray Lubricant Chart.
Spray Lubricant Chart
Spray Lubricant Chart (cont'd.)
Pivot Point
Number of Places
Service Interval
1. PTO Engagement
Upper Bellcrank
1
40 hours
Check Spark Plugs
Service Interval: Every 160 hours
Remove spark plugs, check condition and reset gaps,
or replace with new plugs. See Engine Owner’s
Manual.
Change Fuel Filter
Service Interval: As required
A fuel lter is installed in the fuel line between the
fuel tank and the engine. Replace when necessary.
Change Hydraulic System
Filter
Service Interval: After the rst 250 hours
Every 500 hours/Yearly
(whichever comes
rst) thereafter
(Every 250 hours/Yearly if
using Mobil 1 15W50)
Note: Use only Exmark Part No. 109–4180 for
Summer use above 32°F (0°C) or P/N 1-523541 for
Winter use below 32°F (0°C) (Refer to Transmission
section in Specications for lter specications).
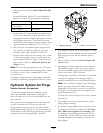
1. Stop engine, wait for all moving parts to stop, and
remove key. Engage parking brake.
2. Carefully clean area around lter. It is important
that no dirt or contamination enter hydraulic
system.
3. Unscrew lter to remove and allow oil to drain
from reservoir.
Important: Before reinstalling new lter, ll
it with Exmark Premium Hydro oil and apply
a thin coat of oil on the surface of the rubber
seal.
Turn lter clockwise until rubber seal contacts the
lter adapter, then tighten the lter an additional
2/3 to 3/4 turn.
24


