


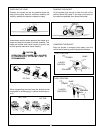


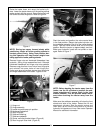
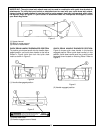
Extend the attachment cylinders to lower loader sub-
frames onto center mounting bracket tubes. Refer to
Figure 2.
(1) Subframe being lowered to center mounting
bracket.
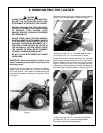
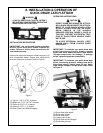
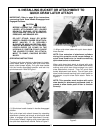
Using snap pins as handles, reinstall rear hinge pins
and hinge assemblies. Remove snap pins from outer
holes of rear hinge pins and reinstall into inner
holes. Secure rear hinge pins to subframe bushings
in loader mounted position. Remove hinge nuts and
hardened flatwashers from eyebolts. Swing hinge
assemblies forward. Secure by locking hinge assem-
blies into position using hardened flatwashers and
hinge nuts. Torque hinge nuts to 200 ft. lb. Refer to
Figures 5 & 6, page 24.
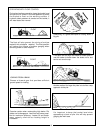
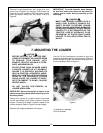
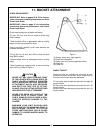
Raise the loader boom and position the bucket 90°
to the ground. Lower the loader boom assembly until
front edge of bucket is resting on the ground. Refer
to Figure 3.
Figure 2
1
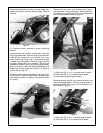
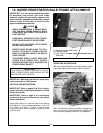
Remove the two clevis pins holding lower legs of
parking stands in the park position. Retract the park-
ing stands and reinstall clevis pins to hold lower legs
in the storage position Refer to Figure 4.
Figure 3
(1) Clevis pin 5/8" x 4-1/2", one each side of loader.
(2) Clevis pin 5/8" x 4", one each side of loader.
(3) Lower parking stand leg extended.
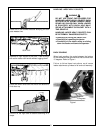
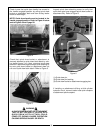
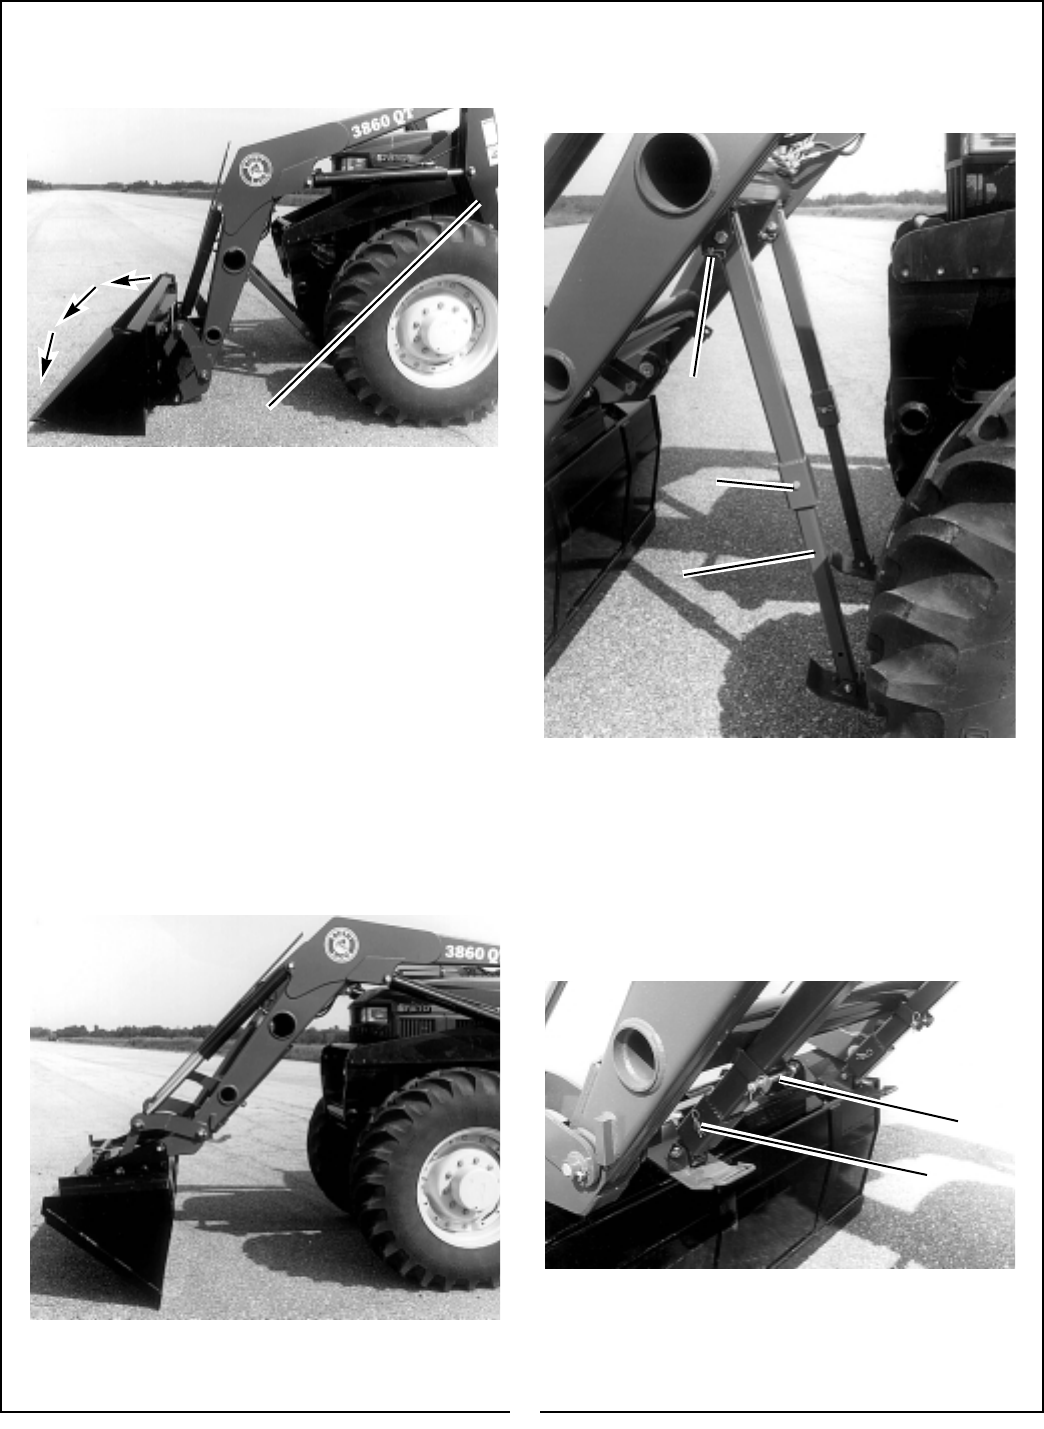
Remove parking stands from parked position and
return to storage position. Secure parking stands in
storage position using clevis pins and hairpin cot-
ters. Refer to Figure 5.
Figure 4
(1) Clevis pin 5/8" x 4-1/2", one each side of loader.
(2) Clevis pin 5/8" x 4", one each side of loader.
Figure 5
1
2
3
2
1
26