


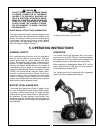

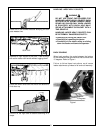

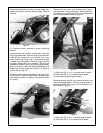
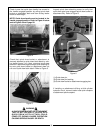
Raise the loader boom and retract the bucket cylin-
ders. Lower the loader boom until the parking stands
make contact with the ground. Dump the bucket until
the bucket touches the ground. Refer to Figure 4.
NOTE: Driving the tractor forward slowly while
positioning loader will allow parking stands to
contact ground firmly. Using float position dur-
ing this operation will keep tractor weight from
being applied to loader parking stands.
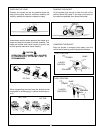
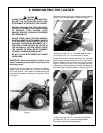
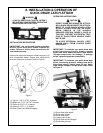
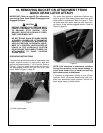
Remove hinge nuts and hardened flatwashers from
eyebolts. Swing hinge assemblies back. Reinstall
hardened flatwashers and hinge nuts onto eyebolts.
Remove snap pins from inner hole of rear hinge pins
and reinstall into outer holes of rear hinge pins.
Using snap pins as handles, remove rear hinge pins
and hinge assemblies from loader. Figures 5 & 6.
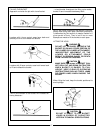
Figure 5
(1) Hinge nut.
(2) Hinge assembly.
(3) Loader mounted snap pin position.
(4) Hardened flatwasher.
(5) Rear hinge pin.
(6) Subframe bushing.
(7) Subframe pedestal.
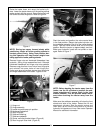
(8) Center mounting bracket tubes. (Figure 6)
(9) Rear hinge pin outer hole. (Figure 6)
1
4
6
5
3
2
3
9
8
7
Figure 6
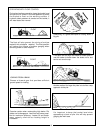
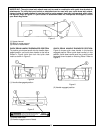
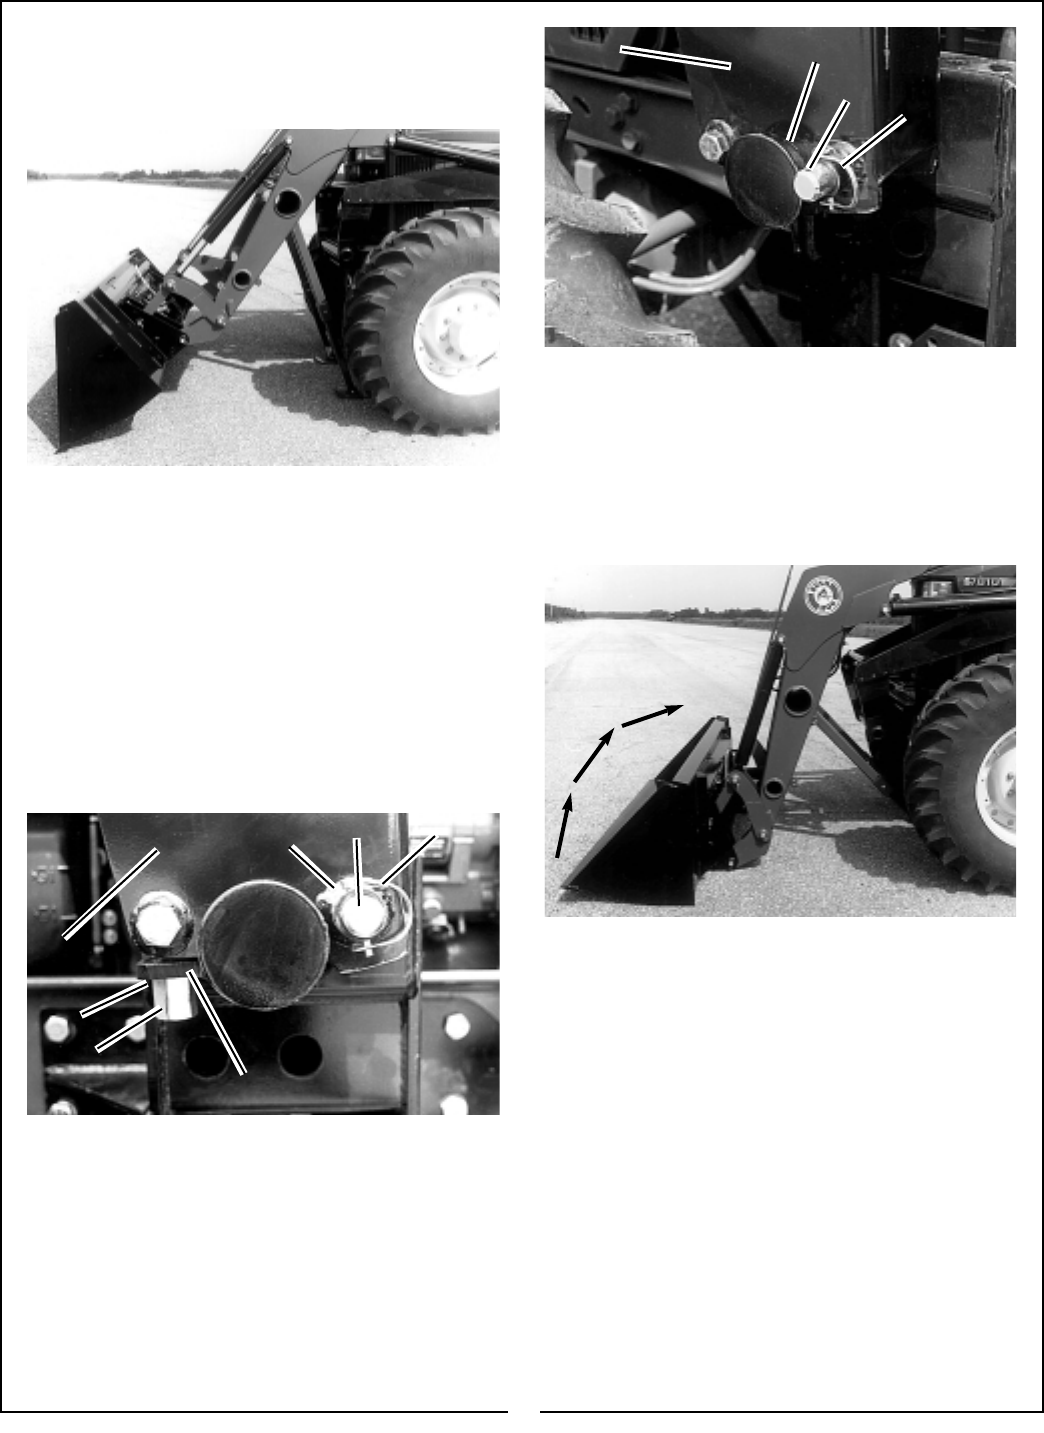
Start the tractor and position the valve control lever
in the float position. Retract the bucket cylinder until
the subframe assembly lifts off of the center bracket
tubes. Take the valve control lever out of the float
position. Back the tractor up approximately one foot.
Make sure hydraulic hoses are not pulled or dam-
aged. Refer to Figure 7.
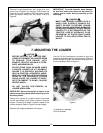
NOTE: Before backing the tractor away from the
loader, use the lift cylinders to position the sub-
frame crosstube so it moves freely in the front
bracket channel. This will prevent loader move-
ment when backing the tractor away from the
loader.
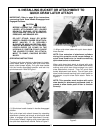
Make sure the subframe assembly will clear the front
wheels and axle of the tractor. Retract the lift and
attachment cylinders. Stop the tractor engine and
then work valve control lever/levers to relieve
hydraulic fluid pressure in lines. See tractor Operator
Manual for additional information.
Figure 4
Figure 7
24
7