


24 Assembly
MAN0458 (9/23/2005)
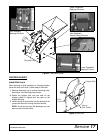
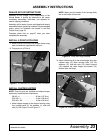
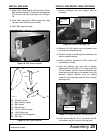
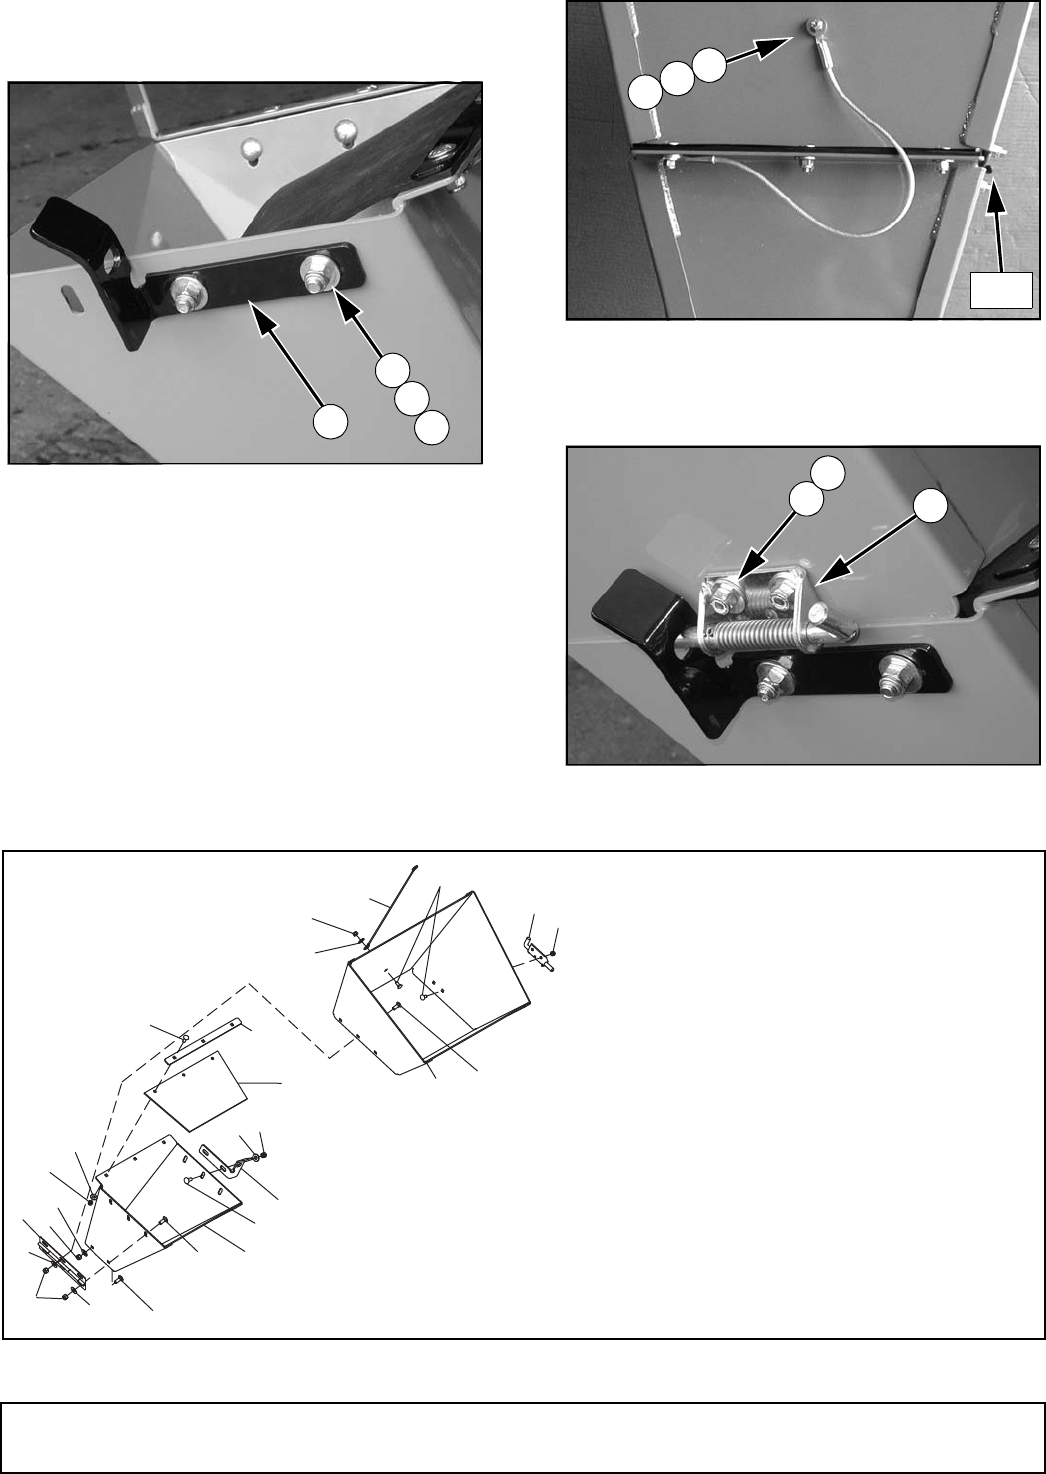
3. Attach locking plate (15) to the opposite side of the
chipper hopper using two carriage bolts (2), flat
washers (1), and stop nuts (3).
Figure 14. Locking Plate Installed
4. Place chute extension (7) on chipper hopper and
attach it to hinge (6) using three carriage bolts (2),
flat washers (1), and stop nuts (3).
5. Attach lanyard (10) to chute extension (7) using
carriage bolt (16), flat washer (13), and lock nut
(14).
Figure 15. Lanyard Installed
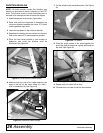
6. Attach latch (11) to chute extension using two
carriage bolts (16) and lock nuts (14).
Figure 16. Hinge Latch Installed
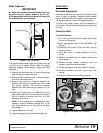
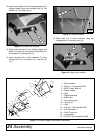
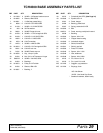
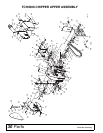
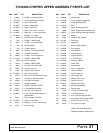
Figure 17. Chipper Hopper and Extension Installation
15
3
2
1
DP6
Hinge
DP7
14
16
13
11
14
16
DP8
1
2
3
5
6
13
14
1
1
3
1
3
15
2
2
8
9
12
13
14
2
16
14
7
10
11
CD6761-1
1. 3/8 Flat washer
2. 3/8 NC x 1 Carriage bolt GR5
3. 3/8 NC Elastic stop nut
5. Chipper hopper
6. Hinge
7. Chipper extension
8. Rubber flap
9. Flap retainer strap
10. Lanyard, 20”
11. Latch
12. 5/16 NC x 1 Carriage bolt GR5
13. 5/16 Flat washer
14. 5/16 NC Lock nut
15. Locking plate
16. 5/16 NC x 3/4 Carriage bolt GR5