


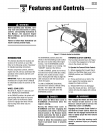
REVERSECLUTCHCONTROL
TheReverseClutch Control (C, Figure
3-1) controls the engagementof reverse
drive to thewheels and tines. The revers-
ingfeature isusedfor maneuveringthe
tiller only- neverengagethetines in
thegroundwhile goingin the reverse
direction.
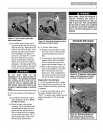
• Use extreme caution when reversing
or pulling the machine towards you.
Lookbehindto avoidobstacles.
• Neverattempttotill in reverse.
Failure to follow this warning could
result in personal injury or property
damage.
ToOperatetheReverseClutchControl:
1. Putthe WheelGearLeverin the
ENGAGEposition (seethe "WARNING"
statementon previous page).
2. Stopall tiller motion by releasingthe
Forward Clutch Control levers.
3. Lift up the handlebarsuntil the tines
clearthe ground, look behindyou to avoid
anyobstacles,and then pull the Reverse
ClutchControl knob out. Thetines and
wheelswill rotate in a reversedirection.
4. Releasethe ReverseClutch Control
knob to disengage(stop) the wheels and
tines. All reversemotion will stop (the
enginewill continue to run).
• Do not attempt to till too deeply too
quickly. Gradually work down to
deepertilling depths.
• Placethe DepthRegulatorLever in the
"travel" position before starting the
engine. This position prevents the
tines from touching the ground until
youare readyto begintilling.
Failure to follow this warning could
result in personal injury or property
damage.
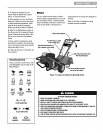
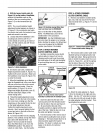
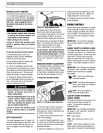
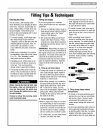
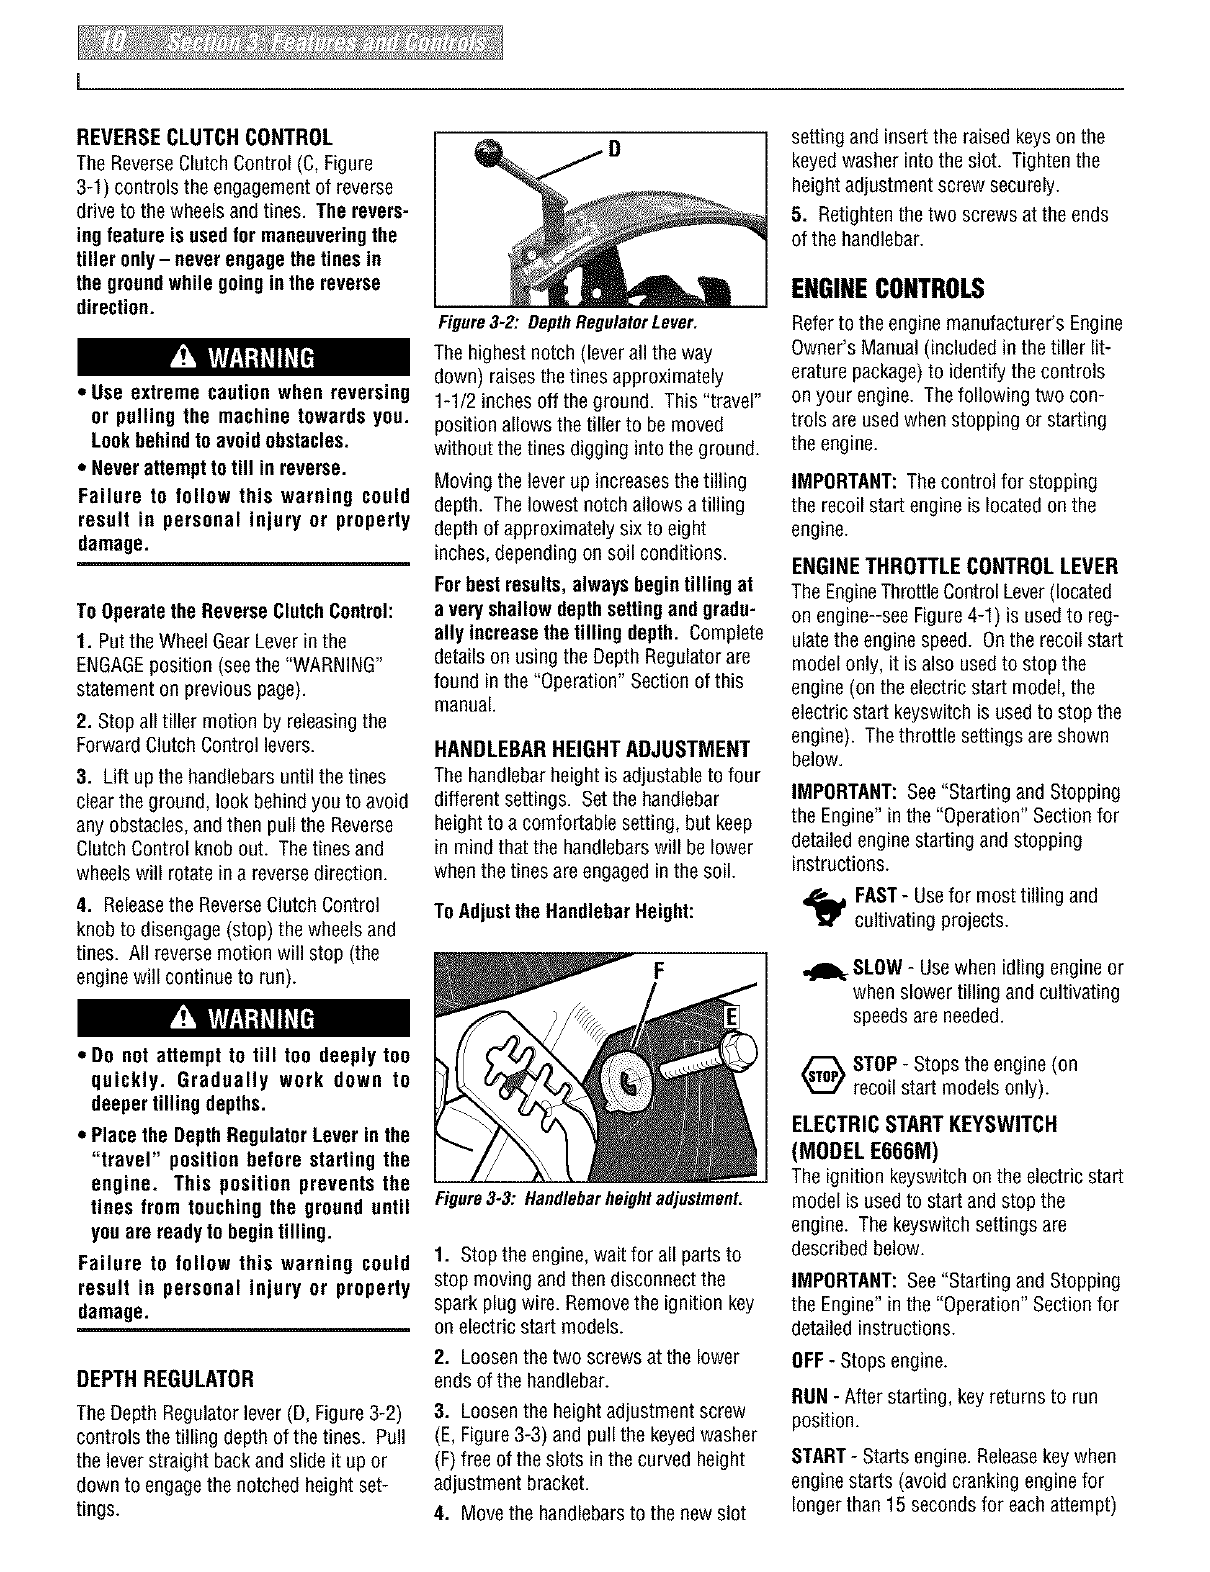
DEPTHREGULATOR
TheDepth Regulator lever(D, Figure3-2)
controls the tilling depth ofthetines. Pull
the leverstraight backand slide it up or
down to engagethe notched height set-
tings.
Figure3-2: DepthRegulatorLever,
The highest notch (leverall the way
down) raises thetines approximately
1-1/2 inches off the ground. This "travel"
position allows the tiller to be moved
without the tines digging into the ground.
Moving the lever up increasesthe tilling
depth. Thelowest notch allows a tilling
depthof approximately six to eight
inches,depending on soil conditions.
Forbestresults, alwaysbegintilling at
a veryshallowdepthsettingand gradu-
ally increasethetilling depth. Complete
details on using the Depth Regulatorare
found in the "Operation" Section of this
manual.
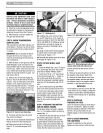
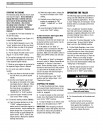
HANDLEBAR HEIGHT ADJUSTMENT
The handlebarheight is adjustableto four
different settings. Set the handlebar
heightto a comfortable setting, but keep
in mind that the handlebarswill be lower
when the tines are engagedin the soil.
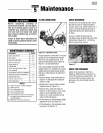
To Adjustthe HandlebarHeight:
F
Figure3-3: Handlebarheightadjustment.
1. Stopthe engine,wait for all parts to
stop moving and then disconnect the
spark plug wire. Removethe ignition key
on electric start models.
2. Loosenthe two screws at the lower
endsof the handlebar.
3. Loosenthe height adjustment screw
(E,Figure3-3) and pull the keyedwasher
(F)free of theslots in the curved height
adjustment bracket.
4. Move the handlebarsto the newslot
setting and insert the raisedkeyson the
keyedwasher into theslot. Tighten the
heightadjustment screw securely.
5. Retightenthe two screws at the ends
of the handlebar.
ENGINECONTROLS
Referto the engine manufacturer's Engine
Owner's Manual(included inthe tiller lit-
erature package)to identify the controls
on your engine. Thefollowing two con-
trols are usedwhen stopping or starting
the engine.
IMPORTANT:Thecontrol for stopping
the recoil start engine is located on the
engine.
ENGINETHROTTLE CONTROLLEVER
TheEngineThrottleControlLever(located
on engine--seeFigure4-1) is usedto reg-
ulatethe engine speed. Onthe recoil start
modelonly, it isalso usedto stopthe
engine (on the electric start model,the
electric start keyswitch is usedto stop the
engine). Thethrottle settingsare shown
below.
IMPORTANT:See"Starting and Stopping
the Engine" in the "Operation" Sectionfor
detailedengine starting and stopping
instructions.
,_ FAST- Usefor most tilling and
cultivating projects.
,_b_ SLOW- Usewhen idling engine or
when slower tilling and cultivating
speedsare needed.
_STOP - Stops theengine (on
recoil start models only).
ELECTRICSTART KEYSWITCH
(MODEL E666M)
Theignition keyswitch on the electricstart
model is usedto start and stop the
engine. Thekeyswitch settings are
described below.
IMPORTANT:See"Starting and Stopping
the Engine" in the "Operation" Sectionfor
detailed instructions.
OFF -Stops engine.
RUN- After starting, key returns to run
position.
START- Startsengine. Releasekeywhen
engine starts (avoidcranking enginefor
longer than 15 secondsfor eachattempt)