


Repair
[4] DISASSEMBLY/ASSEMBLY
[4]-2. Engine and Shaft
DISASSEMBLING
ASSEMBLING
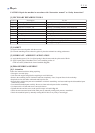
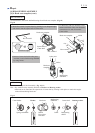
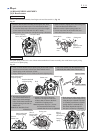
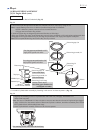
(1) Disconnect lead wire and grounding wire by removing each connector after Air cleaner cover is removed. (Fig. 1)
(2) Remove Control cable from Insulator by loosening nuts of the adjust screw and disconnecting inner cable
from Swivel of Carburetor. (Fig. 2)
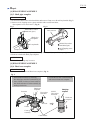
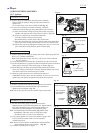
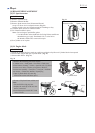
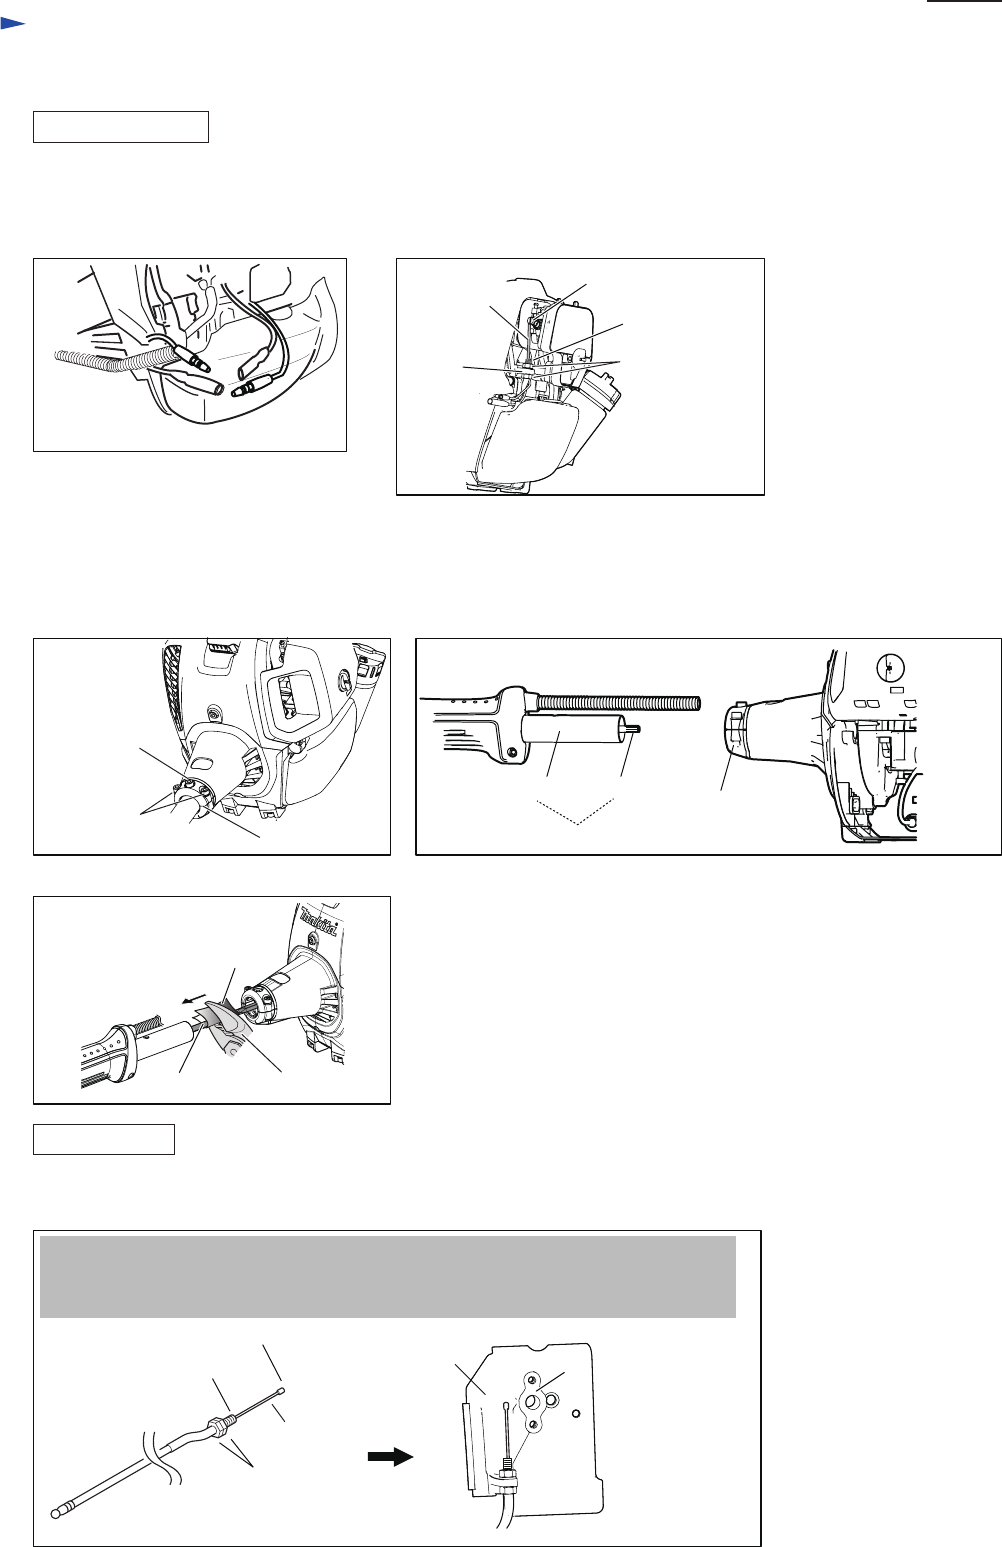
Take the reverse step of disassembly. Set Control cable in place. (Fig. 2, Fig. 6)
Fig. 1
Inner cable
of Control
cable
Swivel
Swivel
Adjust screw of
Control cable
Cable
holder of
Insulator
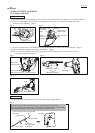
Shaft pipe
Shaft pipe complete
Shaft
Pipe holder
Nuts of Control
cable
M5x18 Hex.
socket head bolt (2pcs.)
M5x13 Hex.
socket head bolt
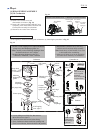
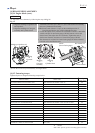
Fig. 3 Fig. 4
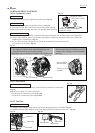
Fig. 5
Fig. 2
Connector (4pcs.)
Pipe holder
P 3/ 14
Shaft
cloth
Water pump pliers
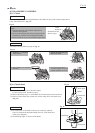
(3) Loosen two M5x18 Hex socket head bolts on Pipe holder and remove M5x12 Hex socket head bolt. (Fig. 3)
(4) Pull out Shaft pipe complete from Engine (Pipe holder). (Fig. 4)
Note: Cover cloth on a shaft and pull out it by grasping it with Waterpump pliers in case the shaft is stuck
at the spline engagement. (Fig. 5).
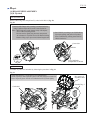
Fig. 6
Inner cable
Control cable
Adjust screw
Insulator
Tip end of Inner cable to be hooked
on Swivel
Nuts to fix
in Cable holder
of Insulator
Hook the tip end of Inner cable in the groove of Swivel on Carburetor and
fix Control cable in the Cable holder of Insulator by tightening Nuts of Control cable.
Note: Adjust the tension of the cable to allow the play 1mm to 2mm.