


English Operating Manual – Snowthrower
19
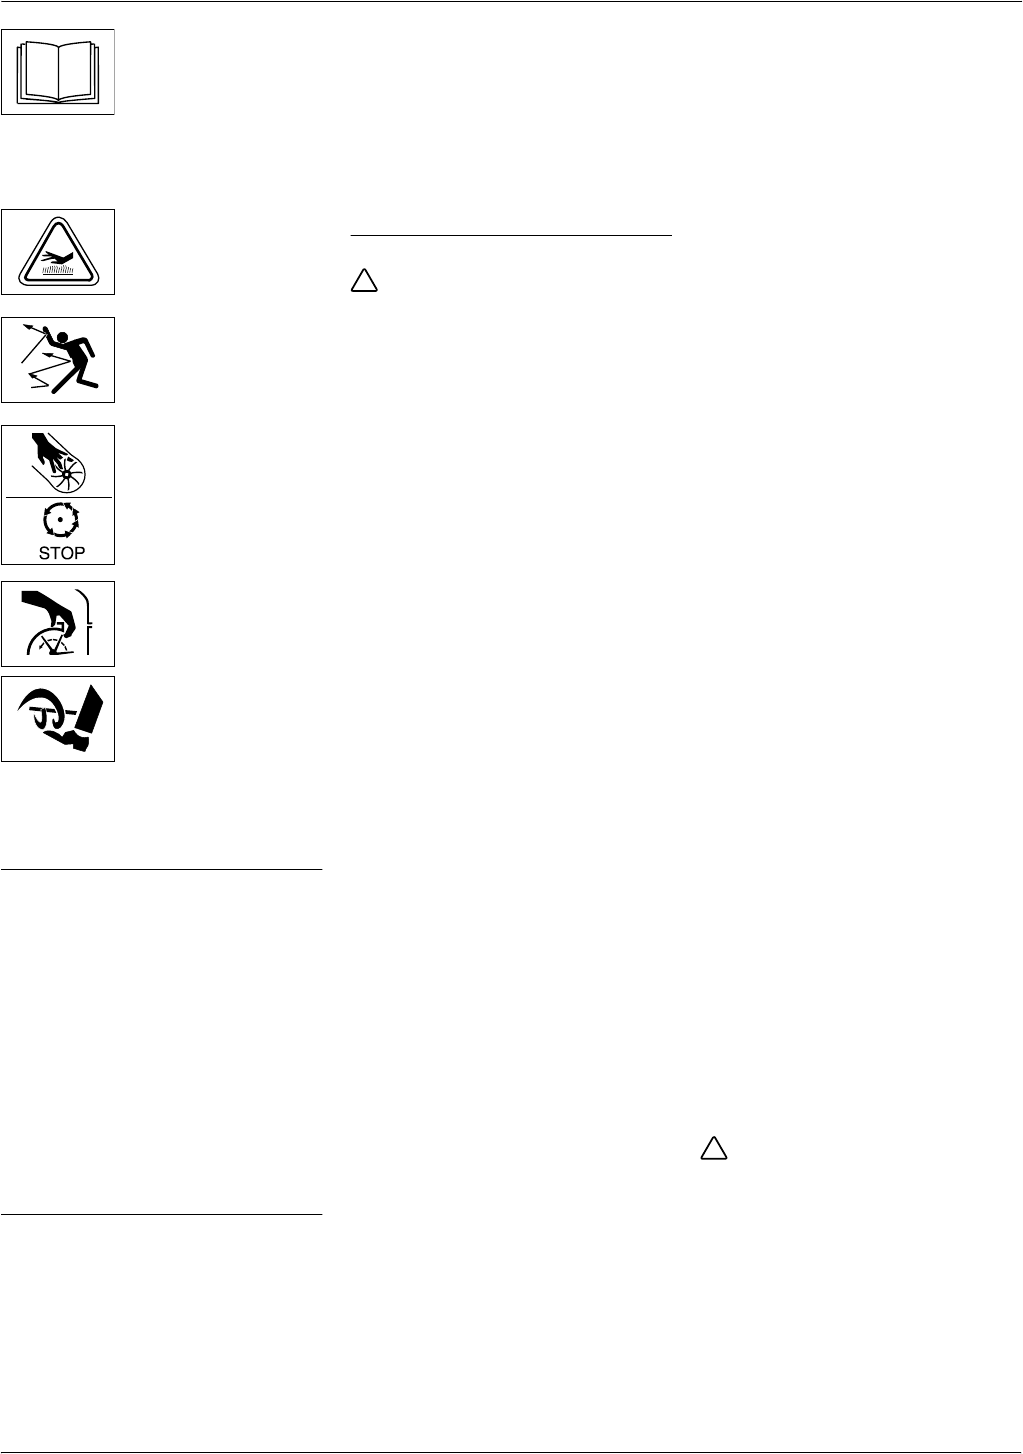
Read these operating
instructions through
carefully before
operating the machine
and in particular the
chapter entitled “For
your safety”.
Risk of being burnt.
Keep at a safe
distance from hot
parts of the machine.
Risk of injury from
thrown-out snow or
solid objects.
Only touch parts of
the machine when
they have come to a
complete halt.
Risk of injury from
rotating parts. Keep
hands and feet away
from rotating parts.
Unpacking and
assembly
Check the contents as you unpack
the machine.
Assemble the machine as illustrated
at the end of these operating
instructions.
Before using the
machine for the first
time
(STH 5.56, STH 8.66,
STH 10.66 C)
• It is essential to check the oil level.
Refill or top up with engine oil (see
“Engine instructions”) as required.
• For transportation reasons, the
tyres may show a higher tyre
pressure. Check tyre pressure and
adjust accordingly (approx. 1 bar).
• Adjust coupling for worm drive and
drive system (see “Maintenance”).
• (STH 10.66 C ,
STH 10.66 C)
Adjust drive lever (see
“Maintenance”).
Operating the machine
Risk of injury
Before making any adjustments
– Turn off the engine.
– Remove the ignition key and the
spark-plug connector.
– Wait until the engine has cooled
down.
Adjust the machine to
conform to the ground
and snow conditions
Adjust working position
(STH 10.66 C)
Figure 4
• Use setting lever (1) to select a
position to match the conditions:
– Position I: For heavy snow
which has iced over. Worm is
pressed onto the ground
– Position II: For normal snow
conditions.
– Position III: For clearing uneven
paths or for transporting the
machine. Worm is at a greater
distance from the ground.
Setting a drive wheel to freewheel
(STH 8.66)
Figure 8
For small to moderate amounts of
snow and terrain which includes
many curves, the connection
between right wheel and drive can
be disconnected. The machine will
then be easier to steer.
• Move the ring spring (1) to the
outer hole (3).
For larger amounts of snow and
iced-over paths, both wheels must
be driven:
• Line up hole (2) of the wheel hub
and the hole of the wheel axle.
• Insert ring spring (1) in both holes
(2). The wheel may not be fixed
through the hole (3).
Adjust clearing plate
(STH 953)
Figure 11
When the machine is standing on
even ground, the worm (1), clearing
plate (2) and wheels (3) must all be
touching the ground at the same
time. If the clearing plate is set too
high, snow will be hurled backwards.
If it is set too low it will be worn down
faster.
To set the clearing plate:
• Tip the machine backwards.
• Loosen nuts (5).
• Set clearing plate higher or lower
as appropriate and tighten nuts
again.
• Tip the machine forwards again,
check the setting and repeat as
necessary.
Adjust the skids
(STH 5.56, STH 8.66, STH 10.66 C)
Figure 7
With the skids (1), the distance
between the ground and the clearing
plate (5) can be set in such a way
that no parts of the ground (e.g.
earth or stones) can be taken up.
• (STH 10.66 C) Set setting lever
(Figure 4, item 1) to position II.
• Loosen nuts (2) on both sides of
the machine.
• Adjust skids to conform to the
ground conditions:
– lower for uneven or non-hard-
surfaced paths
– higher for even paths.
• Fasten the skids with nuts (2) in
such a way that they uniformly
touch the ground.
Fill up with fuel and check
the oil level
Danger of explosion and risk
of being burnt
Fill up with fuel only in the open air
and when the engine has been
switched off and is cold. Do not
smoke whilst filling up.
Never fill up with fuel to the top. If fuel
overflows, let the overflowed fuel
evaporate completely before you
start the engine.
!
!