


44
6
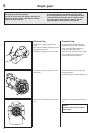
Cleaning, inspection
After dismantling, clean the individual components:
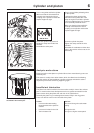
1. Scrape carbon deposits from the top of the piston.
2. Scrape carbon deposits from the cylinder’s combustion chamber.
3. Scrape carbon deposits from the cylinder’s exhaust port.
4. Wash all the components.
5. Inspect the different components for damage and wear.
Check the piston and cylinder for seizure damage and wear.
Also see the “Analysis and actions” section.
Check the piston ring for wear and damage.
Also see the “Analysis and actions” section.
Check the gudgeon pin.
– If it has blued, it must be replaced.
– If the piston moves too easily both the piston and the gudgeon pin must be replaced.
Check the needle bearing. If it is discoloured or damaged, it must be replaced.
Check the circlips. If they exhibit cracks or are discoloured (caused by overheating),
they must be replaced.
NOTE!
Scrape carefully with not too sharp a tool so as not to damage the soft
aluminium parts.
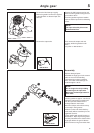
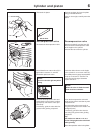
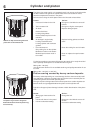
Cylinder and piston
Assembly
Lubricate the gudgeon pin’s needle
bearing with a few drops of engine oil
and fit the piston.
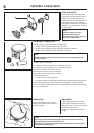
Assembly
Lubricate the gudgeon pin’s needle
bearing with a few drops of engine oil.
Direct the arrow on the top of the piston
towards the exhaust port.
Press in the gudgeon pin and fit the
circlips.
NOTE!
Place a rag in the crankcase opening to prevent the circlip from falling
into the crankcase in case it should fly out.
Check that the circlips are correctly fitted into the grooves by turning the
clips with long-nosed pliers.
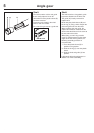
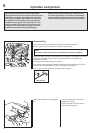
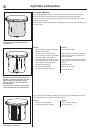
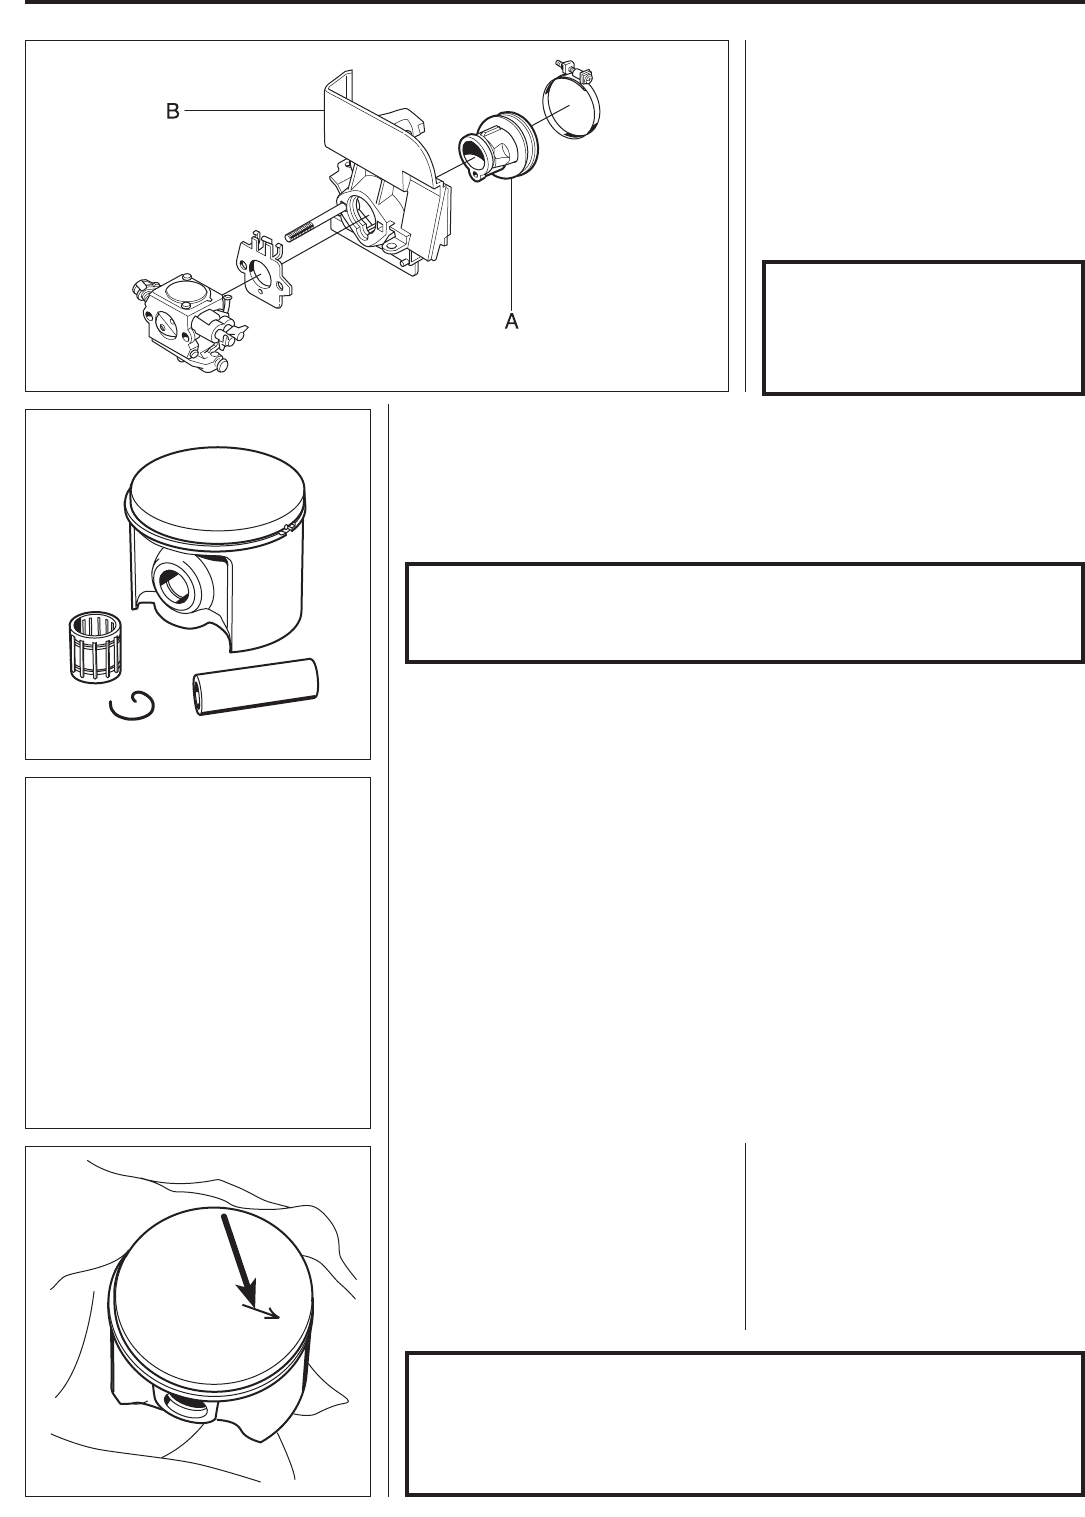
Inlet manifold
Remove the air filter and carburettor.
Remove the inlet manifold (A) from the
partition (B). Check that it does not
exhibit cracks or other damage that can
cause leaks between the carburettor
and cylinder. If necessary, fit a new inlet
manifold in the reverse order as set out
for dismantling.
NOTE!
Exercise caution if the inlet
manifold is fitted using a
screwdriver so as not to make any
holes in the rubber wall.