


34
4
502 52 16-02
502 11 46-03
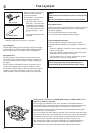
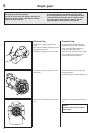
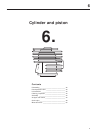
Centrifugal clutch
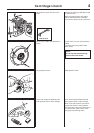
Assembly
Temporarily place the clutch shoes on
the driving disc and loosely tighten the
bolts.
Pry out the shoes and hook one spring
to each shoe from underneath.
Assembly
Temporarily place the clutch shoes on
the driving disc and loosely tighten the
bolts.
Pry out the shoes and hook one spring
to each shoe from underneath.
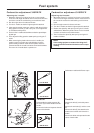
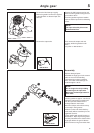
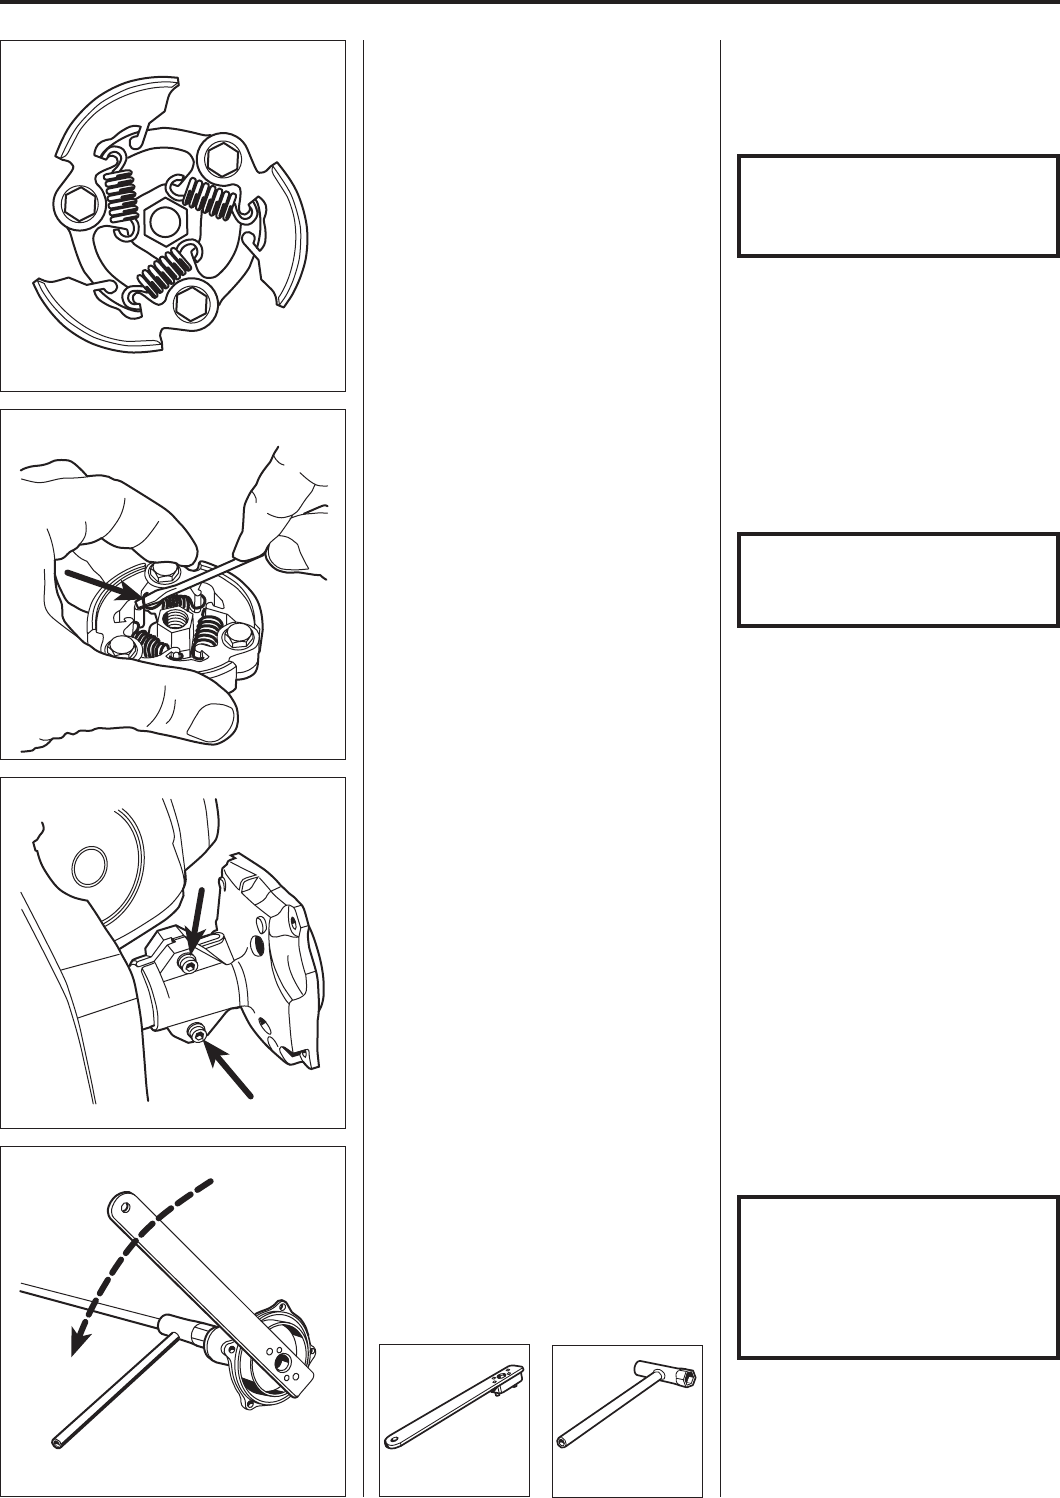
NOTE!
The bevelled edge of the shoes
should be facing outwards
towards the cover plate.
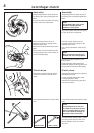
Fold in the clutch shoes as far as
possible and hook the springs to the
adjacent clutch shoe.
Use a small screwdriver or flat-nosed
pliers.
Get in the clutch shoes as far as
possible and hook the springs to the
adjacent clutch shoe.
Remove the bolts and mount the cover
plate.
Fit the clutch to the crankshaft and the
remaining parts in the reverse order as
set out for dismantling.
Clutch drum
Dismantle the clutch housing and the
clutch drum and drive axle from the
shaft.
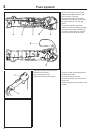
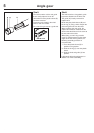
Clutch drum
Separate the engine body and shaft as
described previously.
Loosen the bolts holding the clutch
housing against the shaft.
Remove the clutch housing and drive
axle from the shaft.
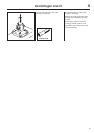
Unscrew the clutch drum from the drive
axle.
Unscrew the clutch drum from the drive
axle.
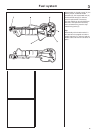
NOTE!
Avoid fixing the drive axle in a
vice. Marks can form on the axle
even if protective jaws are used.
This in turn leads to damage on
the plastic insert in the shaft.
Use tools 502 52 16-02 and 502 11 46-03.
Check the clutch drum for wear. The
internal diameter must not exceed
70.0 mm.
NOTE!
Make sure that the spring eye is
pressed into the correct position.
Remove the bolts and put the cover
plate in place.
Tighten the bolts, fit the clutch to the
crankshaft and the remaining parts in the
reverse order as set out for dismantling.