


English - 31
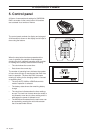
3. INSTALLATION
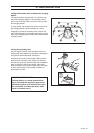
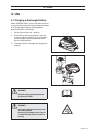
3.8 First start-up and calibration
Before the mower is operated, a start-up sequence in
the mower’s menu must be carried out as well as an
automatic calibration of the guide signal. The
calibration is also a good test to see that the
installation of the guide wire has been done in such a
way that the mower can easily follow the guide wire
from the charging station.
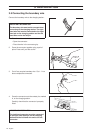
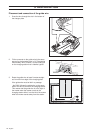
1. Set the main switch to position 1.
2. Open the control panel cover by pressing the
STOP button.
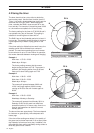
A start-up sequence begins when the R40Li is
started for the first time. The following is
requested:
• Language
• Time format
• Current time
• Date format
• Date
• Four digit PIN code. All combinations except
0000 are permitted.
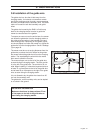
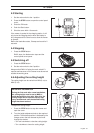
3. Place the mower in the charging station as
requested in the display. The mower will now start
the guide calibration, by leaving the charging
station and following the guide wire to the point
where the guide wire is connected to the boundary
wire to begin mowing there. Check that the
mower can follow the guide wire all the way. If it
cannot, this may be due to an incorrectly installed
guide wire. In this case, check that the installation
is performed as described in chapter 3.6
Installation of the guide wire on page 27.
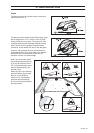
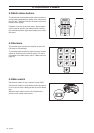
3.9 Test docking with the charging
station
Before using the mower, check that it can follow the
guide wire all the way to the charging station and
easily docks with the charging station. Perform the test
below.
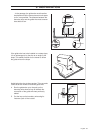
1. Open the control panel cover by pressing the
STOP button.
2. Place the mower close to the point where the
guide wire is connected to the boundary wire.
Place the mower about 2 metres from the guide
wire, facing the guide wire.
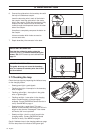
IMPORTANT INFORMATION
Use MEMO on page 4 to make a note of the
PIN code.