SECTION5: MAINTENANCE
,_ WARNING: Before
inspecting, cleaningor
servicing the machine,shut off
engine, wait for all moving
parts to cometo a complete
stop, disconnect sparkplug
wire and move wire awayfrom
spark plug. Removeignition
key onelectric start models.
Failureto follow these
instructions can result in
serious personalinjury or
property damage.
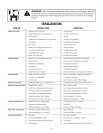
MAINTENANCESCHEDULE
PROCEDURE NOTES
Chockmotor oil level 2, 3
Cleanengine 2, 7
Checkdrive belt tension 1,4
Checknuts and bolts 1,4
Change motor oil 1,4, 6
Lubricate tiller 4
Service foam pre-cleanerair filter 7
Service paper air filter 7
Checkgear oil level intransmission 1, 5
Checktines for wear 5
Checkair pressure in tires 5
Service spark plug 7
NOTES
1- After first 2 hours of break-in operation.
2 - Before each use.
3 - Every5 operating hours.
4 - Every 10operating hours.
5 - Every30 operating hours.
6 - Changemore frequently in dusty or dirty
conditions.
7 - SeeEngineOwner's Manual forservice
recommendations.
8 - Whichever time interval occurs first.
Tiller Lubrication
Proper lubrication of the tiller is an essen-
tial part of your maintenanceprogram. Af-
ter every 10operating hours, oil or grease
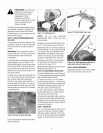
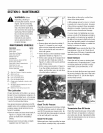
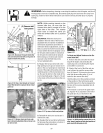
the lubrication points shown in Figures5-
1 and 5-2 and described below.
Usegeneral purpose lubricating oil (#30
weight motor oil is suitable) and a general
purpose grease (metal lubricant is pre-
ferred, if available).
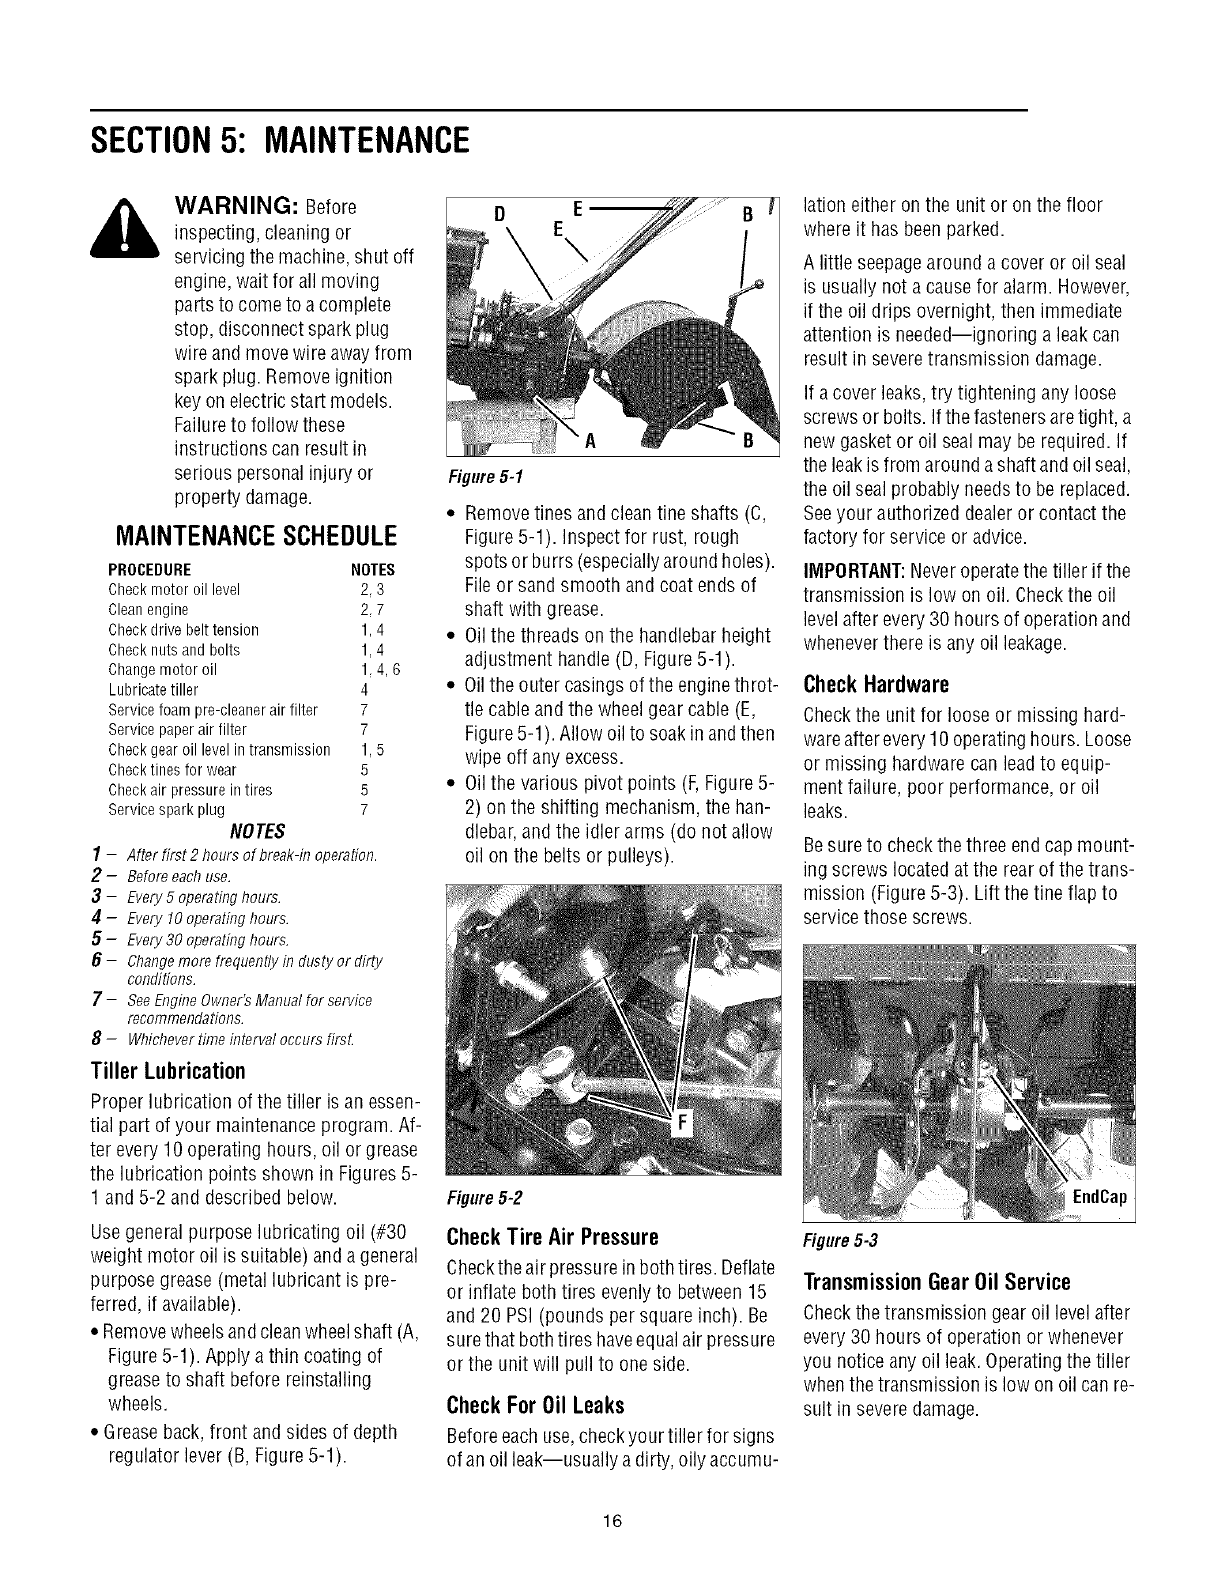
• Removewheelsandcleanwheelshaft (A,
Figure 5-1). Apply a thin coating of
greaseto shaft before reinstalling
wheels.
• Greaseback, front and sides of depth
regulator lever (B, Figure5-1).
D L
E
Figure5-1
• Removetines and clean tine shafts (C,
Figure 5-1). Inspect for rust, rough
spots or burrs (especiallyaroundholes).
File or sand smooth and coat ends of
shaft with grease.
• Oil the threads on the handlebarheight
adjustment handle(D, Figure5-1).
• Oilthe outer casings of theenginethrot-
tle cable andthe wheel gearcable (E,
Figure5-1). Allow oil to soak inandthen
wipe off any excess.
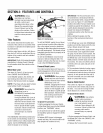
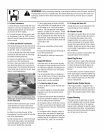
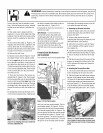
• Oil the various pivot points (F,Figure 5-
2) on the shifting mechanism, the han-
dlebar,and the idler arms (do not allow
oil on the belts or pulleys).
Figure5-2
Check Tire Air Pressure
Checktheair pressure inboth tires. Deflate
or inflate both tires evenlyto between 15
and 20 PSi (pounds per square inch). Be
sure that bothtires haveequalair pressure
or the unit will pull to one side.
Check For Oil Leaks
Beforeeach use,checkyour tiller for signs
of an oil leak--usually adirty, oily accumu-
lation either on the unit or onthe floor
where it has been parked.
A little seepagearound a cover or oil seal
is usually not a causefor alarm. However,
if the oil drips overnight,then immediate
attention is needed--ignoring a leak can
result in severetransmission damage.
If a cover leaks,try tightening any loose
screws or bolts. If thefastenersaretight, a
new gasket or oil seal may be required. If
the leakis from arounda shaftand oil seal,
the oil sealprobably needsto be replaced.
Seeyour authorized dealeror contact the
factory for service or advice.
IMPORTANT:Neveroperatethetiller if the
transmission is low on oil. Checkthe oil
level after every30 hours of operation and
wheneverthere is any oil leakage.
CheckHardware
Checkthe unit for loose or missing hard-
wareafter every10 operatinghours. Loose
or missing hardwarecan leadto equip-
ment failure, poor performance, or oil
leaks.
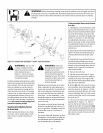
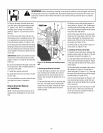
Besure to check the three end capmount-
ing screws locatedat the rear of thetrans-
mission (Figure 5-3). Lift the tine flap to
service those screws.
Figure5-3
EndCap
Transmission Gear Oil Service
Checkthe transmission gear oil level after
every 30 hours of operation or whenever
you notice anyoil leak.Operatingthe tiller
when thetransmission is lowon oil canre-
sult in severe damage.
16


