


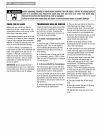
Tilling Tips & Techniques
Letthe tiller dothe work
• While tilling, relaxand let the wheels
pull the tiller along while the tines do
the digging. Walk on the side that is
notyet finished (to avoid making foot-
prints in the freshly tilled soil) and
lightly, butsecurely grip the handlebar
with just one hand.
• Avoid pushing down on the handlebars
in an attempt to force the tiller to dig
deeper. Doingso takes the weight off
the poweredwheels,causing them to
losetraction. Without the wheels
helpingto hold the tiller back, the tines
will attempt to propel the tiller - often
causing the tiller to skip rapidly across
the ground. (Sometimes, slight down-
ward pressureon the handlebarswill
helpget through a particularly tough
section of sod or unbrokenground, but
in mostcases this won't be necessary
at all.)
Tilling depths
• Avoid trying to dig too deeplytoo
quickly, especiallywhen busting sod or
when tilling soil that hasn't beentilled
for some time. Useshallow depth reg-
ulator settings (only an inch or two
deep) for the first passesthrough the
garden area. With eachsucceeding
pass,adjust the depth regulator to dig
another inch or two deeper. (Watering
the garden areaa few days prior to
tilling will maketilling easier,as will
letting the newly worked soil set for a
day or two before making a final, deep
tilling pass.)
• When cultivating (breakingup the
surfacesoil around plantsto help
destroyweeds),use very shallow depth
settingsto preventinjury to plantswhose
rootsoftengrow closetothe surface. If
needed,lift up onthe handlebarsslightly
to preventthetinesfrom diggingtoo
deeply. (Cultivatingona regularbasis
notonlyeliminatesweeds,it alsoloosens
andaeratesthesoil for bettermoisture
absorptionandfaster plantgrowth.)
Avoidtilling soggy,wetsoil
Tilling wet soil often results in large,
hardclumps of soil that can interfere
with planting. If time permits, wait aday
or two after heavyrainsto allowthe soil
to dry beforetilling. Test soil by squeez-
ing it into a ball. If it compressestoo
easily, it is too wet to till.
Avoid making footprints
When possible,walk on the untilled side
of the unit to avoid makingfootprints in
thefreshly tilled soil. Footprintscause
soil compaction that canhamperroot
penetrationandcontribute to soil
erosion. They can also"plant" unwanted
weedseedsback intothe freshly tilled
ground.
Choosing correct wheel
and tine speeds
With experience,you will find the "just
right" tilling depth andtilling speedcom-
binationthat is best for your garden.
Setthe EngineThrottle Control Leverto
a speedto give the engineadequate
powerand yet allow it to operateatthe
slowest possible speed...atleast until
you haveachievedthe maximum tilling
depth you desire. Fasterengine speeds
may bedesirablewhen making final
passesthrough the seedbed or when
cultivating. Selectionof the correct
engine speed, in relationto thetilling
depth, will ensure a sufficient power
levelto do the job without causingthe
engine to labor.
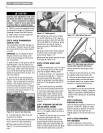
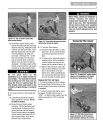
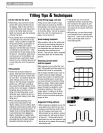
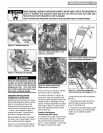
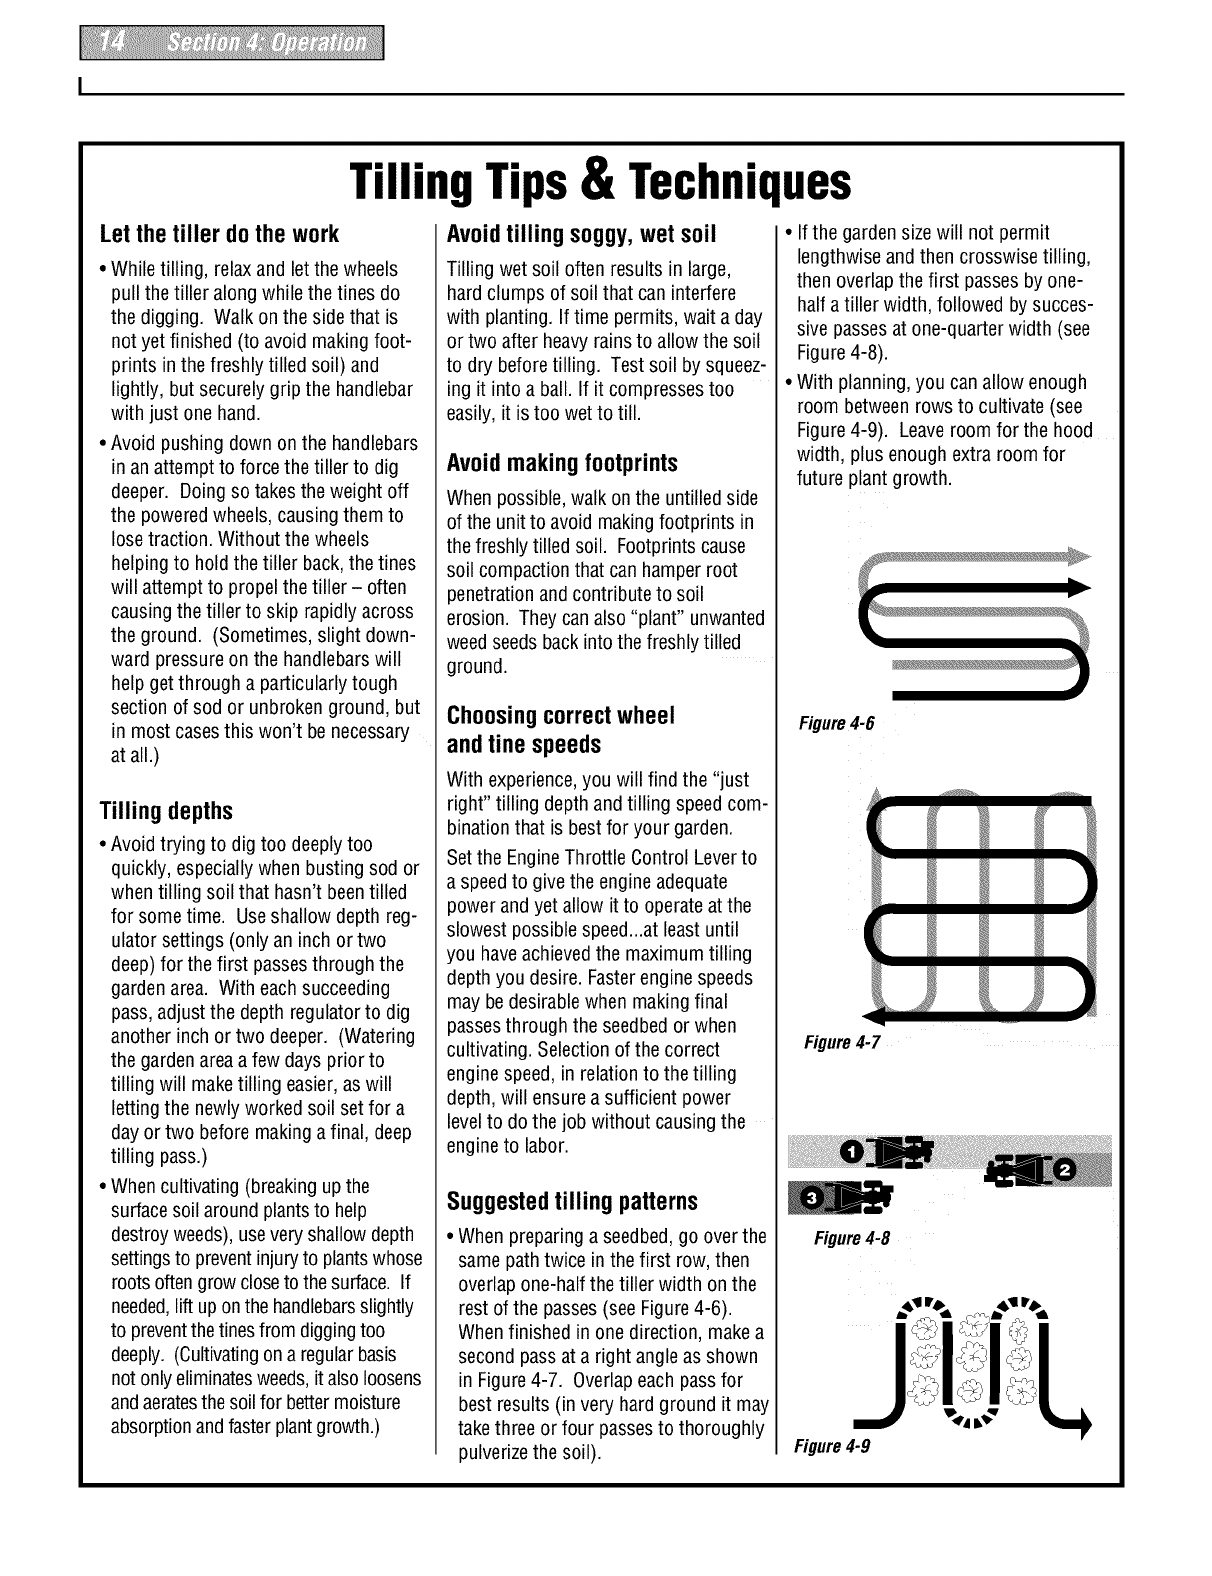
Suggestedtilling patterns
• When preparinga seedbed,go overthe
same pathtwice in thefirst row, then
overlapone-half thetiller width on the
rest ofthe passes(see Figure4-6).
Whenfinished in one direction, make a
second pass at a right angle asshown
in Figure4-7. Overlapeachpassfor
best results (in very hard ground it may
takethree or four passesto thoroughly
pulverizethe soil).
• If the garden sizewill not permit
lengthwiseand then crosswise tilling,
then overlapthe first passesby one-
halfa tiller width, followed bysucces-
sive passesat one-quarter width (see
Figure4-8).
• With planning,you canallow enough
room between rows to cultivate (see
Figure4-9). Leaveroom for the hood
width, plusenough extra room for
future plantgrowth.
Figure4-6
r y V
Figure4-7
Figure4-8
Figure4-9