


- 4 -
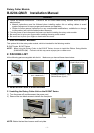
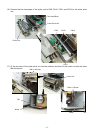
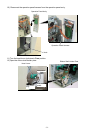
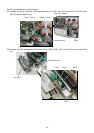
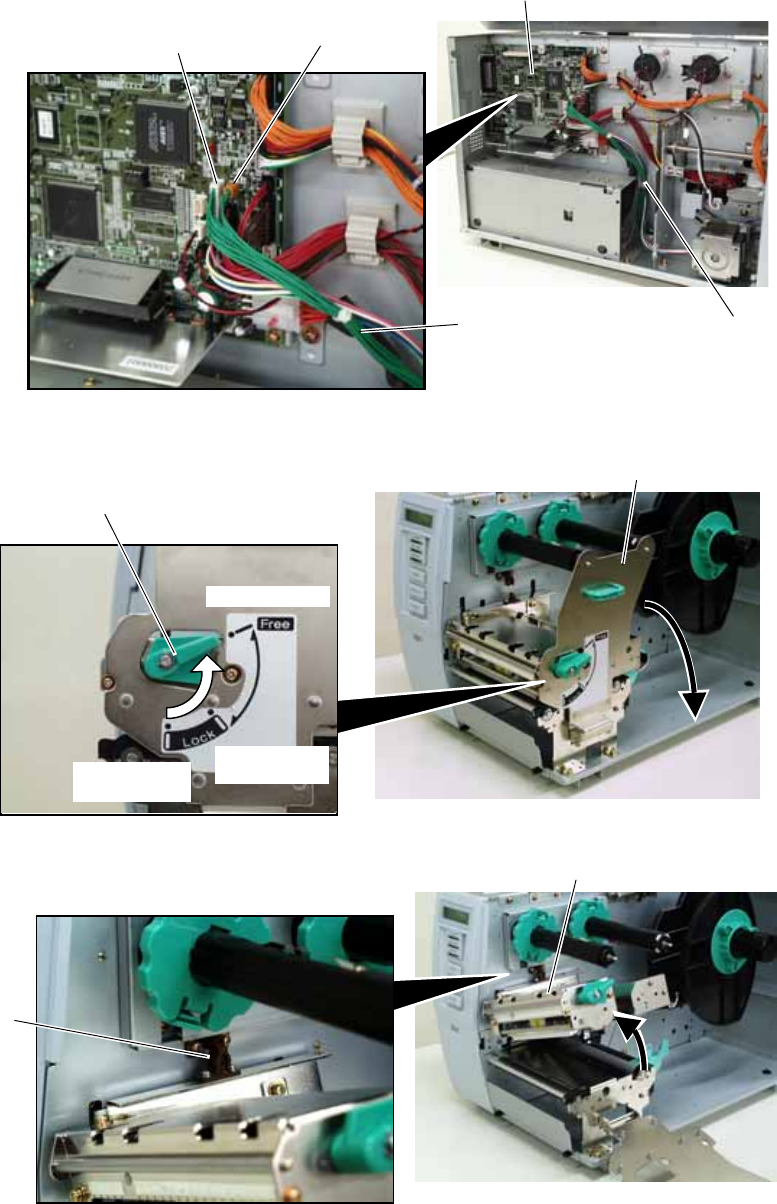
11) Fix the harness ass’y with the clamp.
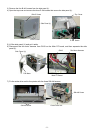
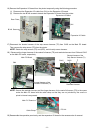
12) Connect the 9-pin connector of the harness ass’y to CN15, and 2-pin connector to CN18 on the
Main PC board, respectively.
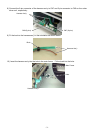
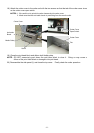
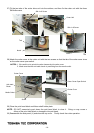
13) Turn the head lever counterclockwise to Free position.
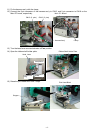
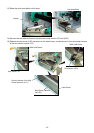
14) Open the ribbon shaft holder plate.
15) Raise the print head block until it stops.
Main PC Board
Clamp
Ribbon Shaft Holder Plate
Print Head Block
CN18 (2 pins)
CN15 (9 pins)
Harness Ass’y
Head Leve
r
Free position
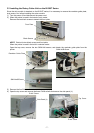
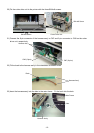
Lock position
(Label)
Lock position
(Tag)
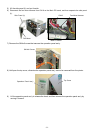
Stoppe
r