MAINTENANCE
Maintenance Section 5-2
© 2006 Alamo Group Inc.
MAINTENANCE
FLX15/10 04/06
1. Maintenance
Nuts and Bolts
1. Check all nuts and bolts for tightness after the first 8 hours of operation, then weekly. Check the condition
of cotter pins, roll pins and other fasteners weekly and replace if necessary.
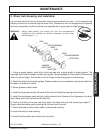
2. Castor cone spring tension nuts
Two back to back cone springs are used to keep the castor assemblies tight and reduce castor whipping
action. The double jam nuts that are used to lock the castor assembly in place may need to be adjusted in
order to take up wear in components of the castor pivot.
The lower nut should be adjusted to the point that the cone springs are flattened, and then it should be backed
off one half turn. Next, the lower nut should be held with a wrench so it does not change its position, while the
upper nut is tightened down onto it.
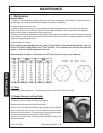
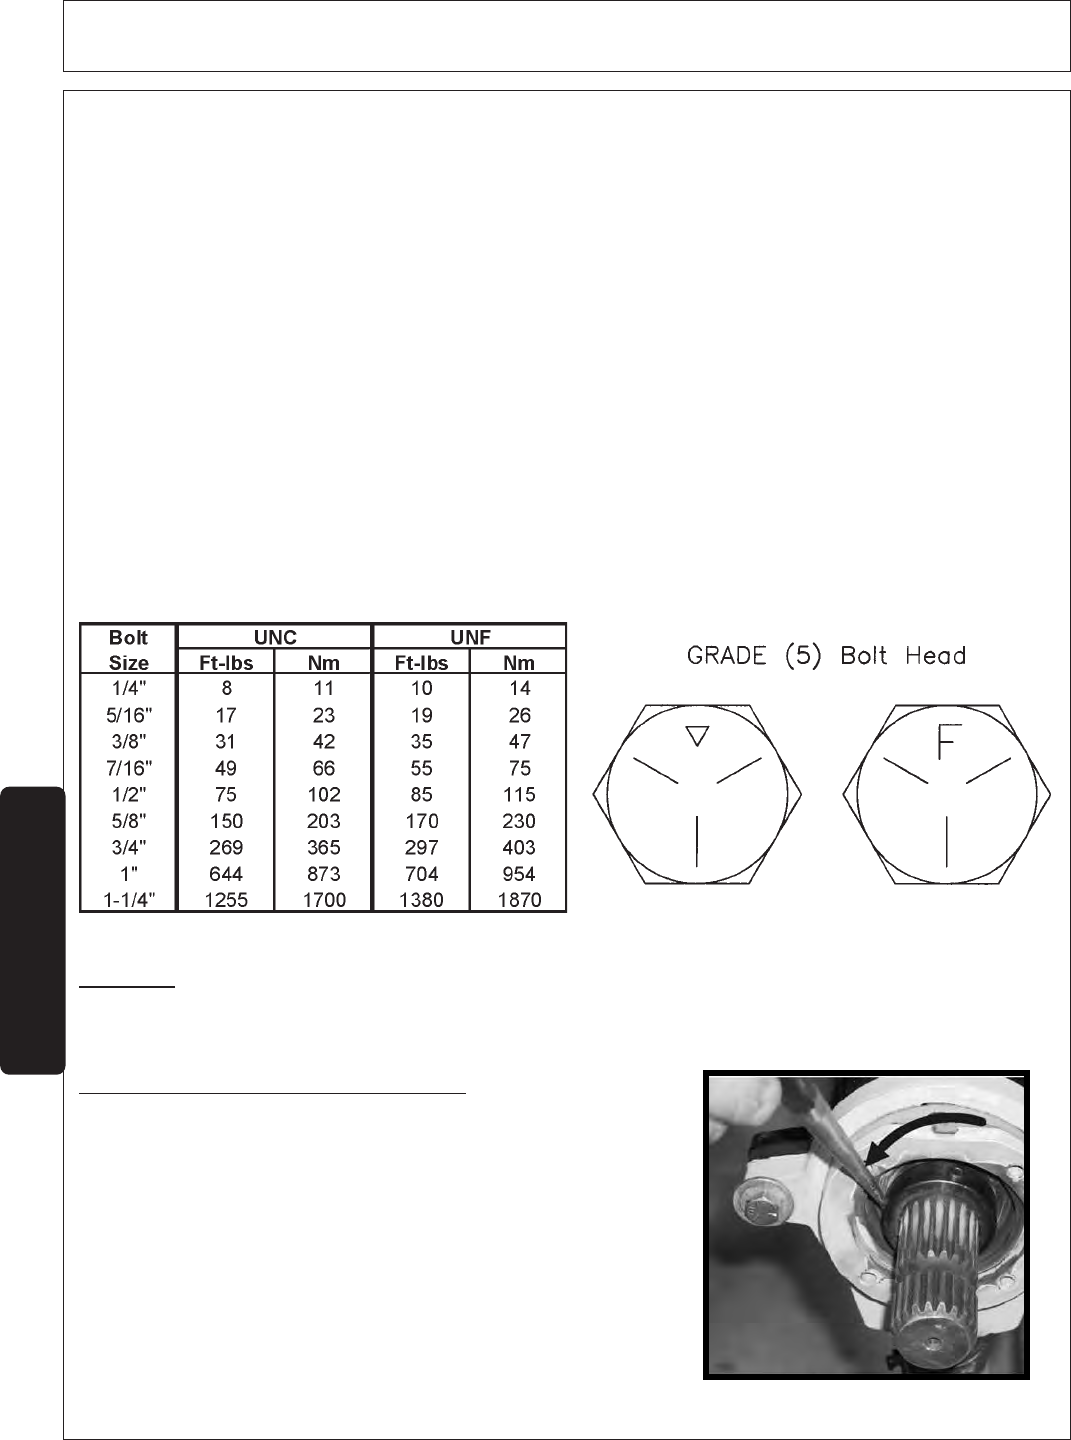
3. Bolt Grades and Torque
When replacing damaged bolts use only plated Grade 5 bolts unless otherwise specified. Use only
bolts of the correct length [Refer to the "Parts" section]. Do not replace lock nuts with nuts and lock
washers. Use only original equipment lock nuts.
Recommended Torques in foot pounds for SAE Grade 5 bolts, based on dry assembly:
1.1 Tires
Periodically check tire pressure. The standard aircraft tire should be inflated to 40 PSI.
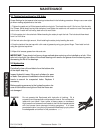
1.2 Steady Bearing Locking Collar
The shaft and collar must be free of paint and burrs.
Remove the tractor shaft and front bell assembly.
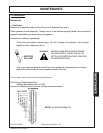
Insert a punch into the hole provided on the locking collar and tap the
punch so that the collar turns in an anti- clockwise direction when
facing the front of the collar. (The locking collar must be locked down
in the same direction as the direction of shaft rotation.)
Tighten down the set screw. (We recommend using Lock-tite on the
set screw threads)


