Assembly & Installation
4
9
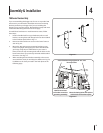
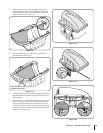
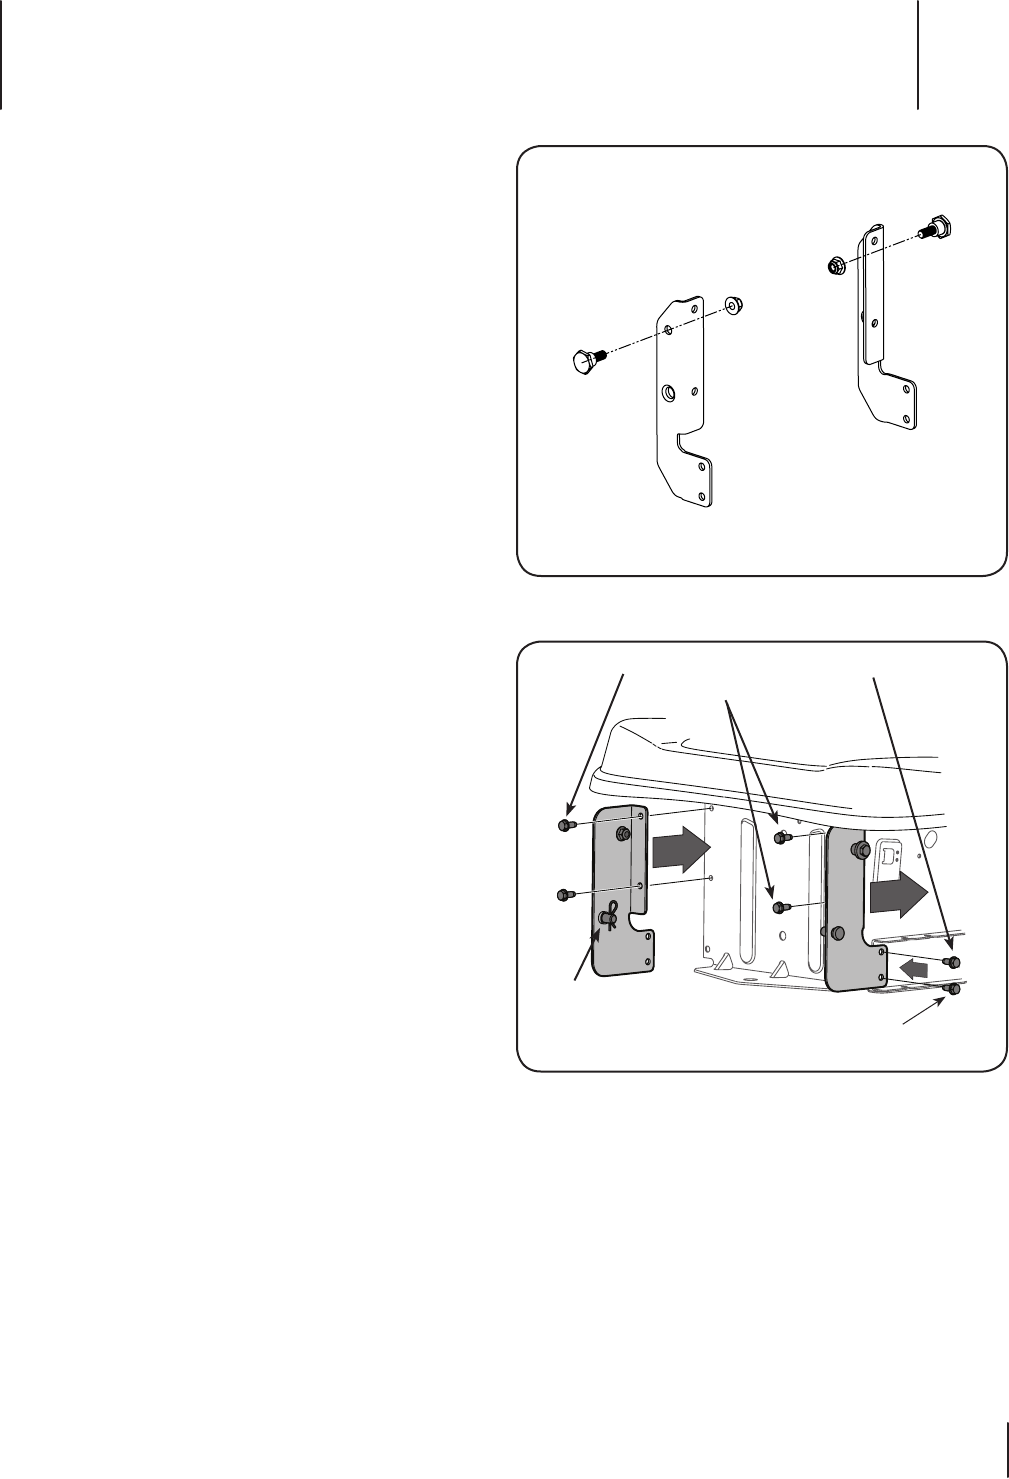
Figure 4-1
Figure 4-2
700 Series Tractors Only
If you are assembling this bagger unit for use on any model 700
series tractor you will need to install the two tractor mounting
brackets packed in your bagger kit. If you are installing this
bagger unit on any other tractor, disregard these steps and move
to Assemble Mounting Brackets on the next page.
To install these brackets on a model 700 series tractor, follow
these steps:
Install a shoulder bolt from your hardware pack on each 1.
bracket, securing them with flange lock nuts also included
in the hardware pack. Refer to Fig. 4-1.
Remove and discard the two screws in the lower frame as 2.
seen in Fig. 4-2.
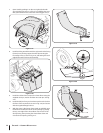
Mount the 700 series tractor mounting brackets to your 3.
tractor using eight self-tapping hex screws included with
your kit by using the pre-drilled holes in your tractor’s
frame for the two top mounting bolts and the holes on the
lower frame where you previously removed and discarded
the screws. See Fig. 4-2.
When attaching the hitch bracket assembly to the tractor, 4.
secure with the clevis pin and clip pins called out in Fig. 4-2,
in addition to the clevis pin used in the hitch plate on the
following page.
Discard existing bolts and replace
with bolts from hardware pack
Secure bracket using eight 5/16-18 x .750
hex tap screws
Clevis pin used on all
700 series tractors
to further secure the
mounting assembly


