


Repair
[3] DISASSEMBLY/ASSEMBLY
[3] -12. Engine Block (cont.)
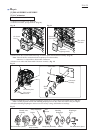
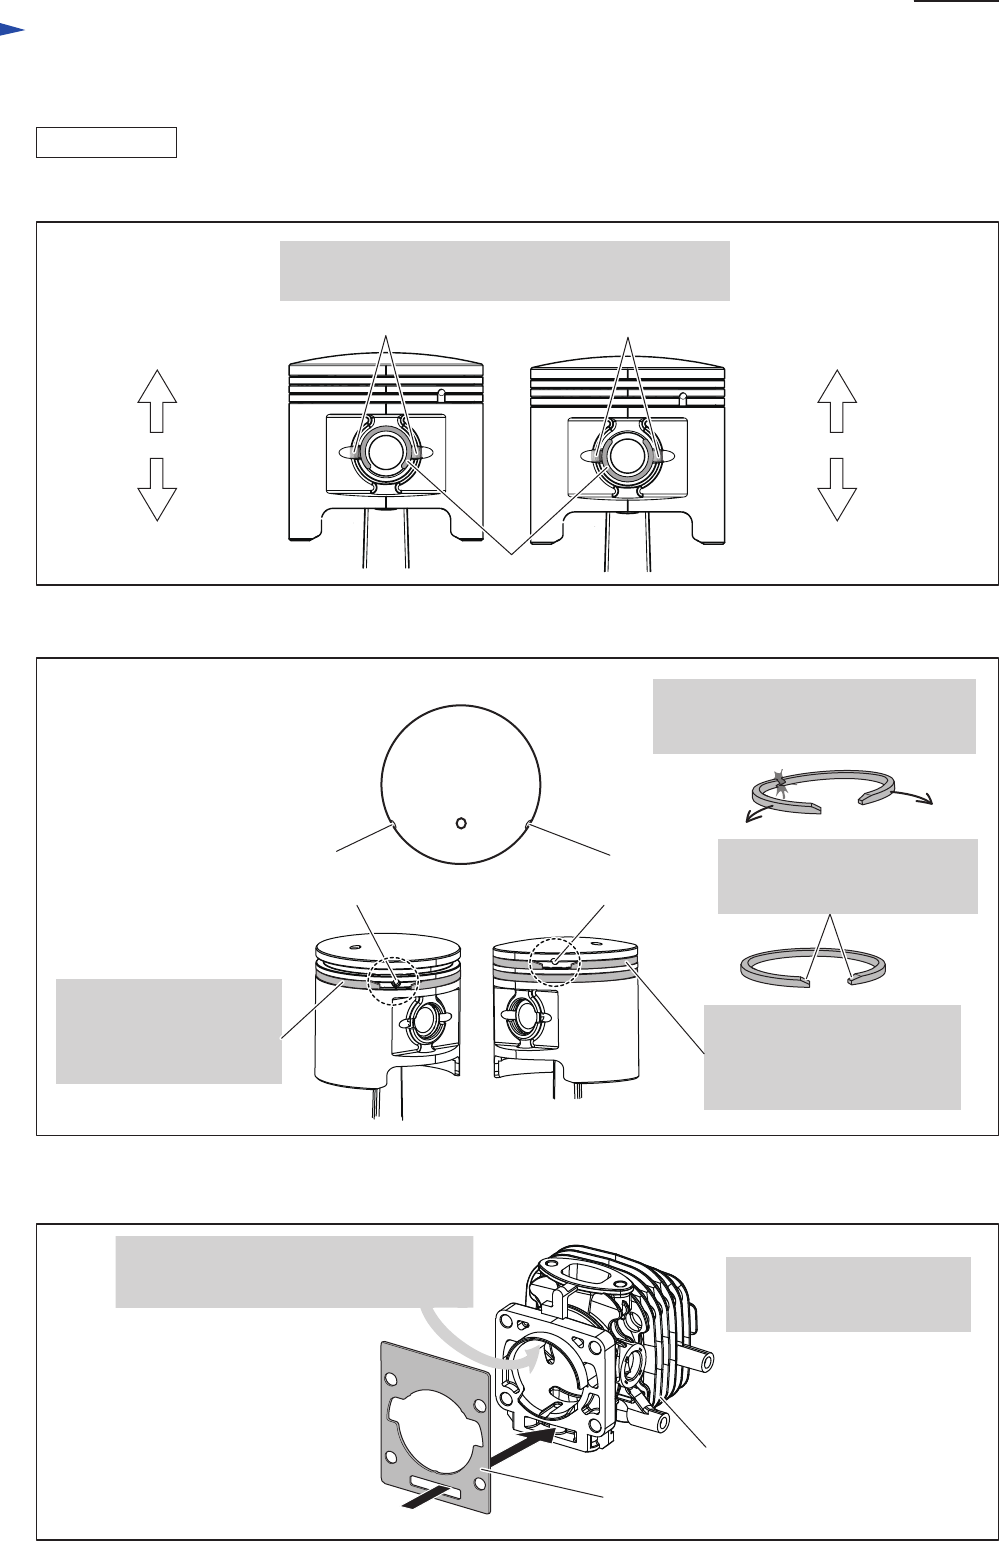
Fig. 49
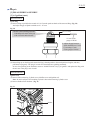
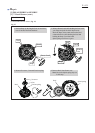
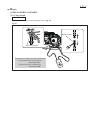
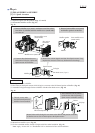
(3) Assemble the new Piston clip with Awl. (Fig. 47)
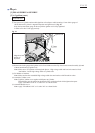
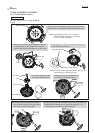
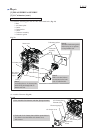
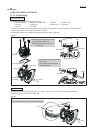
(4) Assemble Piston rings (Fig. 48).
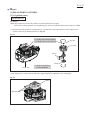
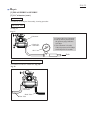
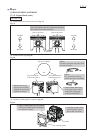
(5) Assemble Cylinder gasket to Cylinder. (Fig. 49)
ASSEMBLING
Fig. 47
Top Side
Skirt Side
Piston clip opening must face to either the top side or
Skirt side of Piston when assembled.
Groove on Piston Groove on Piston
Top Side
Skirt Side
Piston clip
2. Assemble Cylinder gasket
while aligning its square
hole to that of Cylinder.
Fig. 48
The first nock pin
in the lower groove
Note 1:
Carefully open Piston ring when fixed
so as not to break it.
The second nock pin
in the upper groove
1. Mount Piston ring to
the lower groove while
aligning its opening gap
to the first nock pin.
2. Mount another Piston ring
to the upper groove while
aligning its opening gap
to the second nock pin.
Top view of Piston
Cylinder gasket
Cylinder
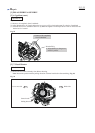
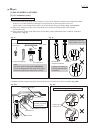
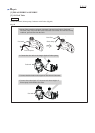
1. Apply 2 stroke engine oil to the internal
surface of Cylinder before assembling it
to Crankcase assembly.
P 24/ 25
Note 2:
Face cut surface to the top
when Piston ring is assembled.