12
Section 1: Assembly & Set-up
RCF2760 and RCF2772 Rotary Cutters 326-460M
12/15/15
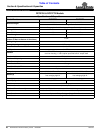
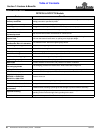
Table of Contents
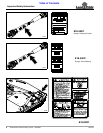
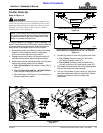
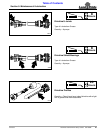
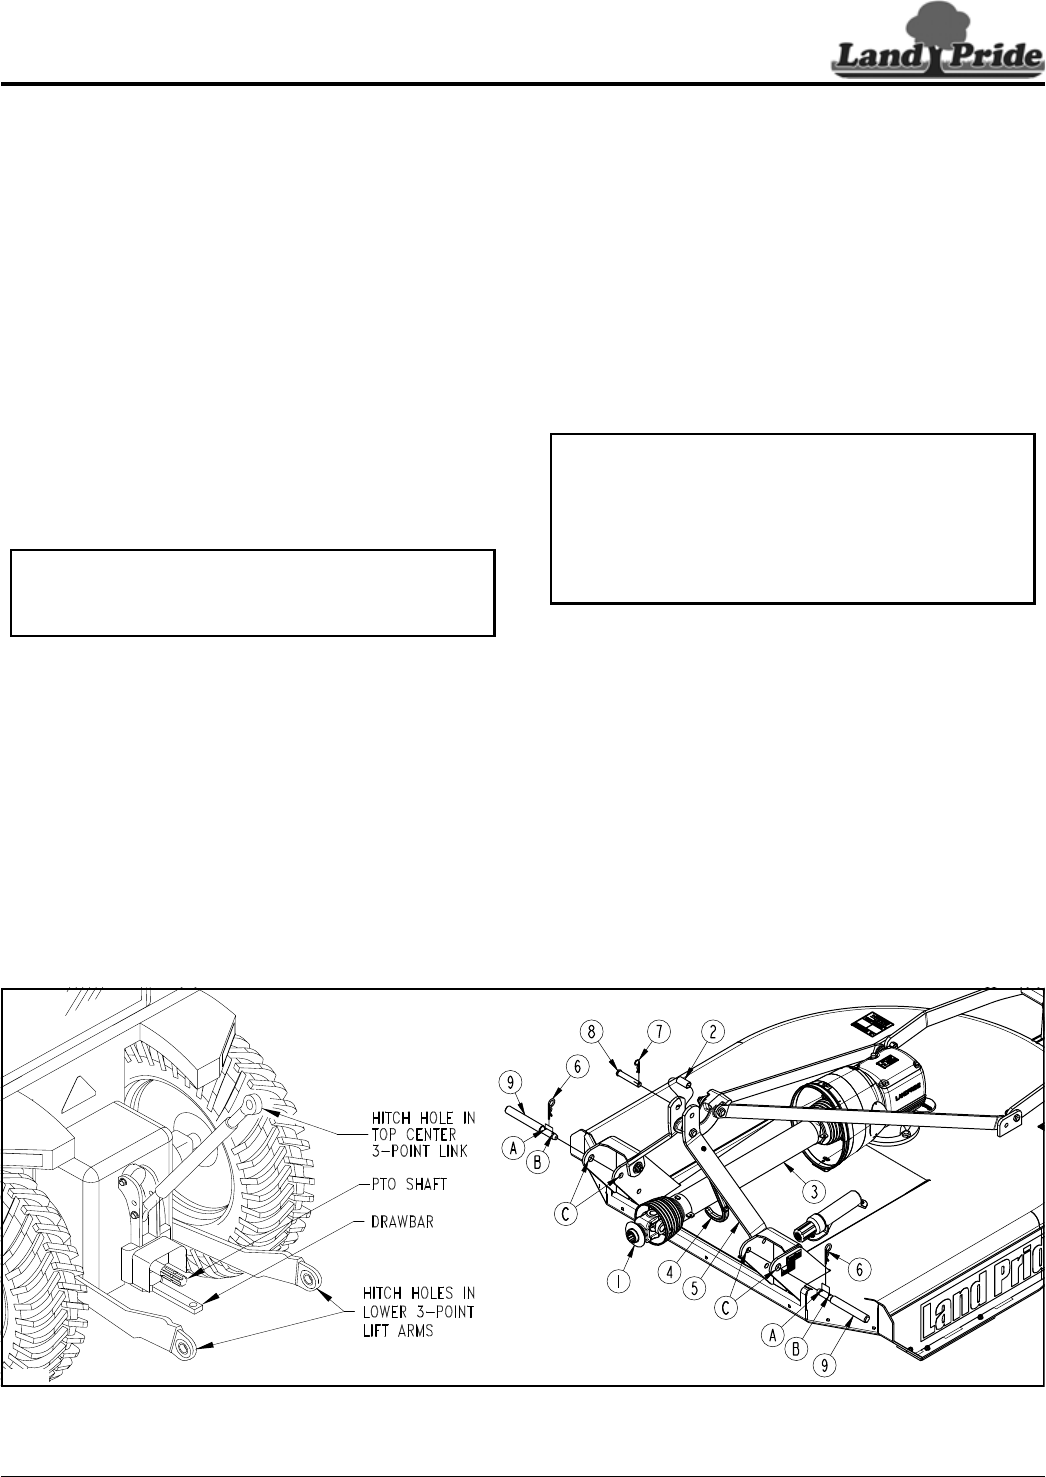
Hook-up Driveline to Tractor PTO
Refer to Figure 1-9:
1. Park tractor on a level surface. Place gear selector in
park or set park brake. Make sure PTO is
disengaged.
2. Slowly engage tractor 3-point lift lever to raise cutter
until gearbox input shaft is at the same height as the
tractor PTO shaft.
3. Support cutter deck at this height with support jacks
or blocks to keep cutter from drifting down.
4. Shut tractor engine off and remove switch key.
5. Lift driveline (#3) off of driveline support (#4).
6. Driveline support (#4) will rotate up until secure
against A-frame (#5) as it is spring loaded.
7. Collapse driveline (#3) by pushing tractor end of
driveline toward the gearbox.
8. Pull back on driveline yoke collar (#1) and push
driveline yoke onto the tractor PTO shaft. Release
pull collar and continue to push driveline yoke
forward until pull collar locks in place.
9. The driveline should now be moved back and forth to
ensure both ends are secured to the tractor PTO
shaft and gearbox input shaft. Reattach any end that
is loose.
IMPORTANT: Skip to “Check Driveline Collapsible
Length” if driveline is too long to start onto tractor
PTO shaft.
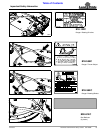
Check Clearances
1. Return to tractor and slowly raise and lower
implement carefully to ensure that the drawbar, tires,
and other equipment on the tractor do make contact
with cutter frame and driveline. Move or remove
drawbar if needed.
2. Manually adjust one of the two lower lift arms up or
down to level the Rotary Cutter from left to right.
3. Manually adjust the length of the top-link to level the
Rotary Cutter from front to rear. Final deck leveling
adjustments will be made later.
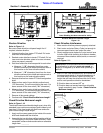
Check Driveline Collapsible Length
1. Make sure driveline is properly installed and level
before checking driveline collapsible length. (Refer to
“Figure 1-4:” instructions on page 10.)
Refer to Figure 1-9 on page 13:
2. With driveline level, measure (“B” dimension) back
from universal joint shield to end of outer driveline
shield as shown in Figure 1-9. If measurement is less
than 1", then shorten driveline using instructions
provided on page 13.
IMPORTANT: A driveline that is too long can bottom
out causing structural damage to tractor and cutter.
Always check driveline collapsed length during initial
setup, when connecting to a different tractor, and
when alternating between using a quick hitch and a
standard 3-point hitch. More than one driveline may
be required to fit all applications.
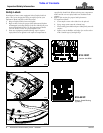
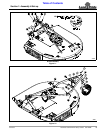
Tractor Hook-Up
Figure 1-8