


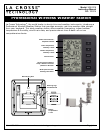


Model: 308-2316 www.lacrossetechnology.com/support Page | 6
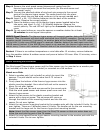
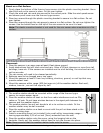
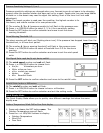
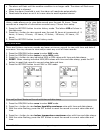
Mount on a Flat Surface:
1. Firmly place the bottom of the thermo-hygro sensor into the plastic mounting bracket. Use a
short bolt and nut to secure in place. Do not over tighten.
2. Check the wind and rain cord are secured to the correct ports. Slide the wind speed sensor
and shower proof cover over the thermo-hygro sensor.
3. Place two screws through the plastic mounting bracket to secure to a flat surface. Do not
over tighten.
4. Place two screws through the rain gauge to secure to a flat surface. Do not over tighten the
screws. Use the bubble level on the top of the rain sensor to be sure it is level.
Note: The plastic mounting bracket is not used for the rain sensor when mounting on a flat
surface.
Placement:
1. Place the sensors in an open area at least 6 feet above ground.
2. Avoid obstructions that will block wind and rain. Allow a 50 foot clearance or more from tall
buildings, trees etc. If the sensors are installed next to a tall building, the wind and rain will
not be accurate.
3. The rain sensor will need to be cleaned periodically.
4. Batteries need to be changed every two years.
5. Mount the sensors at least 6’ from any building, structure, ground, or roof top that may
provide radiant heat.
6. Mount the sensors within range (600 feet open air) of the weather station. Each wall,
window, tree etc., can cut that signal by half.
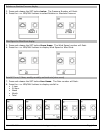
Weather Station Placement
1. The weather station should be mounted within range of the thermo-hygro
sensor, to receive sensor signal.
2. Place the weather station at least six feet from radio interference such as PCs,
radios or TV sets. Do not have wireless devices in the signal path between the
sensors and the weather station.
3. The weather station has pull out stands to sit or to recline on a desk. Or the
weather station may be wall mounted.
4. Place the weather station on a desk or count with the pull out base stand or the
pull out reclining legs.
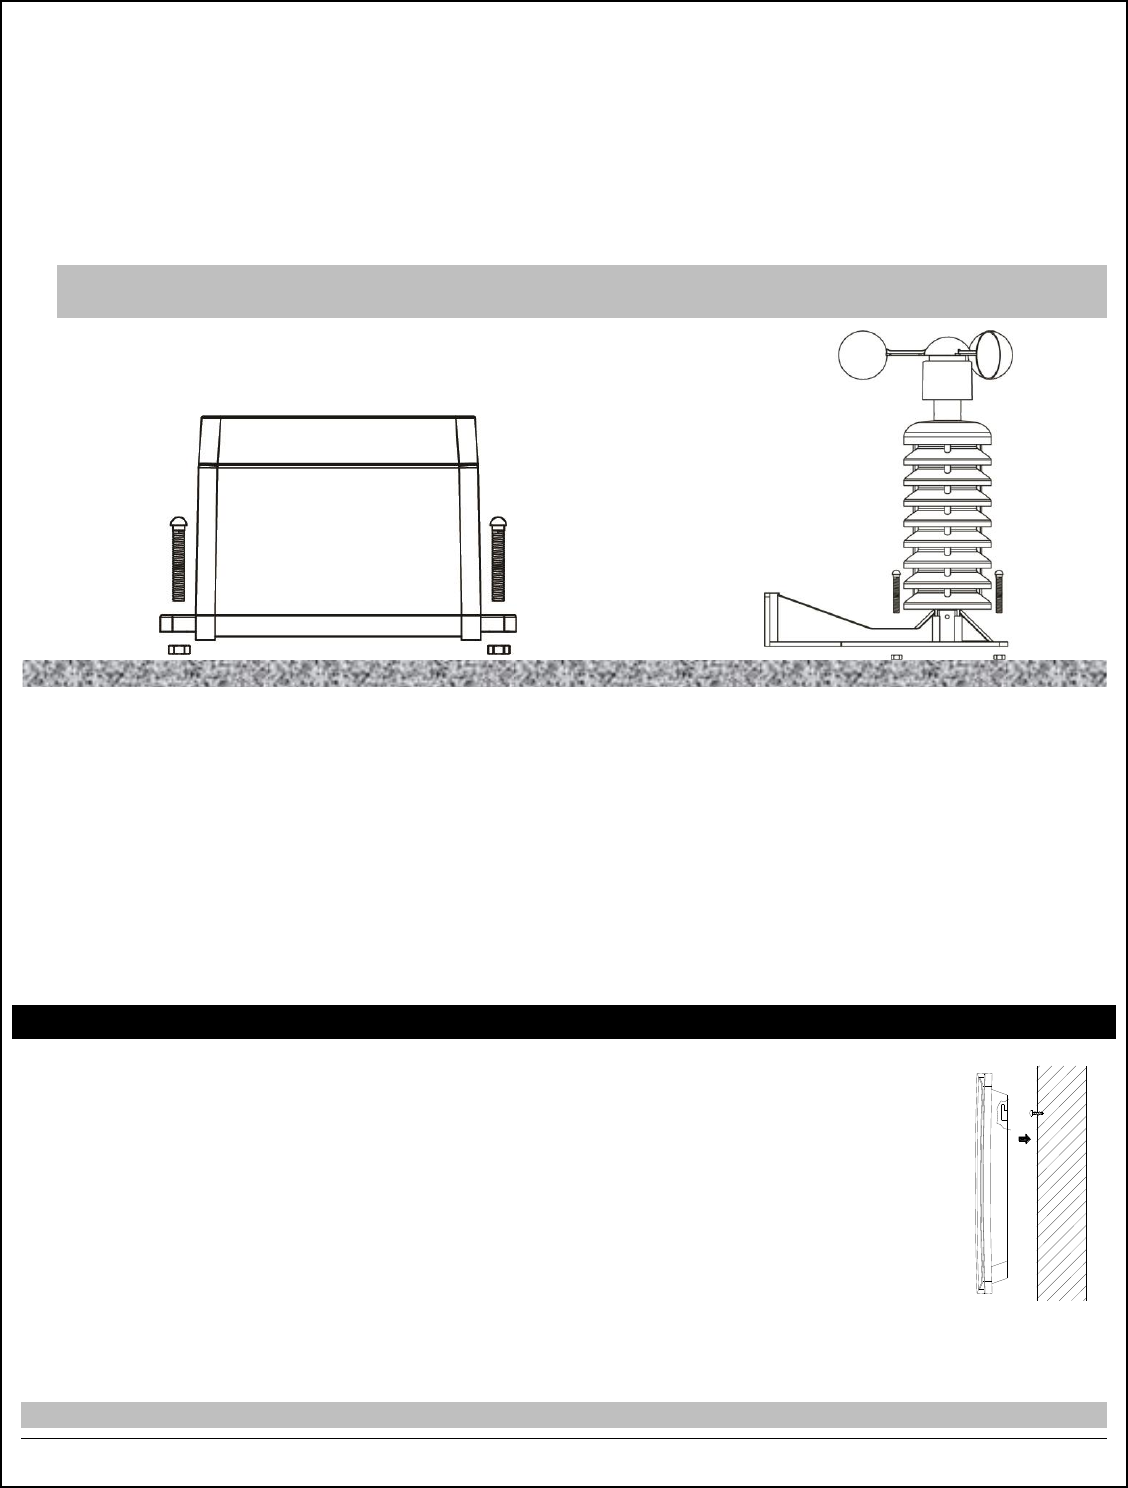
5. Install a mounting screw (not included) into a wall within transmission range—
leaving approximately 3/16 of an inch (5mm) extended from the wall.
6. Place the weather station onto the screw, using the hanging hole on the
7. backside. Gently pull the weather station down to lock the screws into place.
Note: Always ensure that the weather station locks onto the screw.