52 - English
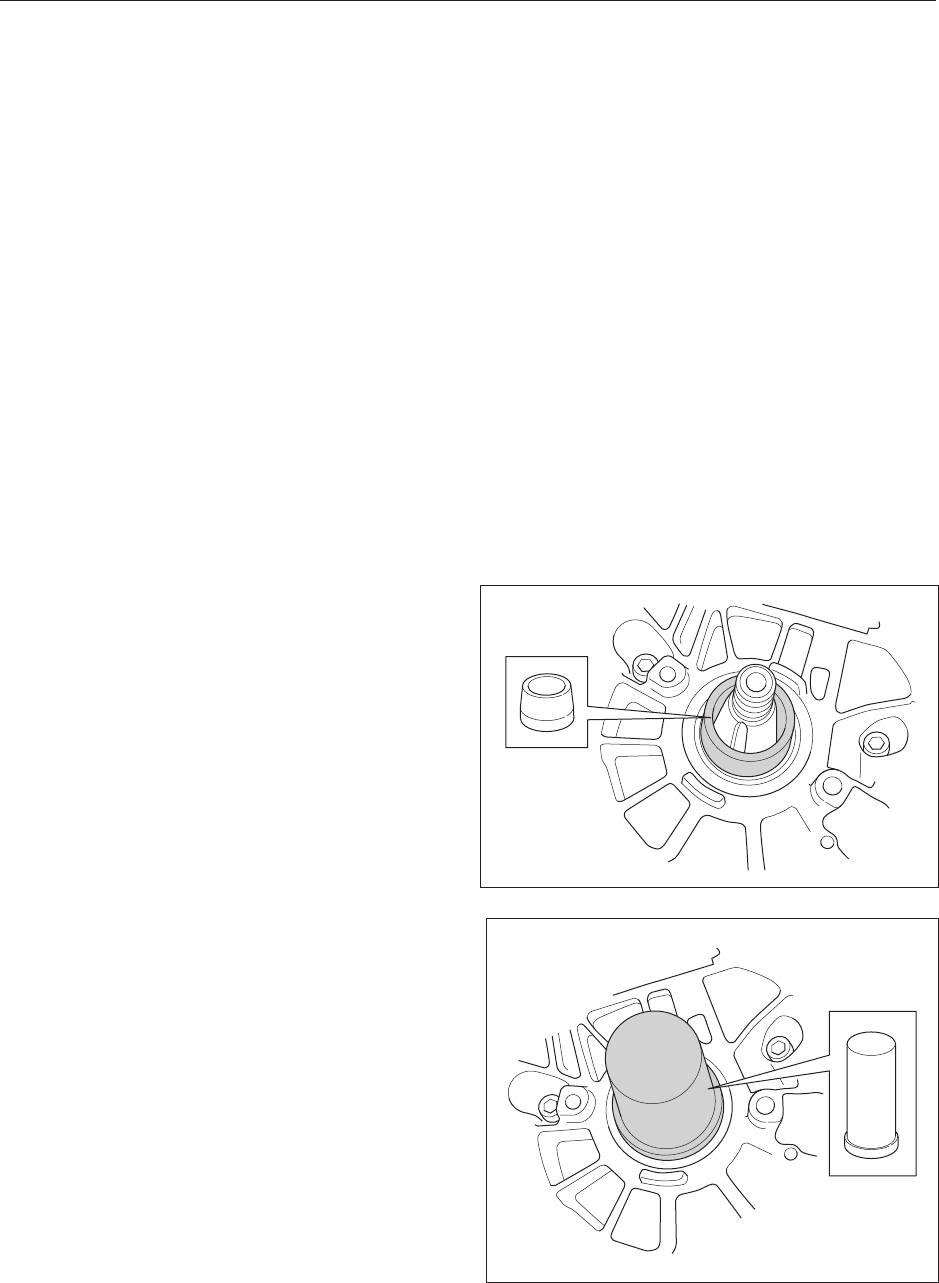
Fig 80
Fig 81
8
Assemble the following parts:
A. Tank unit. See page 43.
B. Piston and cylinder. See page 47.
C. Mufer. See page 19.
D. Carburettor. See page 40.
E. Centrifugal clutch. See page 31.
F. Electrical System. See page 29.
G. Starter. See page 25.
H. Bar and chain. See the Operator’s Manual.
Sealing rings
1
To replace the crankshaft’s sealing rings, rst dis-
mantle the following parts:
On the ywheel side:
• Starter. See page 25.
• Flywheel. See page 28.
On the clutch side:
• Bar and chain. See the Operator’s Manual.
• Chain guide plate. See page 17.
• Centrifugal clutch. See page 30.
• Oil pump. See page 31.
2
Use a screwdriver to remove the sealing ring and
pull it out.
3
Slide the dowel 575 34 69-01 (gure 80) on the
crankcase pin. Knock the new sealing ring in place
using the 575 34 70-01 tool. See Figure 81.
4
Fit the parts as outlined in point 1 above.
Repair Instructions


