


Atria
™
19
Installing the Light Fixture
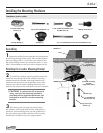
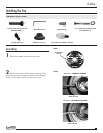
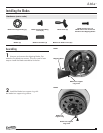
Hardware (not to scale)
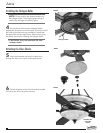
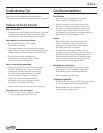
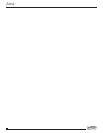
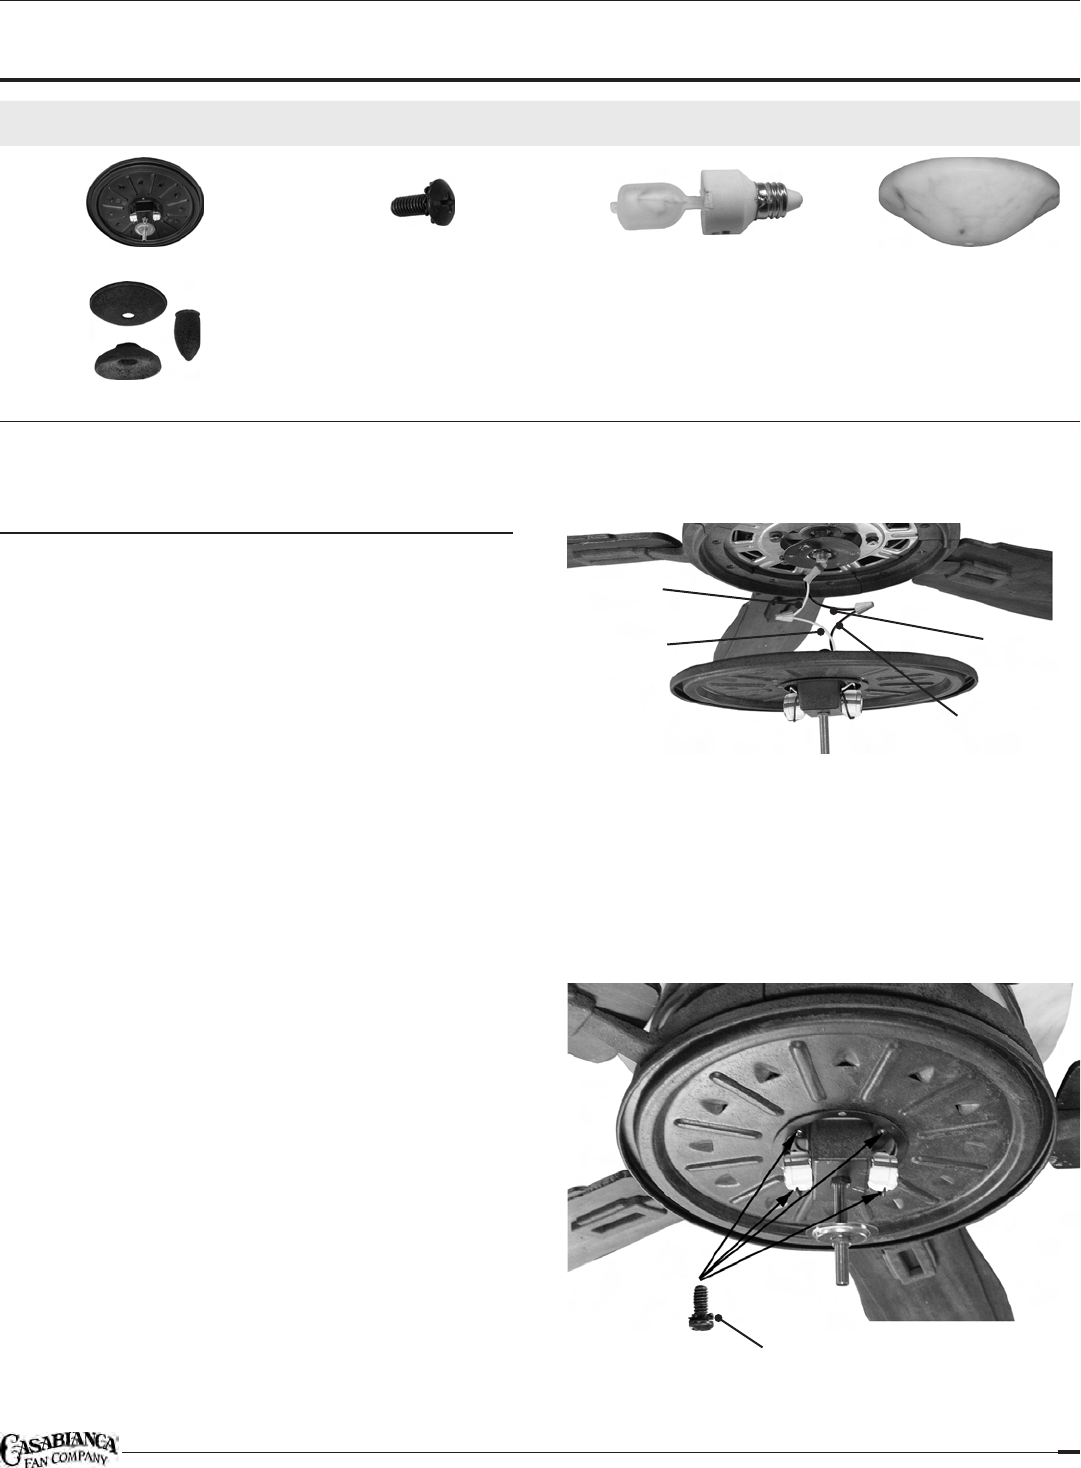
Light Fixture (1) Light Fixture Screws (2) Halogen Downlight Bulbs, 50W (2) Glass Shade (1)
Light Kit Cap and Finial (1 set)
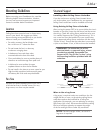
Attaching the Light Fixture
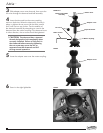
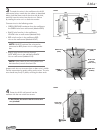
1 Locate and remove the pre-installed wire nuts on
the motor housing wires.
2 To attach the light fixture wires to the motor
housing wires, match the wire colors as described
below, hold the bare ends of the wires side by side,
and fully insert the wires into the wire nut. Secure
by rotating the wire nut in a clockwise motion.
Connect wires in the following order:
WHITE wire from the fan to the WHITE •
wire from the light fixture
BLUE wire from the fan to the BLUE •
wire from the light fixture
Inspect each wire nut to ensure that no bare wire is visible.
Test the connection by gently pulling on the wires. The wire
nuts should stay firmly in place, covering the bare ends.
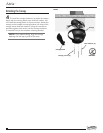
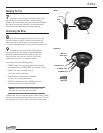
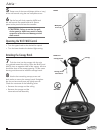
3 Carefully coil or tuck the wires so they are not
pinched. Locate the four mounting holes in the light
fixture and align the four holes of the light fixture to
motor housing with the two screws pre-installed on the
motor housing. Then rotate the light fixture clockwise,
locking it to the bottom of the fan. Once the light
fixture has been mounted to the bottom of the fan as
shown in Step 3, install the remaining two screws, then
tighten all four screws with the provided screwdriver.
STEPS 1-2
STEP 3
Light fixture screws (2)
WHITE wire
from fan
WHITE wire
from light
fixture
BLUE wire
from fan
BLUE wire
from light
fixture