


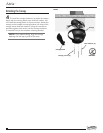
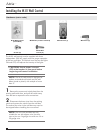

Atria
™
14
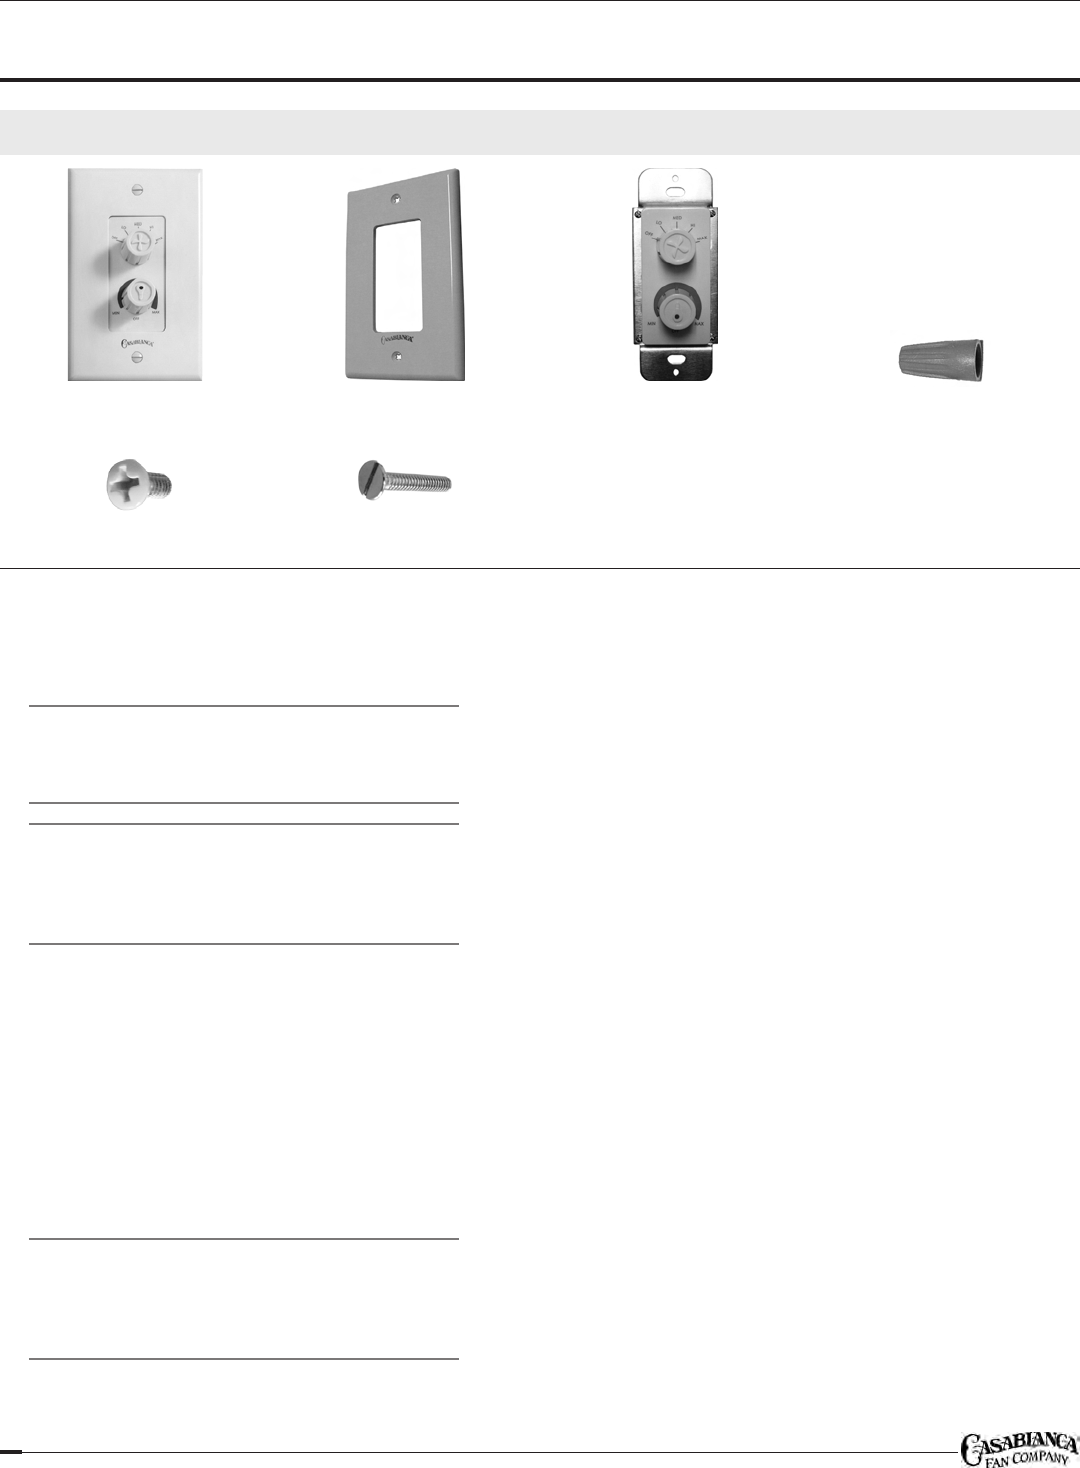
Installing the W-81 Wall Control
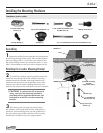
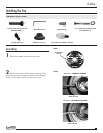
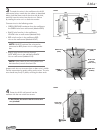
Hardware (not to scale)
W-81 Wall Control
(assembled)
Wall Plate (2 colors included) Wall Control (1) Wire Nuts (4)
Wall Plate
Screws (4)
Switch Box
Screws (2)
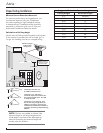
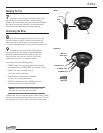
The W-81 wall control must be supplied with three
independent 120V AC supply wires for proper operation
of the fan and lights. This control turns the fan and lights
ON and OFF, and adjusts the intensity of the lights.
CAUTION: Ñ Ensure power is turned
OFF at the breaker or fuse panel before
beginning wall control installation.
NOTE: The W-81 wall control is designed to
replace a standard wall switch and fits wall
boxes (metal or plastic) with a depth of more
than 2".
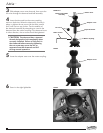
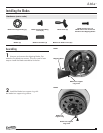
1 Remove the screws and switch plate from the
existing wall switch box, and pull the switch away
from the box to expose the wire connections.
2 Disconnect the three wires from the existing
switch and remove the switch from the wall box.
The ends of the wires in the wall box may need to
be stripped before installing the new control.
NOTE: The wire nuts provided are only
suitable for use with copper wire. Use wire
nuts to join one 14-gauge wire with one 16- or
18-gauge wire.