9
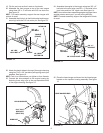
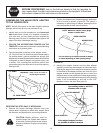
3/8" x 1"
HEX BOLT
3/8" x 3"
HEX BOLT
3/8" NYLOCK NUT
FIGURE 14
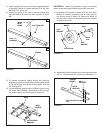
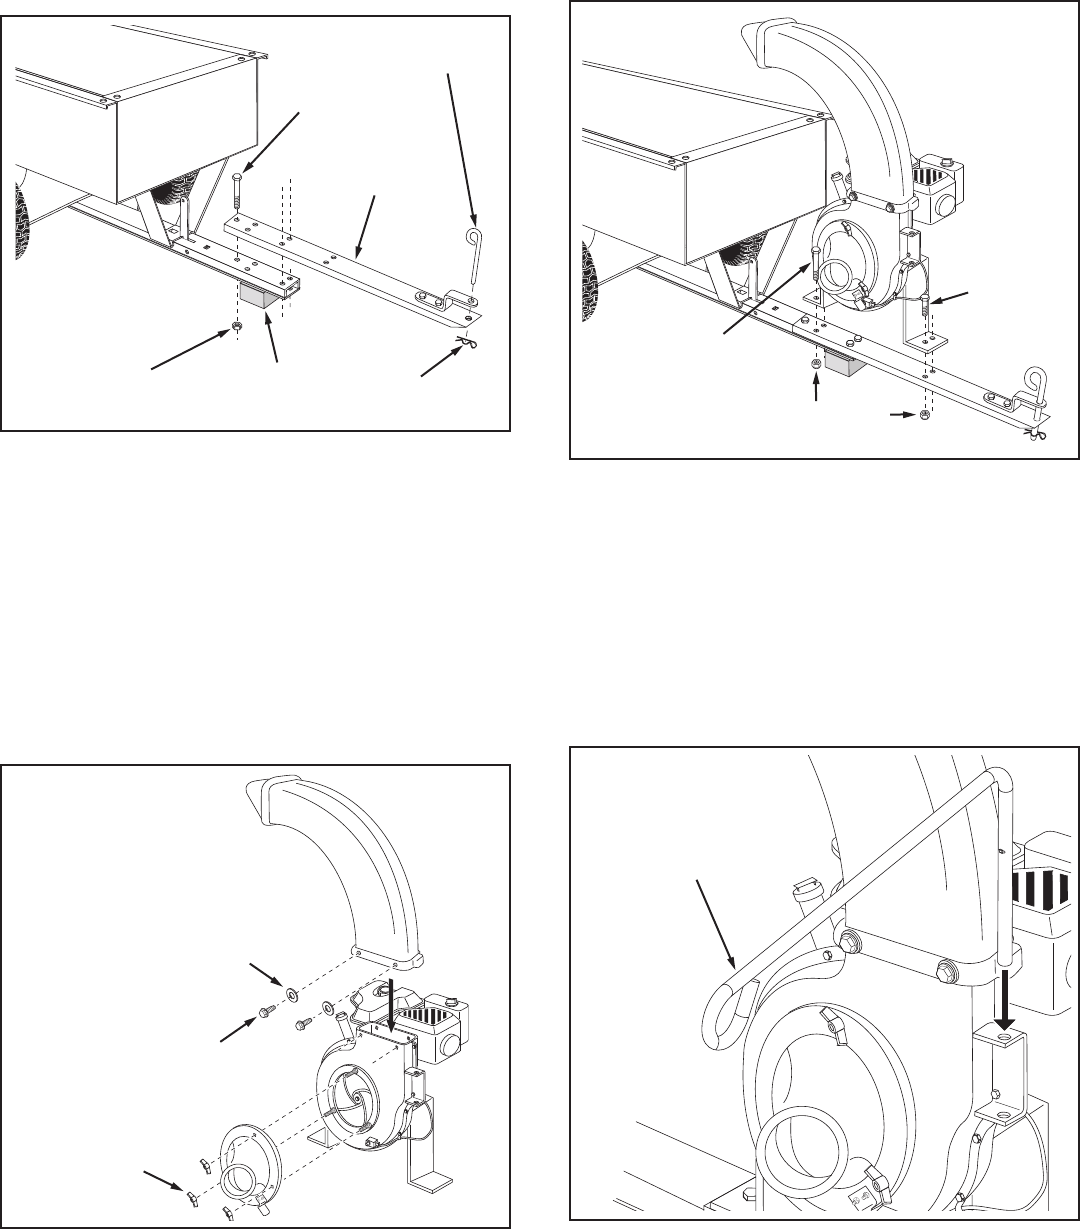
24. Assemble the engine to the tongue using two 3/8" x 3"
hex bolts in the rear holes, two 3/8" x 1" hex bolts in the
frontholesandfour3/8"nylocknuts.Seegure14.
HINT: Use caution when assembling engine to tongue. Have
anotherpersonassistyouifyouarehavingdifculty.
HINT:Foreasierassembly,supportthetonguewithablock
of wood.
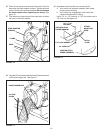
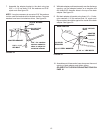
HOSE HANGER ROD
25. Place the hose hanger rod down into the hose hanger
bracketontheimpellerhousingassembly.Seegure
15.
FIGURE 15
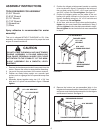
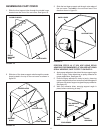
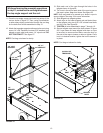
19. Flip the cart over so that it rests on its wheels.
20. Assemble the front tongue on top of the rear tongue
usingthree3/8"x3"hexboltsand3/8"hexlocknuts.
Seegure12.
HINT: For easier assembly, support the rear tongue with
ablockofwood.
21. Assemblethehitchpintothehitchbracketandtongue,
securingitwiththe1/8"haircotterpin.Seegure12.
TONGUE
(FRONT)
3/8" x 3"
HEX BOLT
BLOCK
3/8" HEX
LOCK NUT
1/8" HAIR
COTTER PIN
HITCH PIN
FIGURE 12
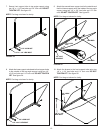
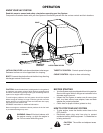
NYLON WASHER
WING NUT
5/16" X 3/4"
HEX BOLT
(SELF TAP)
FIGURE 13
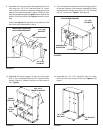
22. Attach the plastic elbow to the top of the engine housing
using four 5/16" x 3/4" hex bolts (self tapping) and nylon
washers.Seegure13.
HINT: Push in on hex bolts as you tighten to form threads.
23. Connect the hose adapter to the engine housing by
fastening three wing nuts to the pre-assembled bolts
intheenginehousing.Seegure13.


