64
4. Using On-Screen Menu
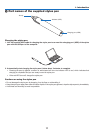
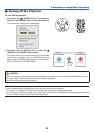
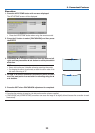
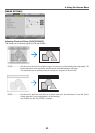
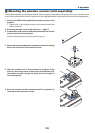
3. Press one of numeric keypad buttons while pressing and holding the ID SET
button on the remote control.
Example:
Toassign“3”,pressthe“3”buttonontheremotecontrol.
NoIDmeansthatalltheprojectorscanbeoperatedtogetherwithasingleremote
control.Toset“NoID”,enter“000”orpresstheCLEARbutton.
TIP:TherangeofIDsisfrom1to254.
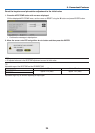
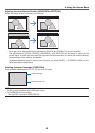
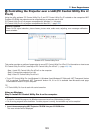
4. Release the ID SET button.
TheupdatedCONTROLIDscreenwillbedisplayed.
NOTE:
• TheIDscanbeclearedinafewdaysafterthebatteriesarerundownorremoved.
• Accidentallypressinganyoneofthebuttonsoftheremotecontrolwillclearcurrentlyspecied
IDwithbatteriesremoved.
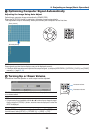
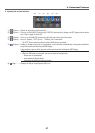
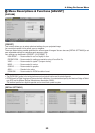
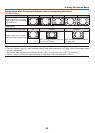
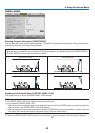
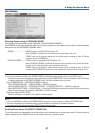
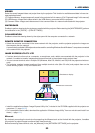
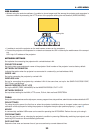
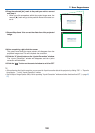
UsingTestPattern[TESTPATTERN]
Displaysthetestpatterntocheckforimagedistortionatthetimeoftheprojectorsetup.PresstheENTERbuttonto
displaythetestpattern;presstheEXITbuttontoclosethetestpatternandreturntothemenu.Menuoperationand
correctionsforkeystone,cornerstoneandpincushionarenotavailablewhenthetestpatternisdisplayed.
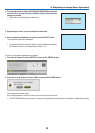
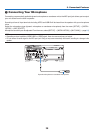
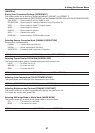
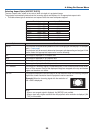
SelectingMicrophoneType[MICSELECT]
Thisfeatureallowsyoutoselectdynamicorcondensertypeforyourmicrophone.
SettingMICGain[MICGAIN]
ThisfeatureallowsyoutoadjustyourmicrophonesensitivitywhenitisconnectedtotheMICinputjackoftheprojec-
tor.MicrophonevolumecanbeadjustedwiththeVOL.(+)or(−)buttonontheremotecontrolorthe◀ or ▶onthe
projectorcabinet.
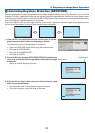
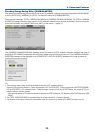
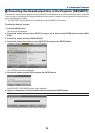
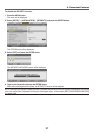
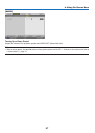
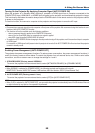
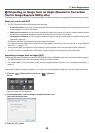
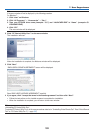
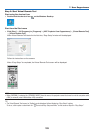
Settingthenetwork[NETWORKSETTINGS]
Thisfunctiondisplaythenetworksettingsmenu.(→page90)