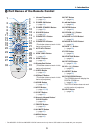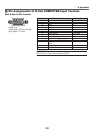
42
3. Convenient Features
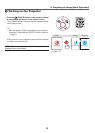
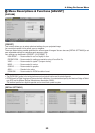
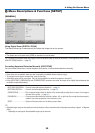
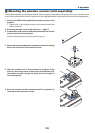
❿ Using the stylus pen (Calibration)
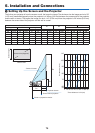
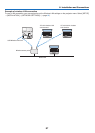
Eitherwhenusingthestyluspenforthersttimeorchangingtheinstallationplaceoftheprojector,makesureto
performcalibrationforlettingtheprojectortorecognizethestyluspenpositionproperly.
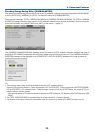
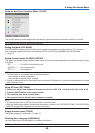
Therearethreeoptionsforthepensetup.
AUTOCALIBRATION Adjustthestyluspenpositionautomatically.Selectthisforeasyadjustment.
MANUALCALIBRATION Adjustthestyluspenpositionmanually.Selectthisforprecisepositionadjustment
asforpermanentprojectorinstallation.
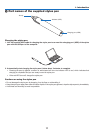
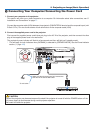
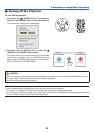
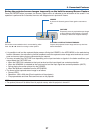
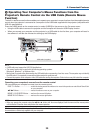
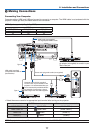
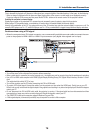
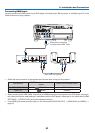
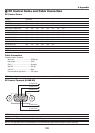
REMOTEPEN Operationbyacomputermousecanbeperformedbythestyluspentouch.
Forutilizingtheremotepen,connecttheUSB-BportontheprojectorandtheUSB-A
portonthecomputerbythesuppliedUSBcable.
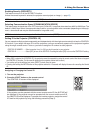
NOTE:
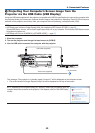
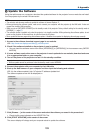
• Beforestartingtousetheremotepen,installthelatestIWBSetupSoftwareforthewhite
boardkitontothecomputerandperformcalibration.ThelatestIWBSetupSoftwarefor
thewhiteboardkitisavailabletodownloadfromourwebsite:
http://www.nec-display.com/dl/en/pj_soft/lineup.html
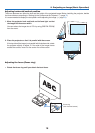
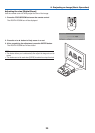
Afterperformingcalibrationofthestyluspen,youcanusethestyluspenontheWHITEBOARD,etc.intheAPPSMENU.
TIP:
• Onthe[PENSETTINGS],youcanalsoperformtheadjustmentoftheseparatelysoldTouchModulealso.Abouttheinformation
foradjustment,referthemanualuploadedonourwebsite.
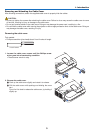
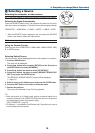
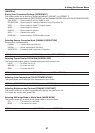
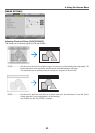
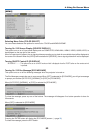
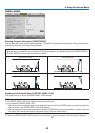
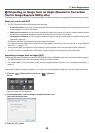
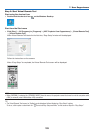
Automatic Calibration
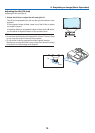
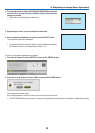
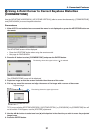
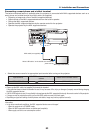
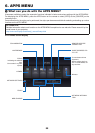
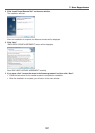
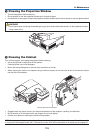
1. Press APPS button on the remote.
The APPS MENU is displayed on.
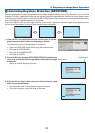
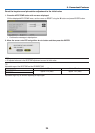
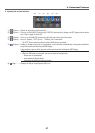
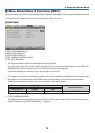
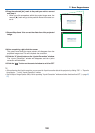
2. Select[TOOL]→[PENSETTINGS]
The[PENSETTINGS]screenisdisplayedon.
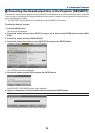
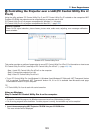
3. Setthefocusonthe[AUTOCALIBRATION]andthenpressENTERbutton.
Start calibration.
Position adjustment will be completed within 5 to 8 seconds and the message of the calibration completion will be
displayed on.
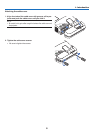
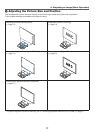
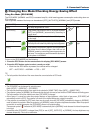
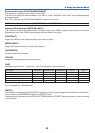
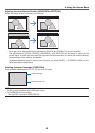
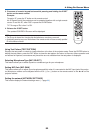
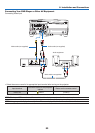
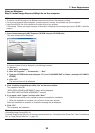
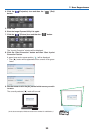
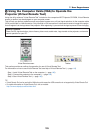
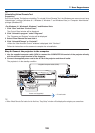
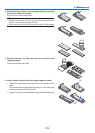
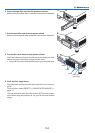
Manual Calibration
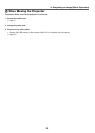
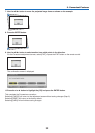
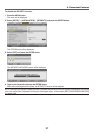
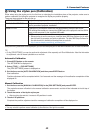
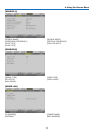
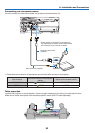
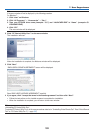
1. Setthefocusonthe[MANUALCALIBRATION]inthe[PENSETTINGS]andpressENTER.
The projection screen will switch to the manual calibration screen and a red dot will be indicated at the left top of
the screen.
2. Touch the center of dot by the stylus pen.
• Aftertouchingthereddot,itmovesto25positionsinorder.
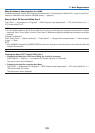
3. Touch all 25 positions.
Complete the position adjustment and the message of calibration completion will be displayed on.
NOTE:
• Youmaynotabletoperformmanualcalibrationbytheaffectionofthelightfromoutside.