


14
27
MAINTENANCE INSTRUCTIONS (continued)
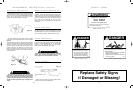
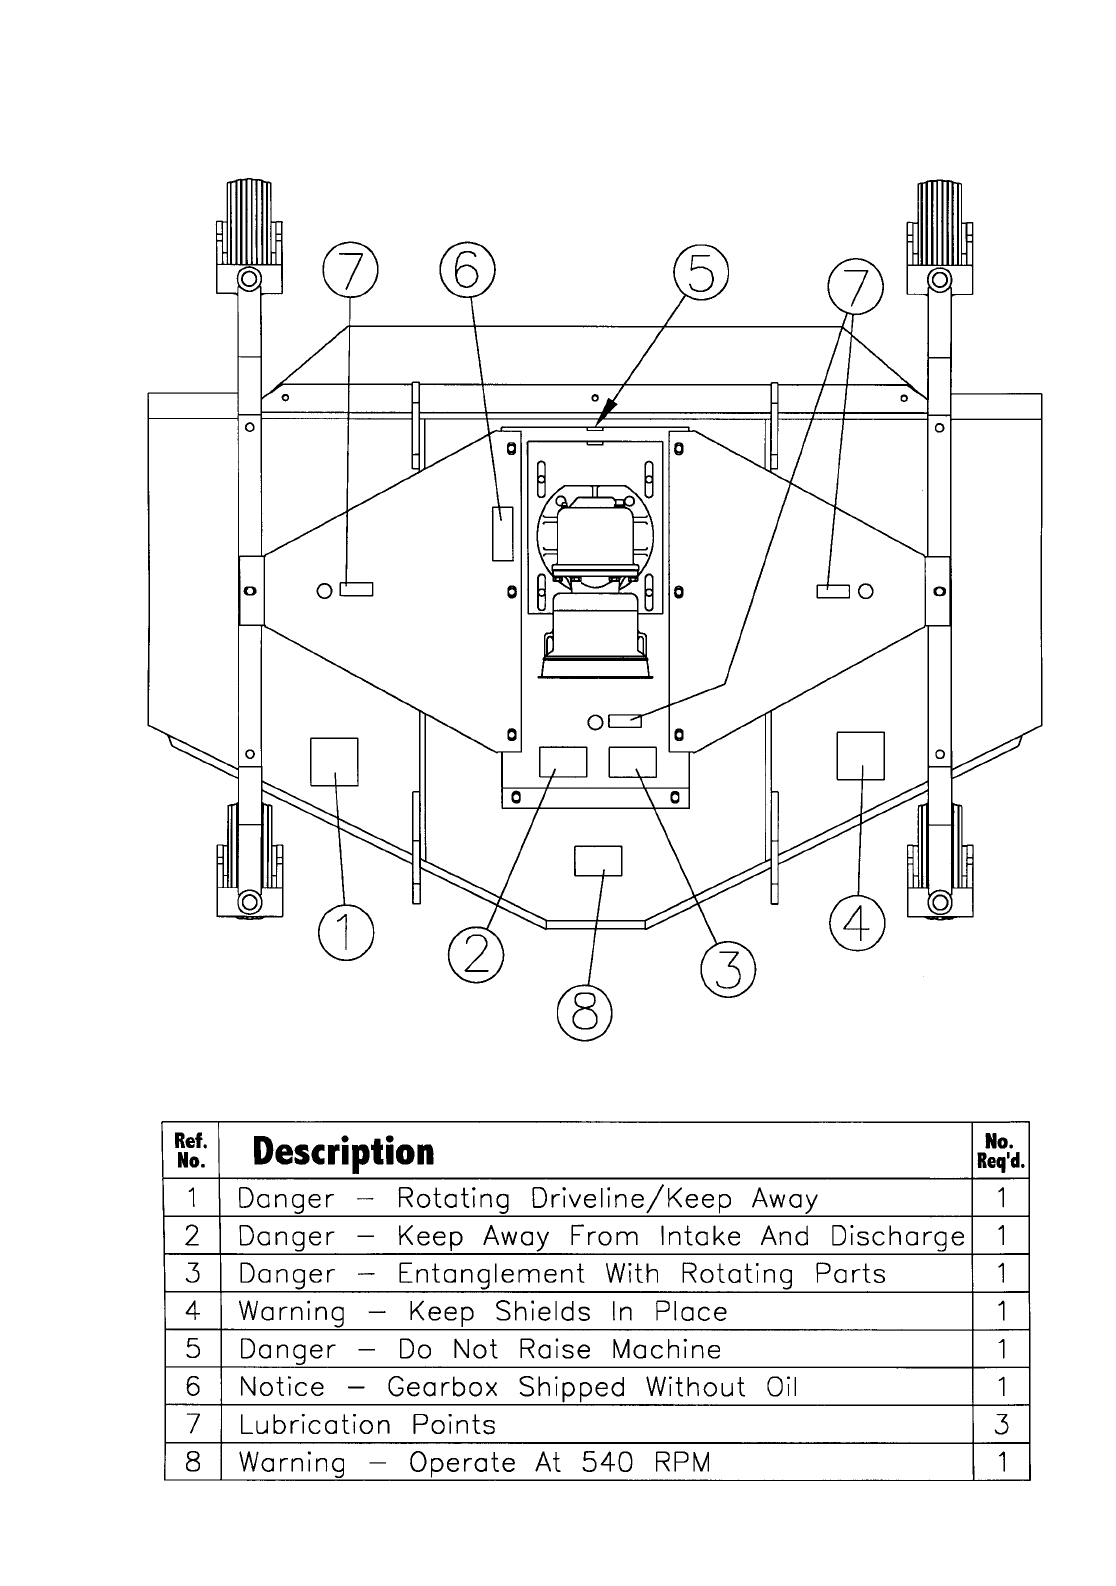
SAFETY SIGN LOCATION
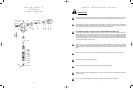
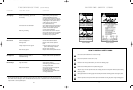
DRIVE BELT ADJUSTMENT
1. Shut off mower and tractor.
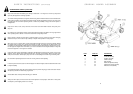
2. Loosen all four nuts (Item 1) on the gearbox slide plate
(Item 2). See figure 14.
3. Loosen jam nut (Item 3) on the tension adjustment bolt
(Item 4)
4. Tighten adjustment bolt (Item 4) until the belt deflec-
tion along the front side of the belts (Items 5 & 6) is
3
/
4
”
when approximately 10 pounds of pressure is applied
to the center of the belt length.
5. Do not overtighten belts!
6. Tighten jam nut (Item 3) and nuts (Item 1) on gearbox
slide plate.
DRIVE BELT REMOVAL AND
INSTALLATION
1. Shut off mower and tractor.
2. Remove drive belt shield fasteners and belt shields.
3. Loosen gearbox slide plate bolts and gearbox adjust-
ment bolt. See figure 14.
4. Slide gearbox to its forward most position
5. Slide belts under the gearbox sheave (Item 7) and
over the center spindle sheave (Item 8).
6. Make sure that right hand belt (Item 5) is in the lower
groove of the gearbox sheave and that the left hand
belt (Item 6) is in the upper groove.
7. Slide the gearbox back to the full rear position and
adjust according to the belt adjustment procedure
described above.
Figure 14
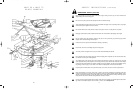
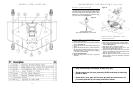
BLADE INSTALLATION
Install washer and lock washer on blade bolt, insert bolt
into blade and bolt into the spindle shaft. Note: Always
wear heavy leather gloves while tightening blade bolts.
Blade bolt has left hand threads and it should be tight-
ened to 85 ft. lb. torque. See figure 13.
TORQUE BLADE BOLT
(LEFT HAND THREADS) TO 85 FT./LBS.
Figure 13
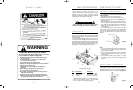
U Keep children away from danger all day, every day.
U Equip tractors with roll-over protection (ROPS) and keep all machinery
guards in place.
U Please work, drive, play, and live each day with care and concern for
your safety and that of your family and fellow citizens.