


Assembly 27
51642 (Rev. 11/9/2007)
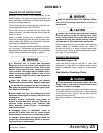
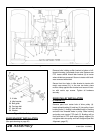
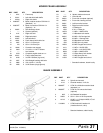
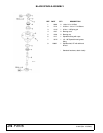
1. Bolt
2. Splined bushing
3. Key
4. Drive pulley
5. Tractor PTO
Figure 21. Drive Pulley Installation
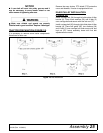
ATTACHING MOWER TO TRACTOR
Position mower under tractor. If a lifting device is not
available, the mower frame is strong enough to back
the tractor over mower. Use care to prevent damage to
painted surface of mower. Place wood blocks in front of
mower and behind tractor tires.
Drive forward over mower to remove from tractor.
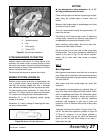
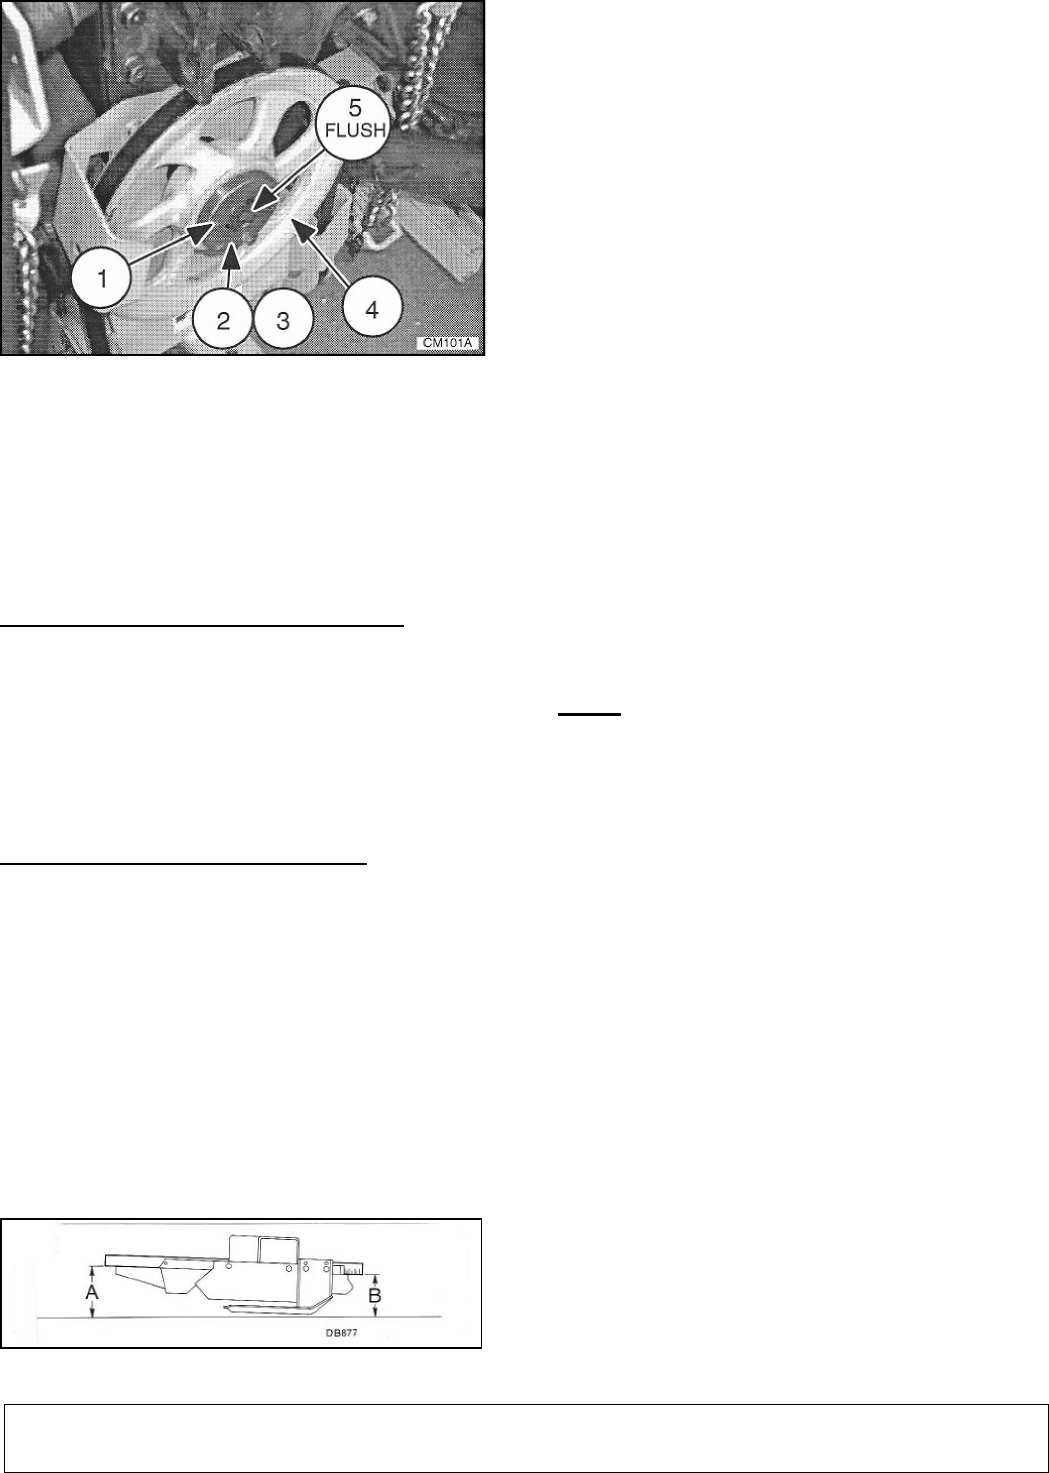
MOWER ATTITUDE (FIGURE 22)
Position front of mower level with, or slightly below, the
rear to provide closer cutting. Mowing with the front
end high will produce ragged cuts with a scalloped
look, excessive shredding and will require extra power.
For best mowing results, dimension "A" should not be
more than 1/2" higher, and never lower, than dimension
"B", except when using the leaf mulcher attachment.
Dimension "B" is set by adjusting casters, gauge
wheels or lift chains.
Dimension "A" is set by raising or lowering push chan-
nel arms in idler bracket.
Figure 22. Mower Attitude Adjustment
NOTICE
■ Any adjustment to either dimension "A" or "B"
will require adjustment to the other.
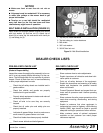
Check cutting height and attitude by placing a straight-
edge along the outside edge of mower frame as
shown.
Measure from bottom edge of straightedge at the front
and rear at least 32" apart.
The front measurement should be approximately 1/2"
lower than the rear.
The blade is 4-5/8" below mower frame. To determine
cutting height, measure the distance from bottom of
straightedge to the ground and subtract 4-5/8".
When checking cutting height, be sure to take mea-
surements on both sides of mower.
Be sure mower is level from side to side using these
measurements. This may be changed by adjusting the
eyebolt in the rear lift lug. Cut off excess (approxi-
mately 18") on each chain after mower is properly
adjusted.
BELT
Belt Alignment
Belt alignment and tension should be set at the same
time. Read both the alignment and tensioning sections
before attempting either. Improper tension or alignment
will affect belt life.
With mower level and cutting height set, check belt
alignment.
Belt alignment is accomplished by adjusting idler pul-
leys. First, align drive pulleys with idler pulleys. Check
with a straightedge (see Figure 23). Alternately tighten
bolts on taper lock bushing to secure drive pulley in
proper alignment. Continue to alternate tightening
sequence until assembly is tight and all bolts are
torqued to 12 lbs-ft. Recheck drive pulley to idler pulley
alignment.
Alignment tolerances are shown in Figure 24 thru Fig-
ure 29. The best idler alignment is shown in Figure 24
& Figure 27. However, it is not always possible to
achieve. Alignment may be set within the tolerances
given, but the left idler must always be at least 1"
higher than the right.