


26 Assembly
51642 (Rev. 11/9/2007)
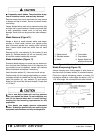
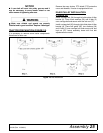
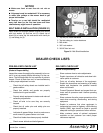
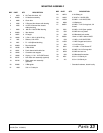
Figure 19. Rear View of Tractor
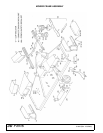
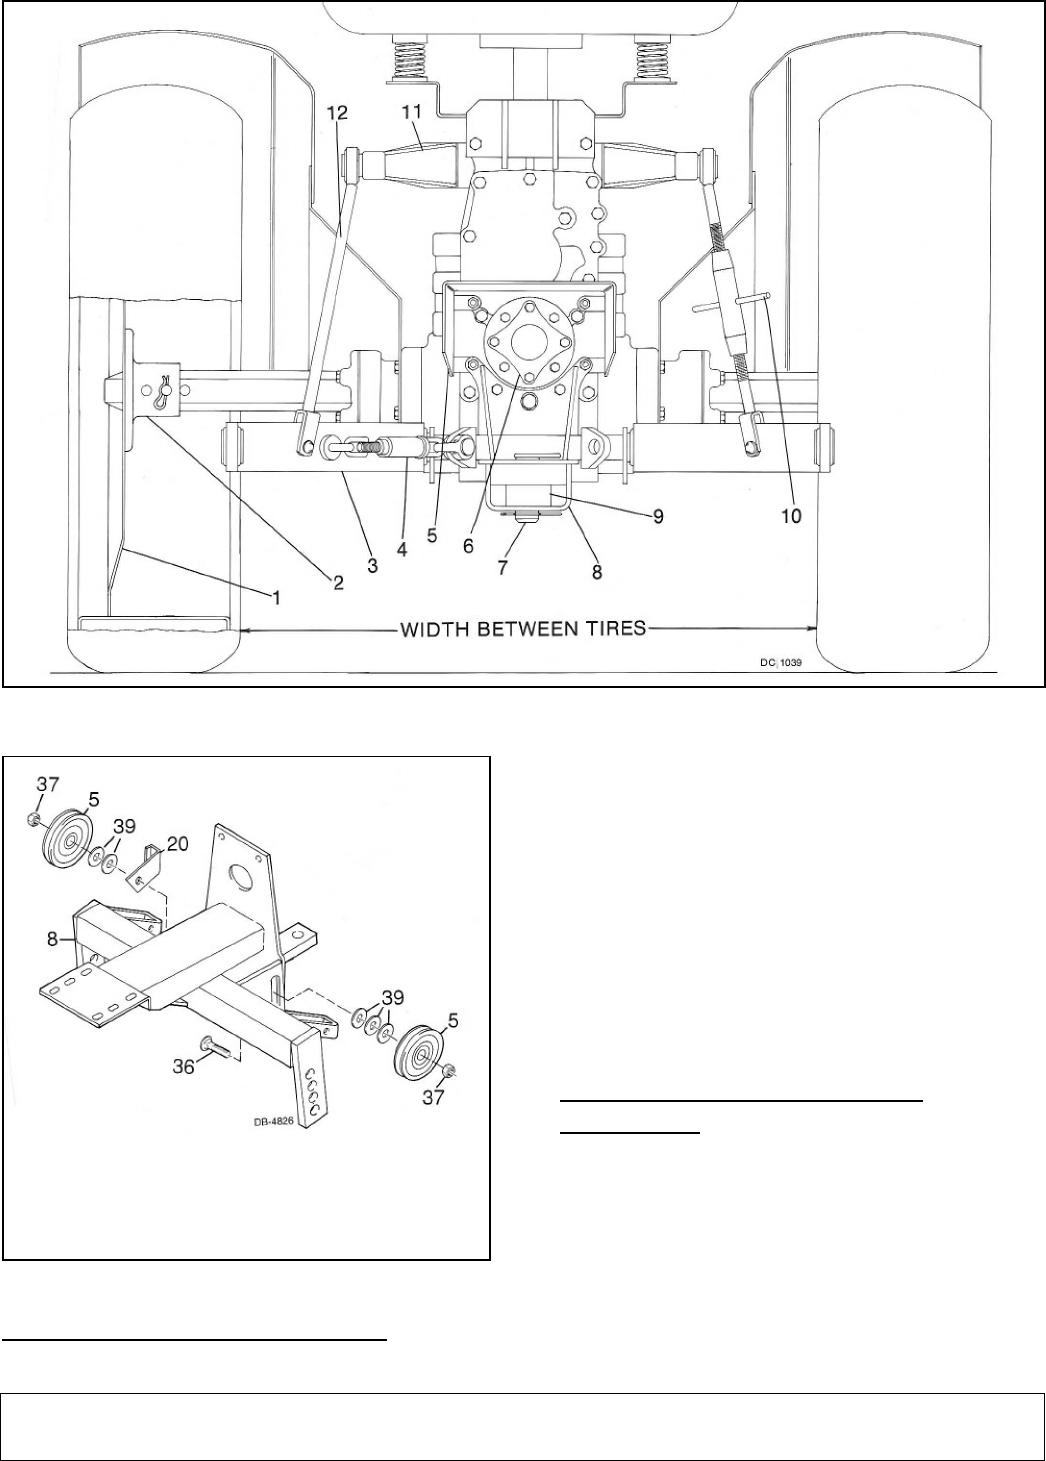
Figure 20. Idler Pulley Installation
IDLER BRACKET INSTALLATION
(See parts drawing on page 32)
Remove bolts holding muffler bracket to bottom of dif-
ferential housing, just ahead of rear axle. Remove rear
PTO tractor shield. Attach idler bracket (8) to tractor
where shield was removed. Secure to tractor with hard-
ware removed with shield.
Secure front four holes in idler bracket to tractor with
metric cap screws (31). In the rear two holes, place
muffler clamp against idler bracket and secure to trac-
tor with metric cap screws. Tighten all hardware
securely.
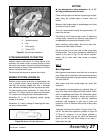
DRIVE PULLEY INSTALLATION
(FIGURE 21)
Remove paint from center hole of drive pulley (4).
Insert splined bushing (2) and key (3) into pulley. Insert
bushing bolts (1) through unthreaded holes in bushing
and start into threaded holes in pulley. Slide bushing
and pulley onto tractor PTO shaft (5). Bushing will be
flush with end of PTO shaft when properly aligned. Do
not tighten bolts into pulley until belt is aligned (see Belt
Alignment, page 27).
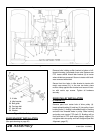
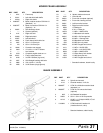
5. V-Idler
8. Idler bracket
20. Belt guide
36. Carriage bolt
37. Hex lock nut
39. Washer