Maintenance Instructions CLEANING
5
5
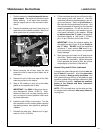
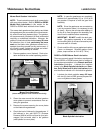
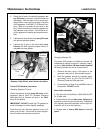
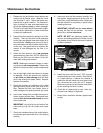
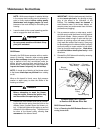
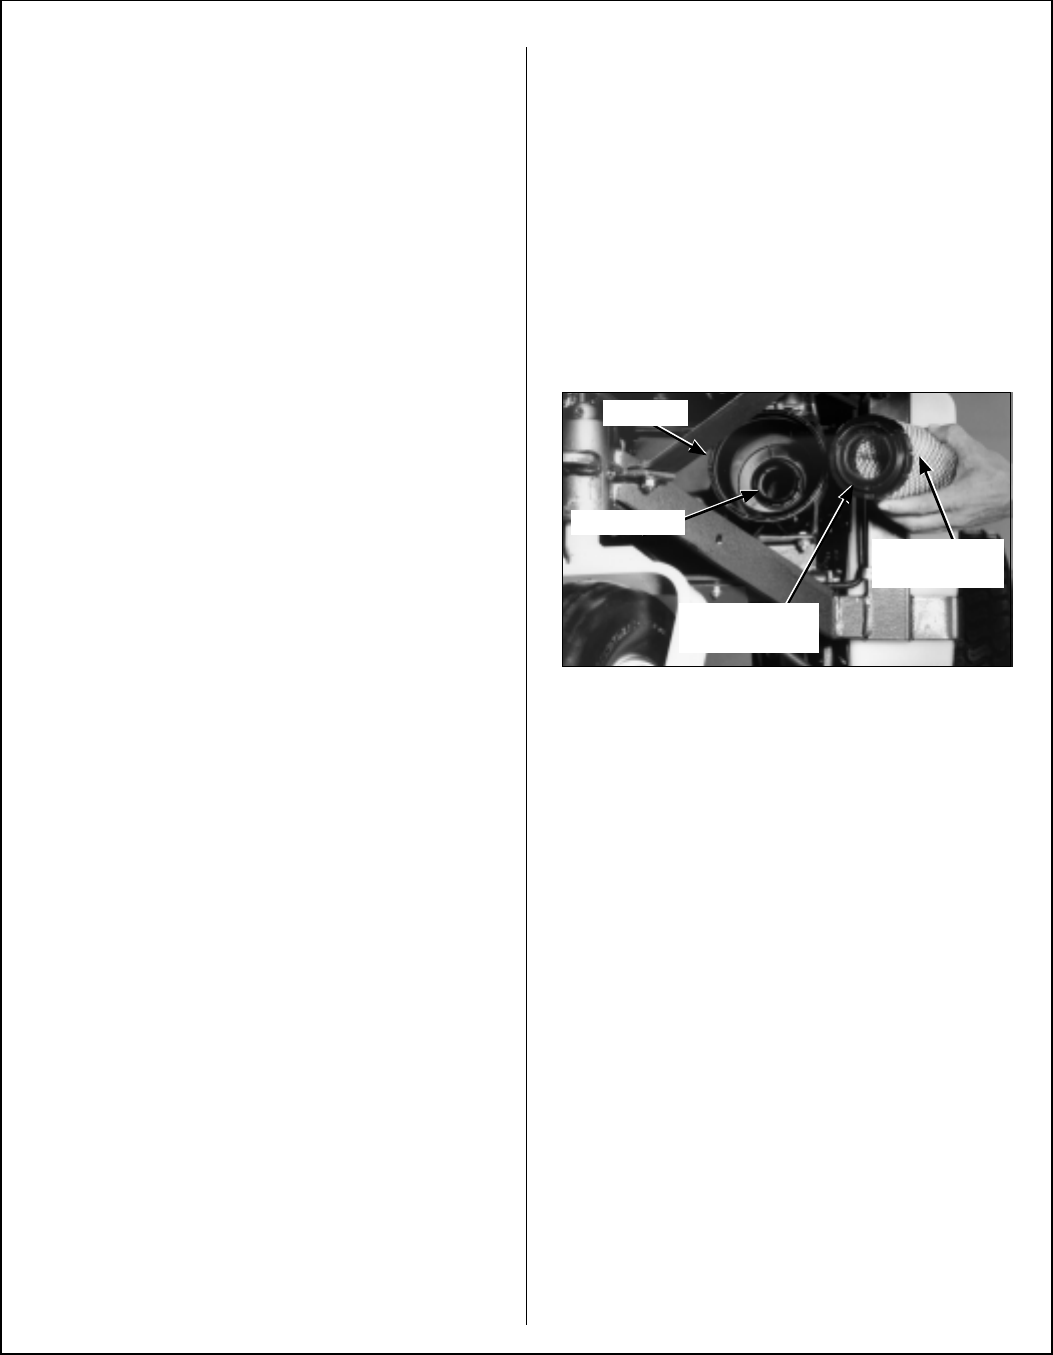
1. Release the top and bottom cover latches and
remove the air cleaner cover. Wash the cover
and Vacuator™ valve. Check that these com-
ponents are in good condition. The Vacuator™
valve is subject to wear and deterioration and
should be replaced yearly or when damaged.
The lips of the valve should close and fit togeth-
er; any cracks, deformation, or wear in the valve
is cause for replacement.
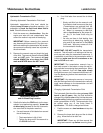
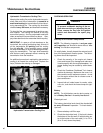
2. Remove the filter element by pulling it out of the
canister. There will be some initial resistance
as the filter seal breaks loose and slides off of
the outlet tube. Gently move the end of the fil-
ter up and down and side to side or twist to loos-
en the seal. Use gentle action to minimize the
amount of dust dislodged as the filter is re-
moved.
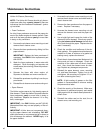
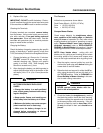
3. Clean the filter element using low pressure
compressed air [less than 100 PSI (689 kPa)].
Blow out the filter from the interior of the ele-
ment while turning the element.
NOTE: Washing the element in water or clean-
ing solution is not recommended. Replace the
element if it does not clean up with compressed
air.
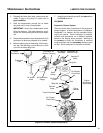
4. Use a bright light inside the element to inspect
for damage. Check the element very carefully
for pin holes or other damage that will allow
dirt to leak through the paper media. Replace
element if necessary.
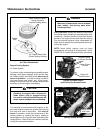
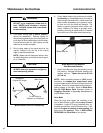
5. Check the condition and resilience of the radial
sealing surface (inside of the open end) of the
filter. Replace the filter if any cracks, tears, or
other damage to the sealing surface are noted.
6. Use a clean, damp cloth and wipe the interior of
the air cleaner canister clean. Use special care
to clean both the inside and outside surfaces
of the outlet tube.
IMPORTANT: Any dust left on the inside of the
outlet tube will go into the engine and cause
wear.
7. Check the outside surface of the outlet tube for
smoothness and cleanness (this is the sealing
surface).
8. Insert and seat the filter element carefully into
the canister, applying pressure at the outer rim
of the filter; not at the flexible center. Make sure
the filter element is completely in place before
installing the cover.
IMPORTANT: DO NOT use the cover latches
to force the filter into the canister -- the cover
should fit on with no extra force.
NOTE: DO NOT use petroleum based lubri-
cants on the sealing surfaces of the filter; use tal-
cum powder or dry silicone lubricants if required
for filter installation.
Air Filter Element Replacement
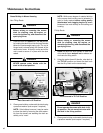
9. Install the cover with the word “TOP” properly
oriented to the top of the canister. Give the cov-
er a slight twist as it reaches the canister to
make sure the tab inside the cover goes into a
slot, otherwise the cover will not fit properly.
Make sure both the top and bottom cover latch-
es are securing the cover in place.
10. Check the air intake hose for cuts, nicks, etc.,
and the hose clamps for tightness.
11. Reset the air restriction indicator (press button
on top).
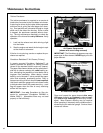
Canister
Radialseal™
Filter Element
Radial Sealing
Surface
Outlet Tube


