Section 5: Maintenance
Adding Gear Oil to the
PTO Power Unit Transmission
1. Do steps 1 and 2 of Checking the
Power Unit Oil Level on page 32.
2. Using a 3/4" wrench (or socket),
remove the bolt securing the handlebar
base to the top of the transmission (prop
the handlebars first to prevent them from
falling).
Then, unplug the Forward Interlock wire
harness receptacle at the bottom of the
handlebars. Set the handlebar base and
bolt aside on a clean surface. The bolt
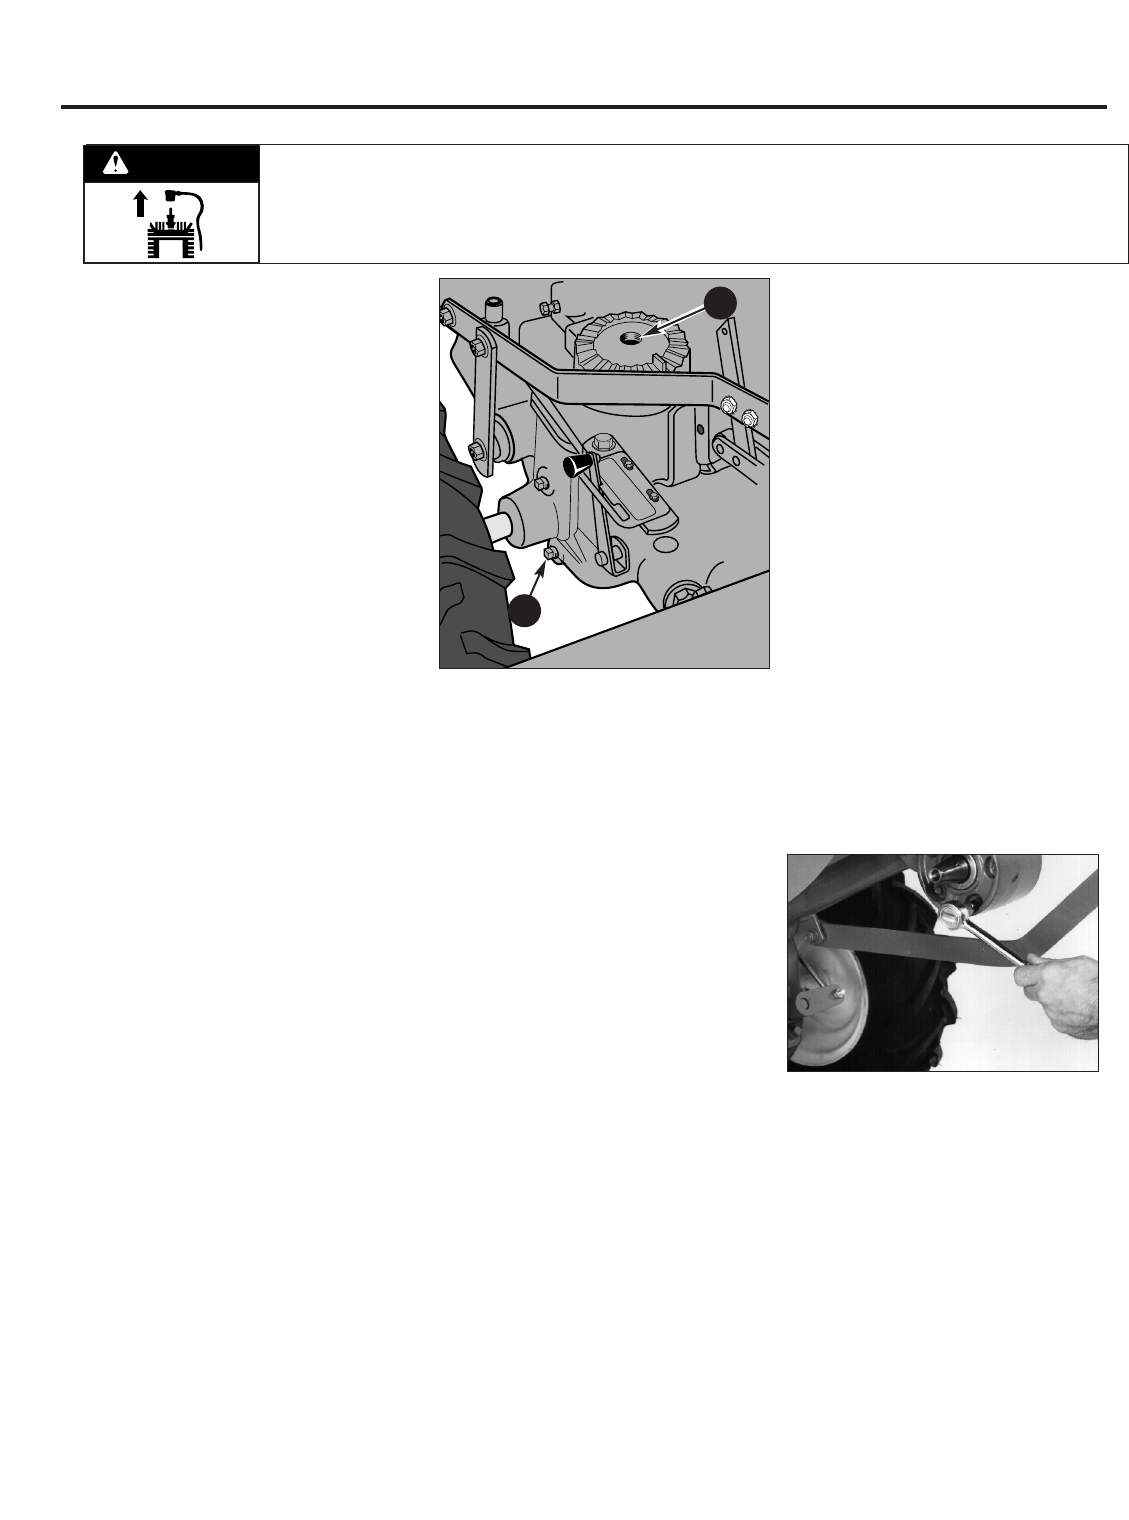
hole in the top of the transmission is the
gear oil fill hole (A, Figure 5-9).
3. Slowly pour gear oil through a clean
funnel into the transmission. Stop when
gear oil begins to flow from the oil level
check hole on the left side of the trans-
mission (B, Figure 5-7).
4. Reinstall the oil level check plug.
Tighten it securely.
5. Reinstall the handlebars using the
mounting bolt previously removed. Align
the handlebars so they point straight
backwards, not at an angle. Then tighten
the mounting bolt securely.
6. Reconnect the Forward Interlock wire
harness to the receptacle. Be certain it’s
secure.
7. Test operation of the Forward Interlock
Safety System. See Section 4 for a
procedure.
Draining and Filling the
PTO Power Unit Transmission
1. Place a shallow pan under the trans-
mission gear oil drain plug (B, Figure
5-9).
2. Remove the oil level check plug (Figure
5-7) with a 3/8" wrench. This vents the
transmission for faster oil draining.
3. Using the 3/8" wrench, remove the
drain plug (B, Figure 5-9). The gear oil
will drain quite slowly since it is thick.
After about two quarts have drained, tilt
the tiller forward so any oil at the rear of
the transmission will drain out.
4. Clean the drain plug threads, put non-
hardening gasket sealant on the threads,
and reinstall plug.
5. Refill the transmission with the correct
amount of gear oil before operating the
tiller again. When oil seeps from the oil
level check hole, the right amount of gear
oil has been added. Replace all plugs.
Adding Gear Oil to the Tine
Attachment Transmission
1. Select the right Depth Regulator Lever
setting:
a. If filling an empty transmission, raise
the Depth Regulator Lever so tines
are on the ground.
b. If topping off the gear oil, move Depth
Regulator Lever down to engage its
top notch.
2. Remove dipstick from tine attachment
(Figure 5-8).
3. Slowly add gear oil in the dipstick hole.
Add 1/2-ounce at a time to avoid overfill-
ing. It takes about 12-1/2 ounces.
4. Take dipstick readings frequently. Stop
when oil reaches “Cold” range marking on
dipstick. Replace dipstick securely.
Draining and Filling the Tine
Attachment Transmission
1. The tine attachment transmission is
not equipped with an oil drain plug. To
drain just a small amount of gear oil,
remove the dipstick and tilt the attach-
ment forward (first uncoupling it from the
Power Unit).
2. For complete drainage, remove the left-
side tine assembly (refer to Bolo Tine
Maintenance for instructions), then
remove just one of the lower screws from
the tiller housing cover (Figure 5-10). To
speed drainage, remove the tine attach-
ment dipstick to vent transmission.
NOTE: If you find a plastic washer on the
cover screw you remove, discard the
washer. There is no need to install a
replacement washer.
3. Once all gear oil has drained, reinstall
the housing cover screw securely (first
coat its threads with non-hardening
gasket sealant).
4. Be certain to refill the transmission
with the correct amount of gear oil before
operating the tiller again.
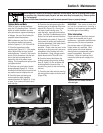
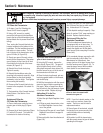
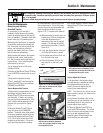
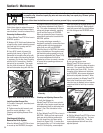
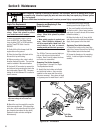
Figure 5-9: Gear oil fill hole (A) and
gear oil drain location (B).
B
Before inspecting, cleaning or servicing the machine, shut off engine, wait for all moving parts to come
to a complete stop, disconnect spark plug wire and move wire away from spark plug. Remove ignition
key, if so equipped.
Failure to follow these instructions can result in serious personal injury or property damage.
WARNING
A
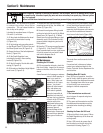
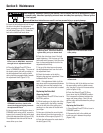
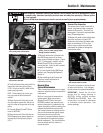
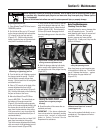
Figure 5-10: Remove housing cover
screw to drain tine attachment
transmission gear oil.
➧
32


