


11
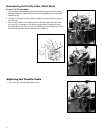
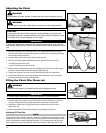
Installing and Adjusting the Bar and Chain
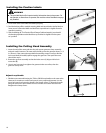
Installing The Chain
WARNING!
Never attempt to install, replace, or adjust the chain with the engine running.
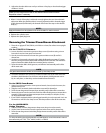
WARNING!
The saw chain is very sharp. Wear gloves to protect your hands when handling.
NOTE:
For the longest chain life, let new or replacement chain loops soak in oil overnight
before installation.
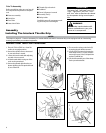
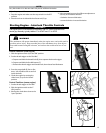
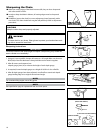
1. Using the small end of the plug wrench, remove the sprocket cover nut (A) (turn
counterclockwise to remove) and remove the sprocket cover (B).
CAUTION!
Failure to align the guide bar and chain tensioning pin can cause serious dam-
age to the sprocket cover, guide bar, chain tensioning pin and cutting head
assembly.
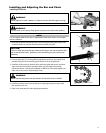
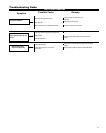
2. Place the guide bar (C) over the guide bar adjustment stud (D) on the cutting head
assembly. Align the chain tensioning pin (E) with the hole in the guide bar.
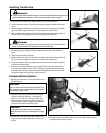
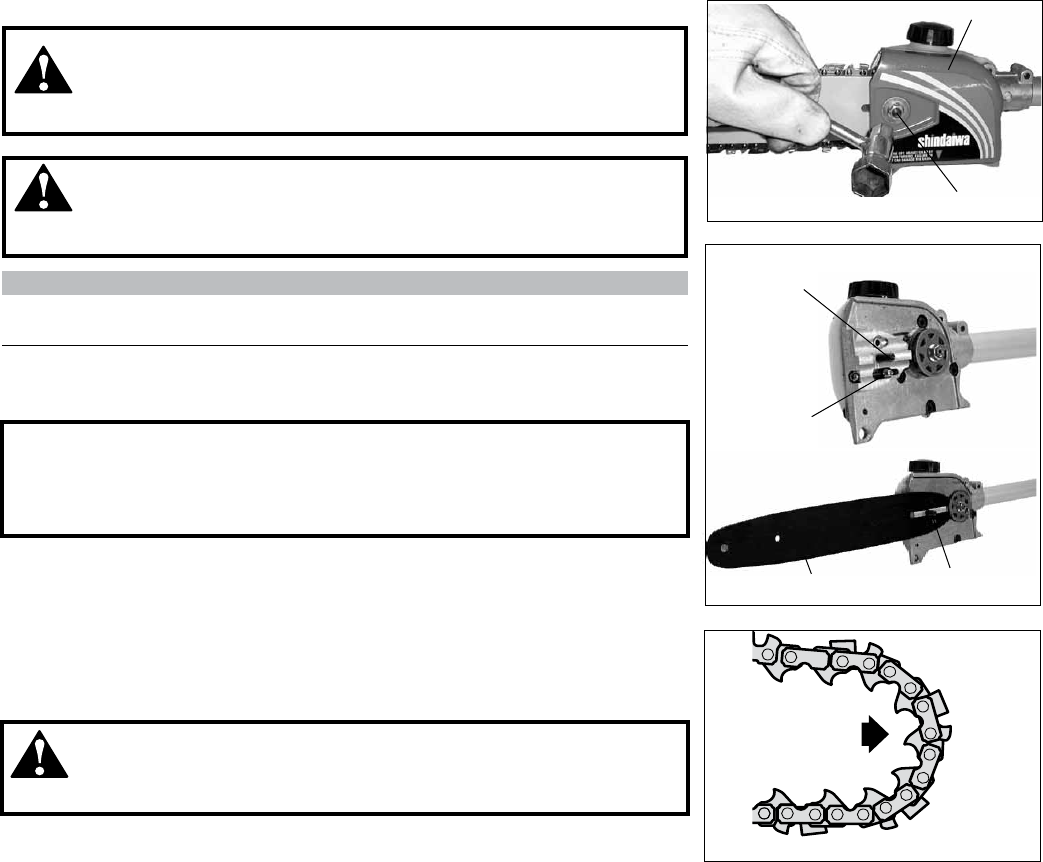
3. Install the chain loop over the drive links within the guide bar groove, and then
align the chain over the drive sprocket. Make sure the cutters are properly
oriented as shown. If the chain installation is dicult or if the chain appears too
tight, refer to the section “Adjusting the Chain.
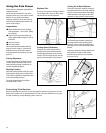
WARNING!
Never operate the pole pruner tool without the sprocket cover installed.
4. Install the sprocket cover over the bar stud. Using nger-pressure only, install
the sprocket cover nut.
5. Refer to the next page for chain adjusting procedures.
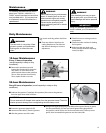
CHN-14
BAR
TIP
Top of Bar
Bottom of Bar
A
B
D
C
E
D